Classification [Protected] P/N:707548
© 2018 Check Point Software Technologies Ltd. All rights reserved.
For a list of our trademarks, please refer to: www.checkpoint.com/copyright.html.
For a list of our Third Party Copyright notices, please refer to: www.checkpoint.com/3rd_party_copyright.html
Smart-1 Installing and Removing
Transceivers
707548
Protected
2018
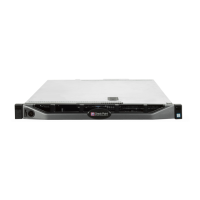
This document is for appliance models Smart-1 525, Smart-1 5050, and
Smart-1 5150.
Im
portant
• Read the Health and Safety Information in the Getting Started guide for
your appliance. For a list of all Appliances Getting Started guides, see
sk96246 http://supportcontent.checkpoint.com/solutions?id=sk96246.
• To protect the appliance and transceivers from electrostatic discharge
,
m
ake sure that you are grounded.
• We recommend that you use an ESD grounding wrist strap. Connect the
grounding plug on the wrist strap to the chassis grounding point.
L
ine cards with fiber optic ports use transceivers.