Page 12
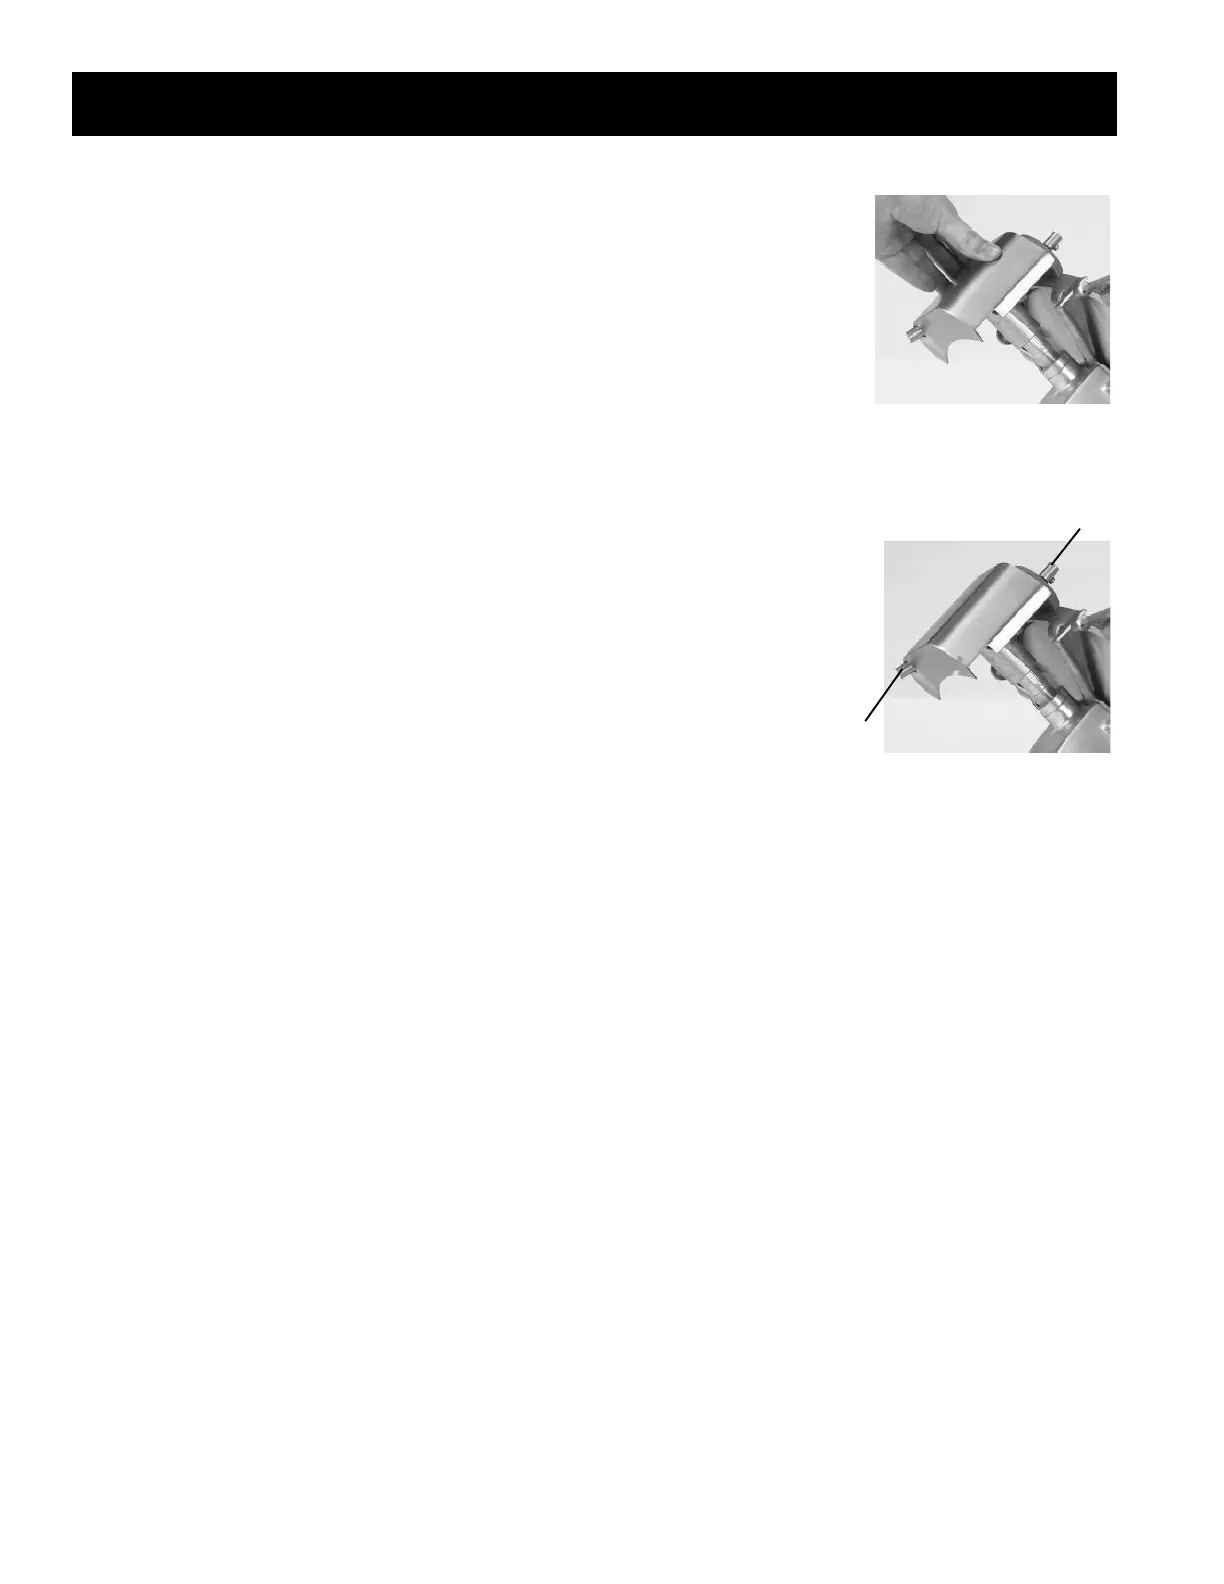
6. With the sharpening stones centered over the knife, press down on the
sharpener (Fig. 12-1) and while holding it down, lock it into place by
retightening the sharpener release knob.
7. Plug in and turn slicer on.
8. Push the grinding stone button #1 (Fig. 12-2) so the stone sharpens the
back side of the knife. Sharpen for 10-15 seconds then release the button.
9. Push the honing stone #2 (Fig. 12-2) to remove the rough burr, which
developed on the front side of the knife. Deburr for five seconds. Always
finish sharpening with both stones by pushing both buttons at the same time
for five seconds.
10. Turn off and unplug the slicer before inspecting.
11. Loosen the sharpener release knob located at the side of the sharpener.
12. Rotate the sharpener counterclockwise to its original position.
13. Push down on the sharpener and lock it into place by retightening
the sharpener release knob.
14. Clean slicer as described on pages 9 and 10.
NOTE: As the knife is sharpened and the diameter gets smaller, it is important to adjust the slicer table
inward toward the knife. The gap should be consistently 1/8” from knife.
KNIFE SHARPENING
Figure 12-1
Figure 12-2
#1
#2