2
3 Keyboard connection
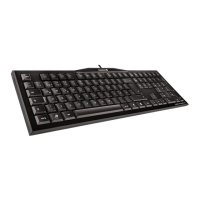
3.1 Models with smartcard reader
¾ Only insert the USB connector in a USB hub,
which supplies 500mA electricity, or the
USB root hub (system USB connection).
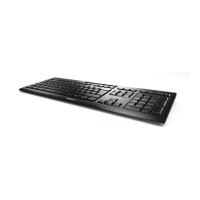
3.2 Further models
¾ Insert the USB connector in any USB
connection in your system.
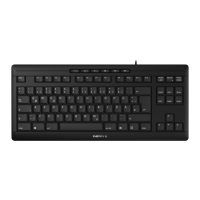
4 3-track magnetic card reader
The magnetic card reader reads all DIN ISO 7811/12,
Gemini, AAMVA and JIS compliant cards. It can read
the tracks individually, in pairs or all together. The
decoding of the data can take place either in the
keyboard (standard) or via the software as desired.
Using the magnetic card reader
1 Insert the magnetic card into the magnetic card
reader from the right with magnetic strips poin-
ting downwards towards the keyboard.
2 Pull the magnetic card to the left through the
magnetic card reader.
An acoustic signal confirms the successful/
unsuccessful completion of the reading process:
1 x beep = Reading process successful.
The data is transferred.
2 x beeps = Reading process unsuccessful.
The data is not transferred.
Configuration via Cherry Tools: signal for suc-
cessful/unsuccessful reading process, duration.
Definition of headers and terminators
Headers and terminators mark the start and the
end of the magnetic card data transmission. The
header/terminator code is inserted before/after the
actual magnetic card data.
5 Smartcard reader
The integrated smartcard reader is available once
you have installed the software driver. It reads and
inscribes all smartcards in accordance with DIN
ISO 7816.
¾ Install the smartcard reader driver for the PC/SC
interface using the hardware assistant.
For additional CT-API support (MKT 1.0) and
homebanking:
¾ Run the Cherry SmartDevice setup.
Using the smartcard reader
¾ Insert the smartcard into the smartcard slot with
the chip pointing downwards and towards the
keyboard.
Contact is established after a clear pressure
point is passed.
6 Contact-free smartcard reader
The contact-free smartcard reader can be used fol-
lowing the installation of the software driver.
It reads and inscribes all smartcards in accor-
dance with DIN ISO 14443A/B and ISO 15693.
Using the contact-free smartcard reader
¾ Place the smartcard on the transmission symbol
on the top right of the keyboard.
Different drivers must be installed depending on
the model:
G81-8070: Card Man RFID USB 5121
G81-8072: Card Man RFID USB 5125