8
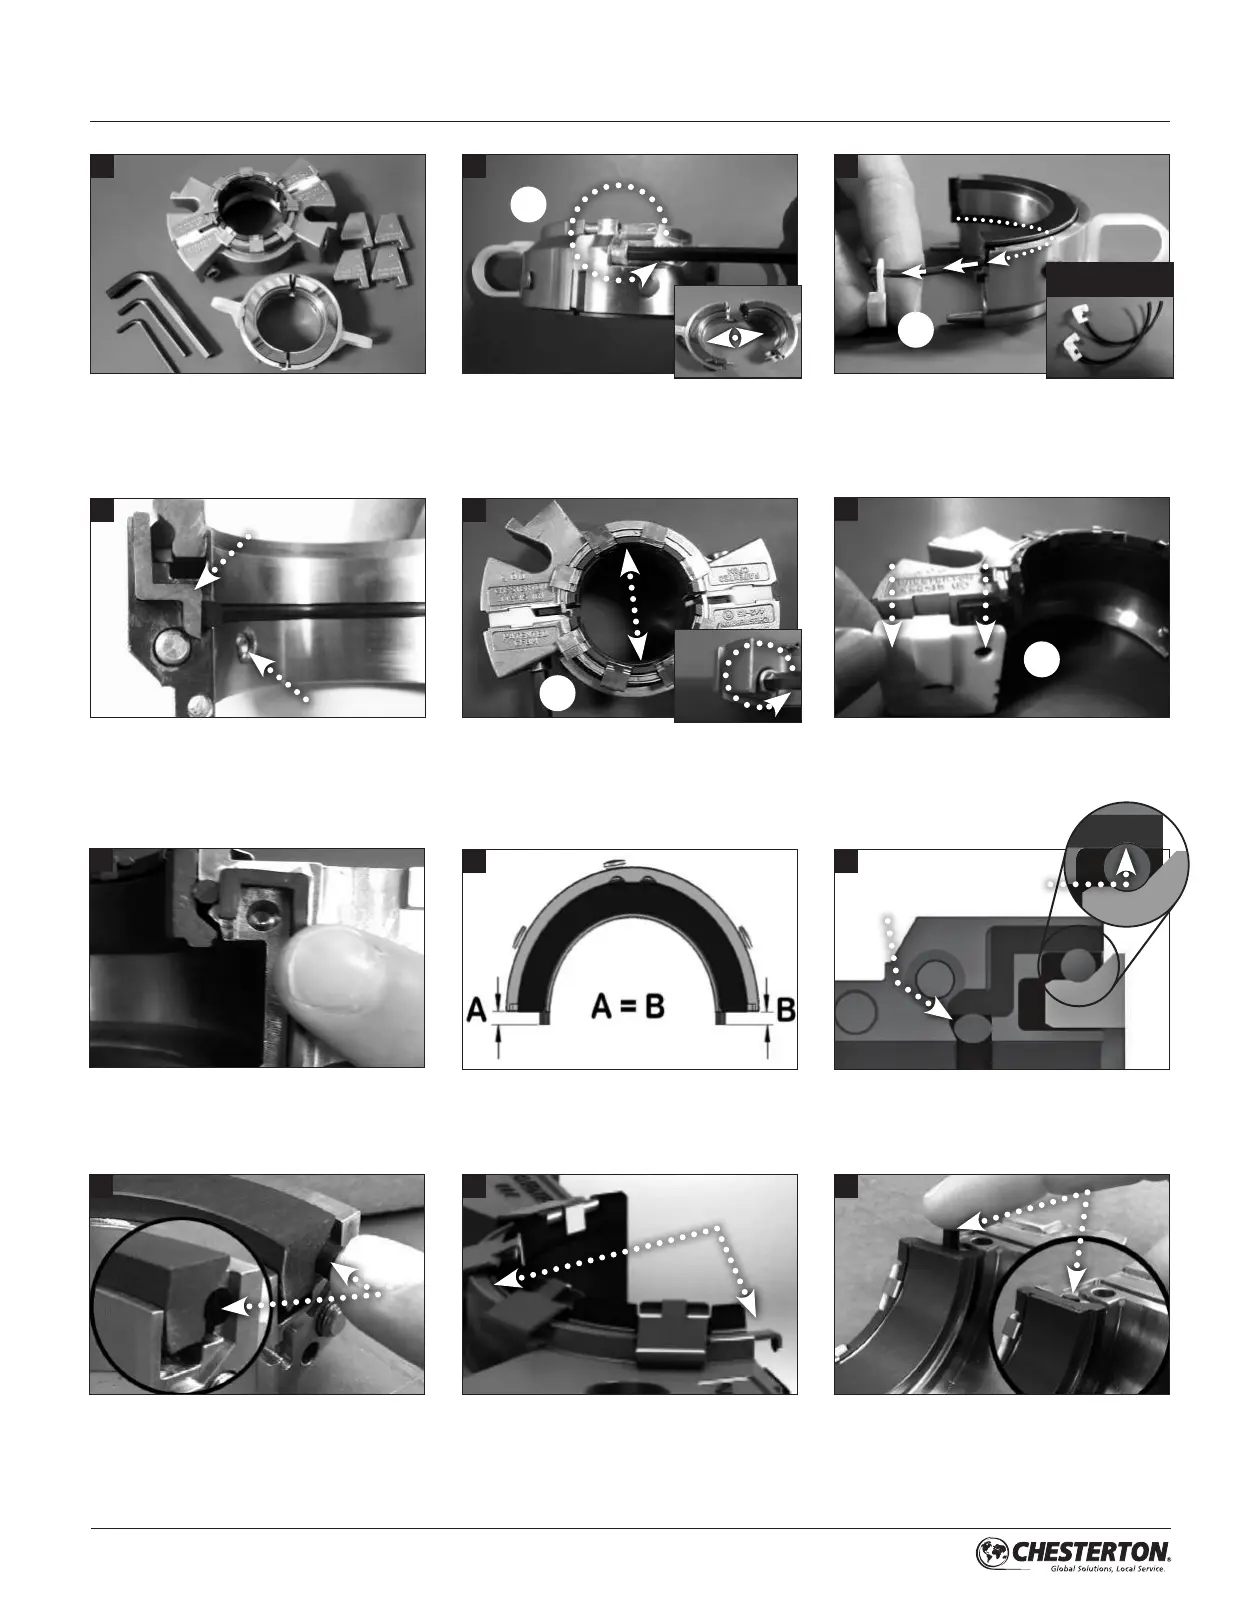
4.0 PREPARATION FOR INSTALLATION cont.
1
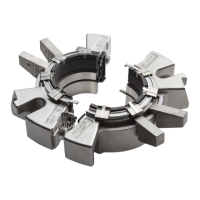
Remove seal from packaging and place on
clean work surface. Ensure installation spacers
are seated on outside diameter of rotary holder
halves. Important: DO NOT glue any O-Rings,
holder or gland half gaskets!
2 3
2X
2X
Disengage rotary holder screws and separate
rotary holder halves.
Important! Remove entire shipping spacer
assembly from each holder half by pulling on tab;
retain for future use. Caution: Do not push on
the rotary faces. Re-install shipping spacers if
this occurs.
Shipping Spacer
Assembly
Remove gland split shipping spacers from each
gland half.
6
2X
5
Disengage gland cap screws and separate gland
halves.
2X
7
Ensure that the gland gaskets are lubricated and
seated in their grooves.
Ensure that the rotary holder shaft O-Ring is
properly seated in its groove with both ends
protruding evenly. Apply grease to shaft O-Ring
only where it contacts the shaft.
8
11
Ensure that gland spring lifter is extended
prior to starting installation of gland assembly.
If spring lifter is not in its proper position, review
rebuild instructions.
Spring Lifter
To prevent seal leakage, ensure that the
stationary face O-Ring ends are flush with but
not below the stationary face splits. Carefully
push on O-Ring ends if they protrude past the
face splits. Preparation complete; go to Seal
Installation
12
To prevent seal leakage, ensure that the rotary
face O-Ring ends are flush with but not below
the face splits. Push on O-Ring ends if they
protrude past the face splits.
10
9
Ensure the rotary face O-Rings are positioned
in holder O-Ring detent. If rotary face O-Rings
are not in the holder detent, review rebuild
instructions.
Rotary holder
O-Ring detent
Shaft O-Ring
4
Ensure that the holder gaskets are lubricated and
seated in their grooves. Important: Set screws
protruding past the inside diameter may cause
the holder to deform resulting in shaft leakage
and/or damage to the rotary faces.
Holder Gasket
Set Screw