4
Installation Instructions PWS
MOUNT THE DISPLAY
WARNING: Watch for pinch points. Do not put your fingers
between movable parts.
1. For Model PWS2000 only, follow the instructions for installing
the PSB bracket(s) of your specific flat panel display.
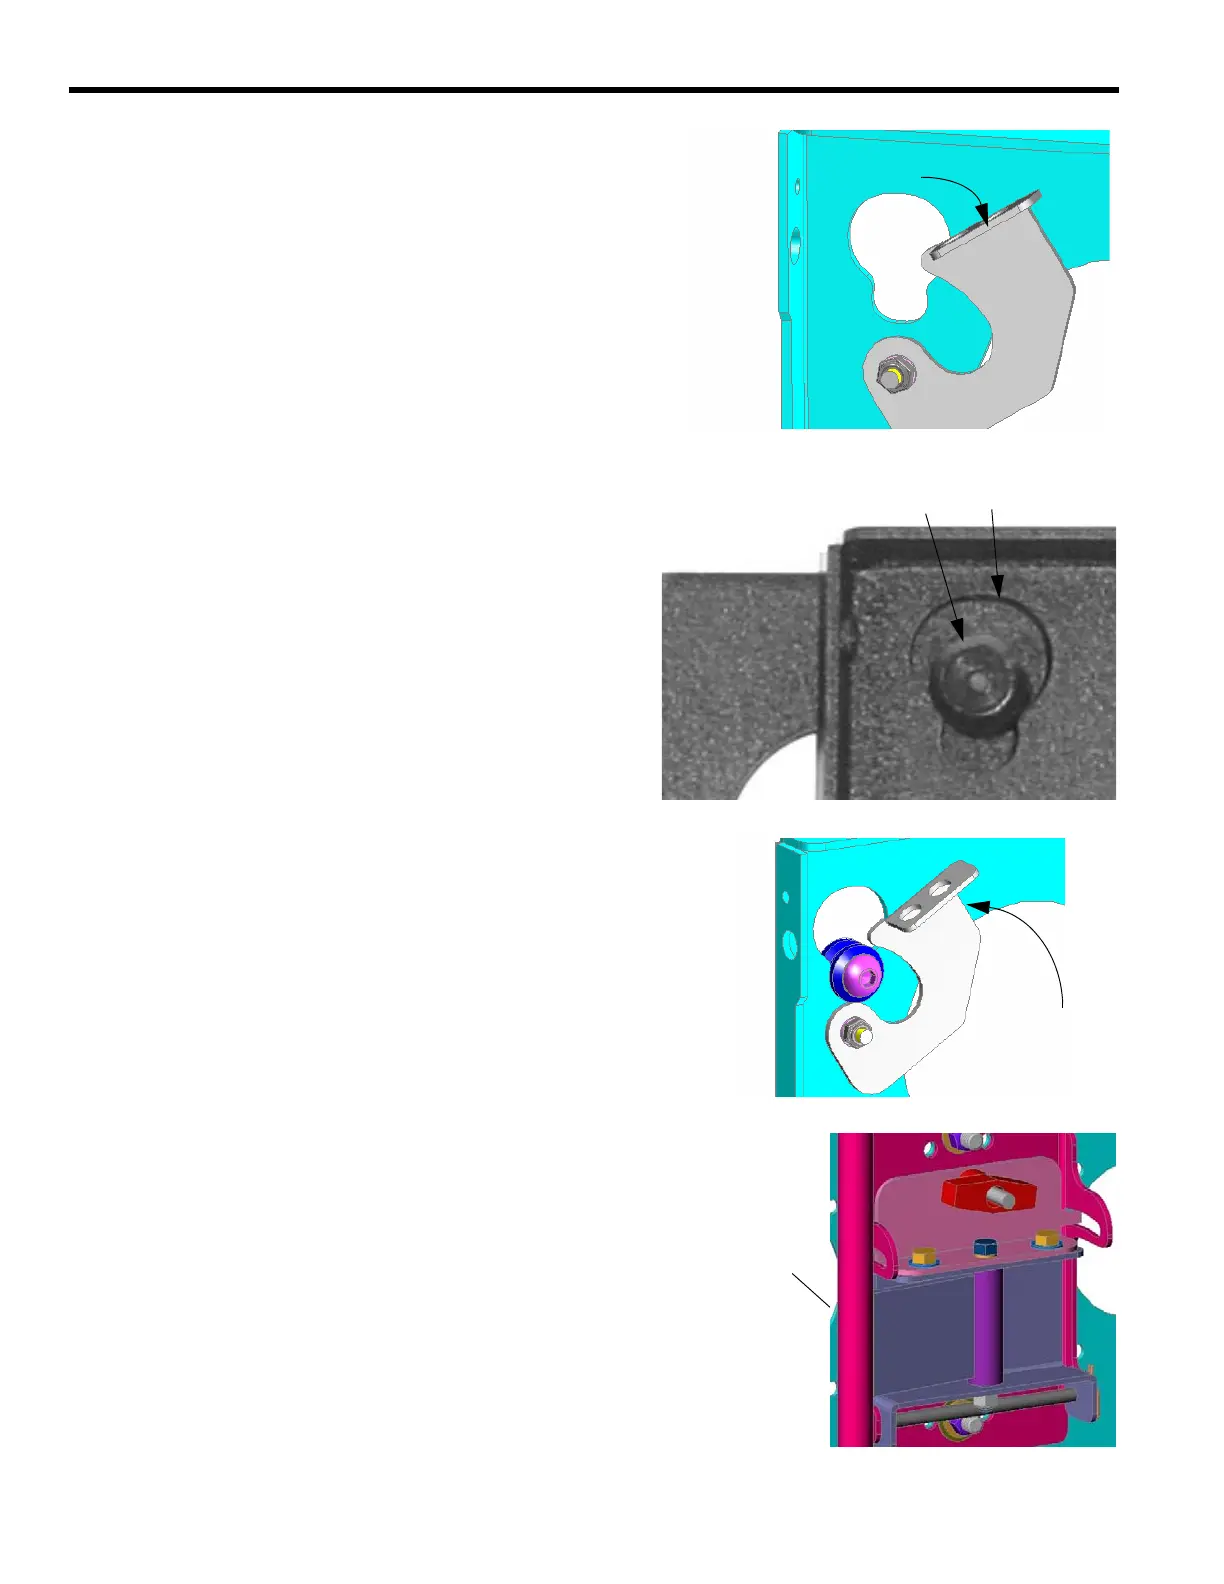
2. Before lifting your flat panel display, make sure the latch of the
PWS is lowered and will not interfere with mounting the dis-
play (see Figure 1).
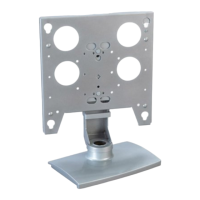
3. Using two people, align the Q-latch buttons with the Q-latch
openings and install the display. Make sure the buttons of the
Q-latch bracket fully engage all the Q-latch openings on the
PWS (see Figure 2).
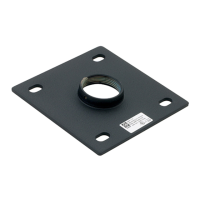
4. Secure the display to the PWS by completely engaging the
latch (see Figure 3).
5. Connect and secure power/audio/video cables, making sure to
leave sufficient slack to allow for movement of the swing arms.
ADJUSTMENTS
Rotational Adjustment
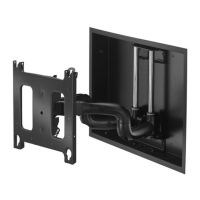
1. If necessary, loosen or tighten bottom rotational tilt tension
adjustment nut (see Figure 4).
2. Mount the display and check for desired rotational tilt tension.
3. Repeat Steps 1 and 2 until desired rotational tilt tension is
obtained.
Pitch Adjustment
1. Turn the T-knob handle until desired angle is achieved.
2. Make sure the carriage bolt is properly seated.
Horizontal Adjustment
1. Turn the display to desired horizontal position (max. 90
degrees).
2. Pull display from wall or push display back to wall.
REMOVE THE DISPLAY
1. Disconnect power/audio/video cables.
2. Disengage (lower) the latch.
3. Using two people, lift the display from the PWS.
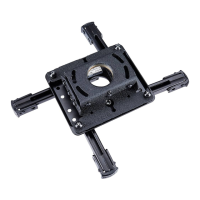
Make sure latching flag is lowered
FIGURE 1. LOWER LATCH
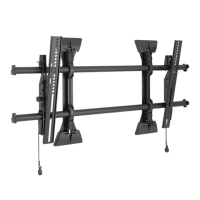
Q-latch Opening
Back of Display
PWS
Q-latch Button
FIGURE 2. ENGAGE Q-LATCH
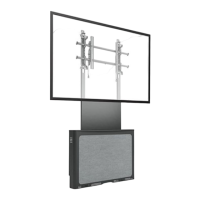
Back of Display
PWS
Raise latch
FIGURE 3. RAISE LATCH
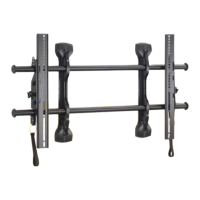
Adjust Rotation
FIGURE 7. ADJUST ROTATION