2-18 Installation
3916 Service Delivery Switch Hardware Installation and Start-up Manual
009-3226-001 Standard Revision E
Copyright
©
2013-2015 Ciena
®
Corporation July 2015
Procedure 2-4
Installing the Mounting Brackets for a 19-inch Frame
Installation
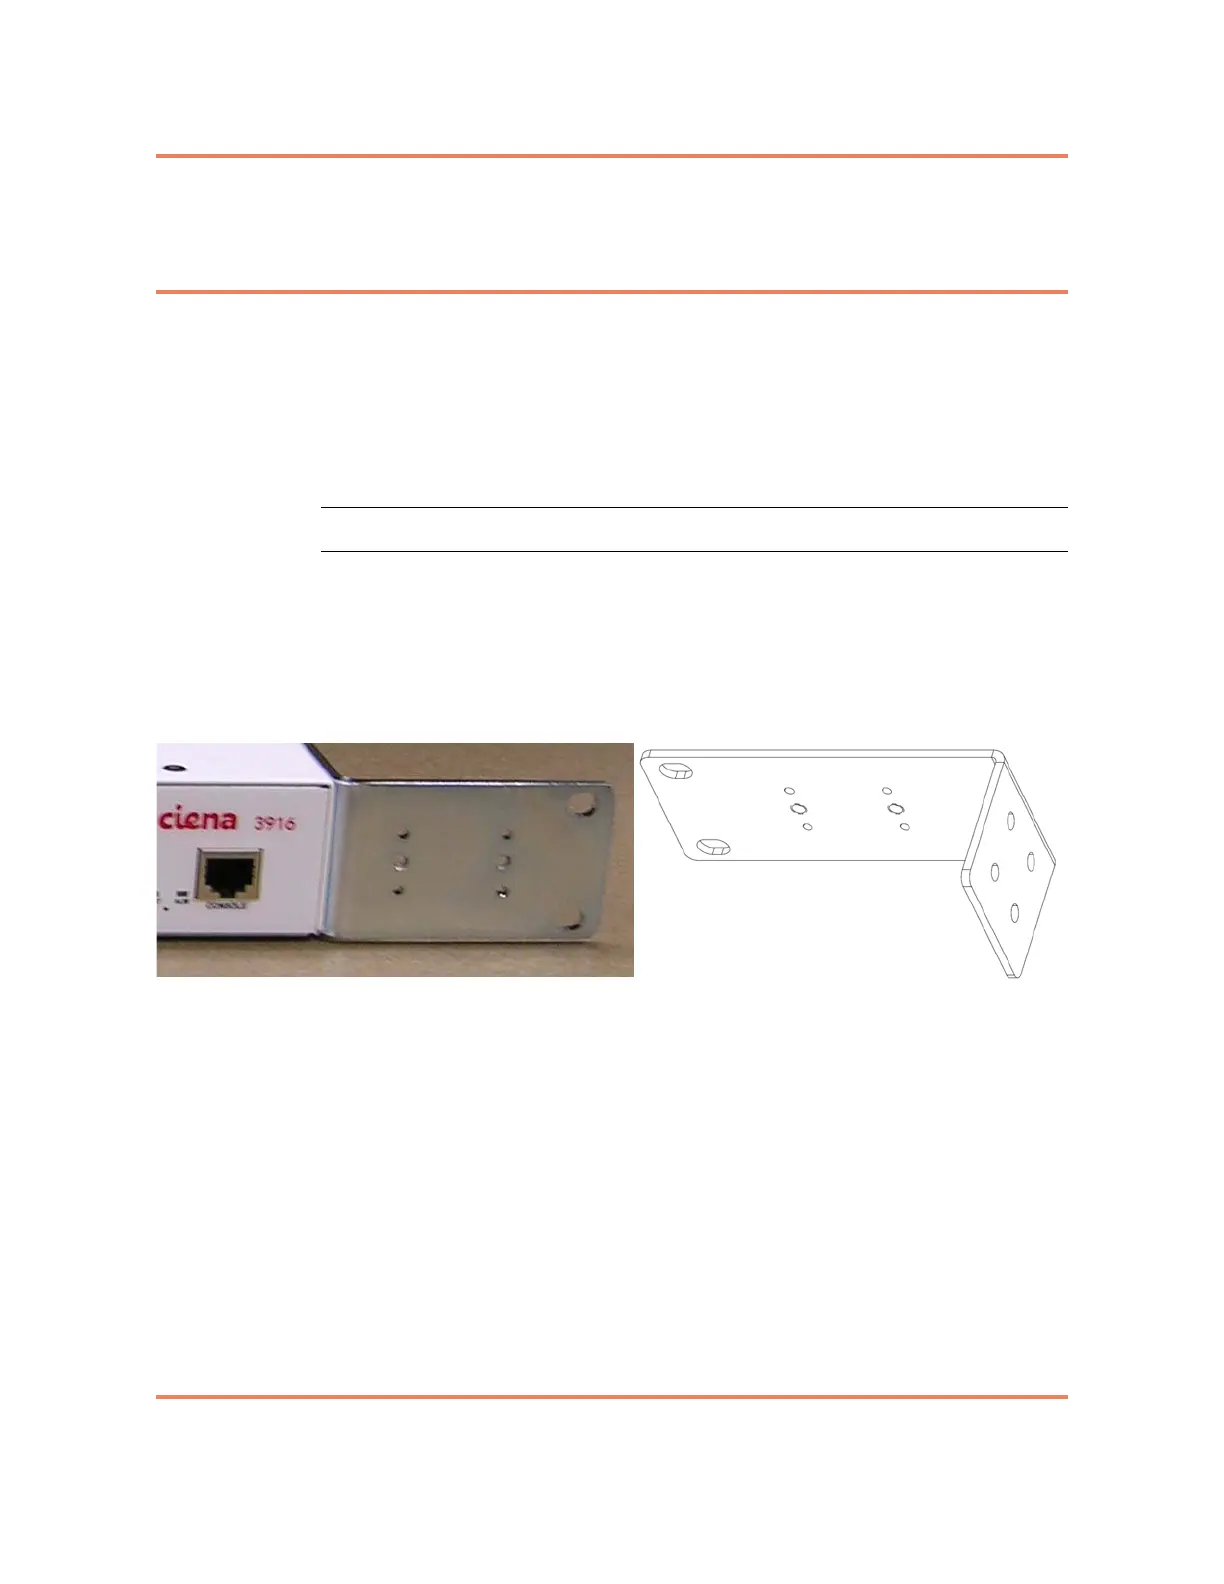
The 3916 standard and mini chassis both come with mounting brackets for
installation in a 19-inch frame. The bracket for the mini chassis is nearly
identical, but is slightly longer to account for the reduced chassis size.
Note: 23-inch mounting brackets are available as a separately orderable
part (refer to Installing Mounting Brackets for a 23-inch Frame Installation).
Step Action
1 Orient the bracket so that the face of the bracket is flush with the front of the
chassis.
2 Using a Phillips screwdriver, attach the bracket to the side of the chassis
using 2 of the provided screws.
Figure 2-3
Bracket, showing mounting holes (standard bracket left, mini bracket right)
3 Repeat step 1 and step 2 to install the second bracket on the opposite side.
You have installed the mounting brackets on the 3916. You are now
ready to proceed with Mounting the Chassis. Use one of the following
procedures:
– “Mounting the Chassis and Installing Supplemental Ground in a
Frame Installation” on page 2-22
– “Mounting the Chassis (Supplemental Ground not required) in a
Frame Installation” on page 2-24.
 Loading...

