17
Cisco 2500 Series Wireless Controller Getting Started Guide
Installing the Controller
To install the controller in a rack, follow these steps.
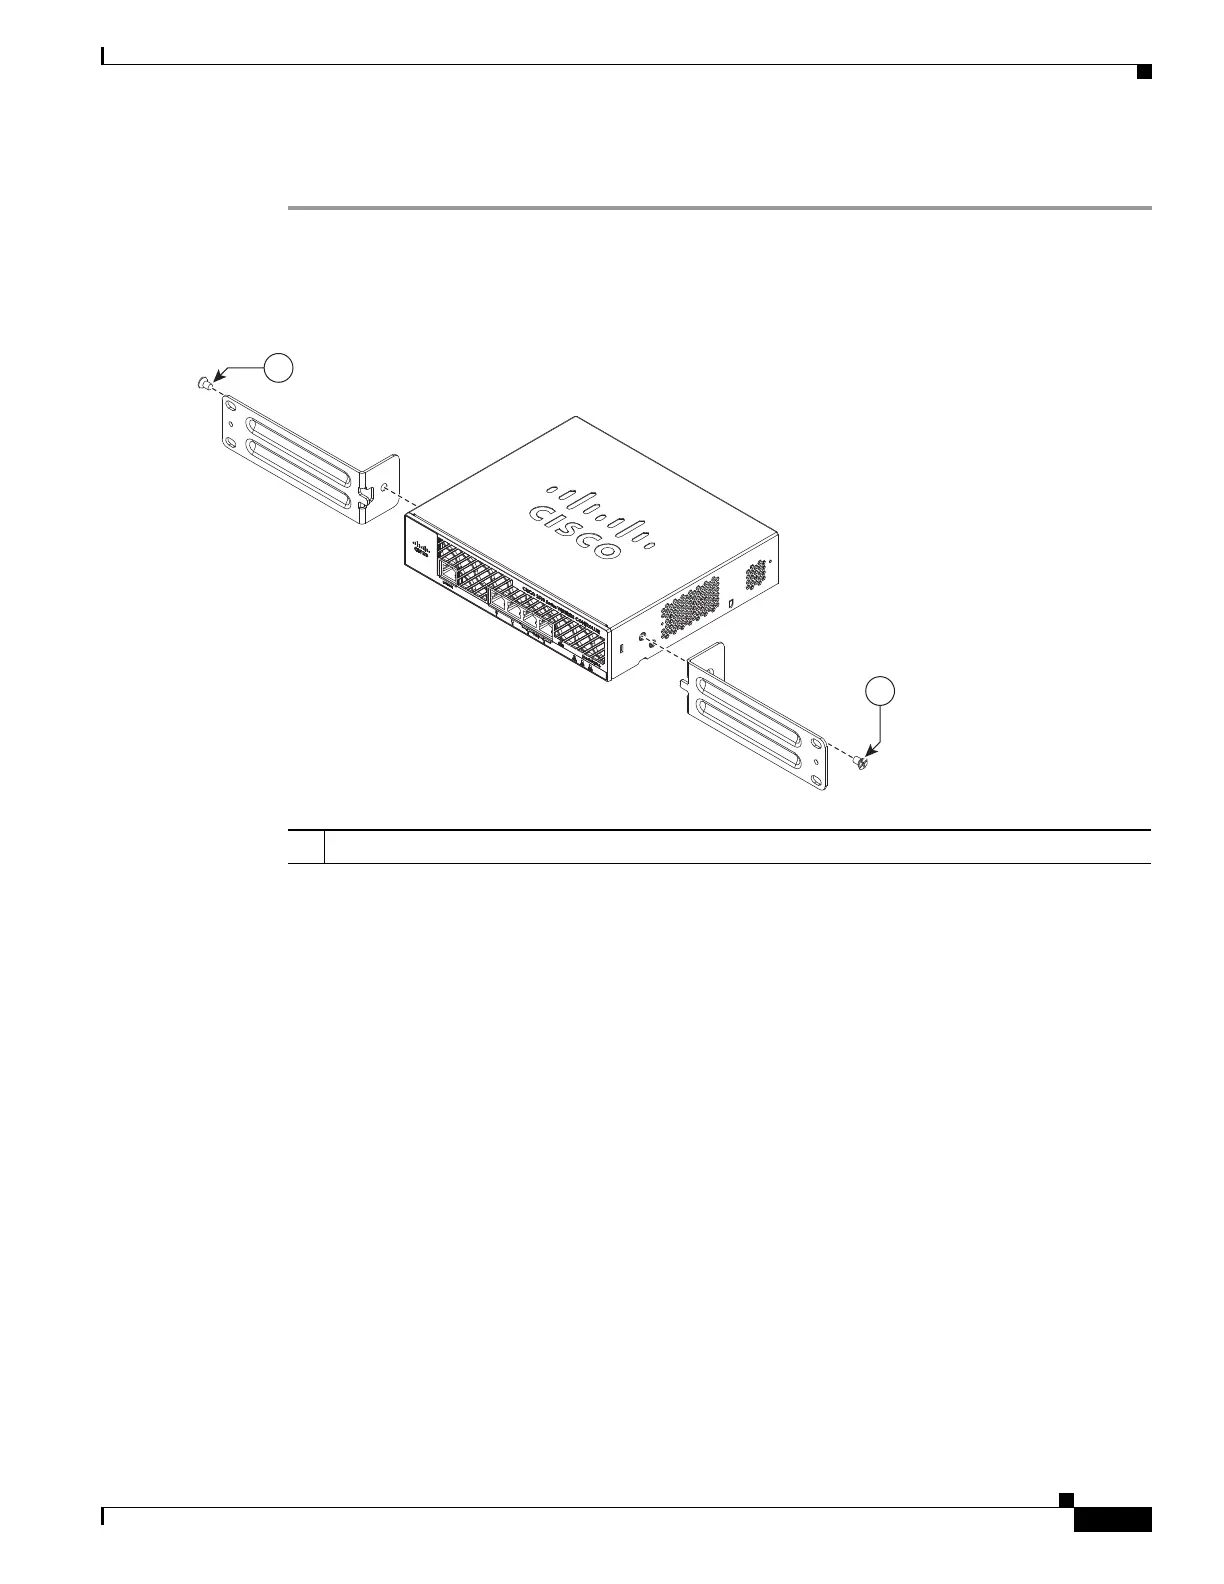
Step 1 Attach the 19-inch brackets to each side of the controller as shown in Figure 9 with #10-32 flat head
screws provided in the kit.
Figure 9 Attaching the 19-Inch Brackets to the Side of the Controller.
Step 2 After the brackets are attached to the sides of the controller, insert the controller into the 19-inch rack.
Use either the 10-32 pan-head screws or the 12-24 slotted head screws to secure the controller in the
rack, as shown in Figure 10.
1 #10-32 flat head screws (mounting screws for each side of the controller)

 Loading...