4-4
Cisco ASA 5585-X Adaptive Security Appliance Hardware Installation Guide
OL-22567-02
Chapter 4 Maintenance and Upgrade Procedures
Removing and Installing SSP Hard Disk Drives
Removing and Installing SSP Hard Disk Drives
The CX or FirePOWER SSP resides in slot 1 (the top slot) of the Cisco ASA 5585-X. The SSP includes
two hard disk drives in a RAID 1 configuration. If one of the hard disk drives fails, you can remove and
install a replacement.
Note Make sure that you replace the SSP hard disk drives with Cisco-approved hard disk drives.
Each hard disk drive is hot-swappable. The hard disk drive resides in a carrier, which you install into the
SSP’s hard disk drive bay. You can use the hard disk drive with an AC or DC power supply. Each hard
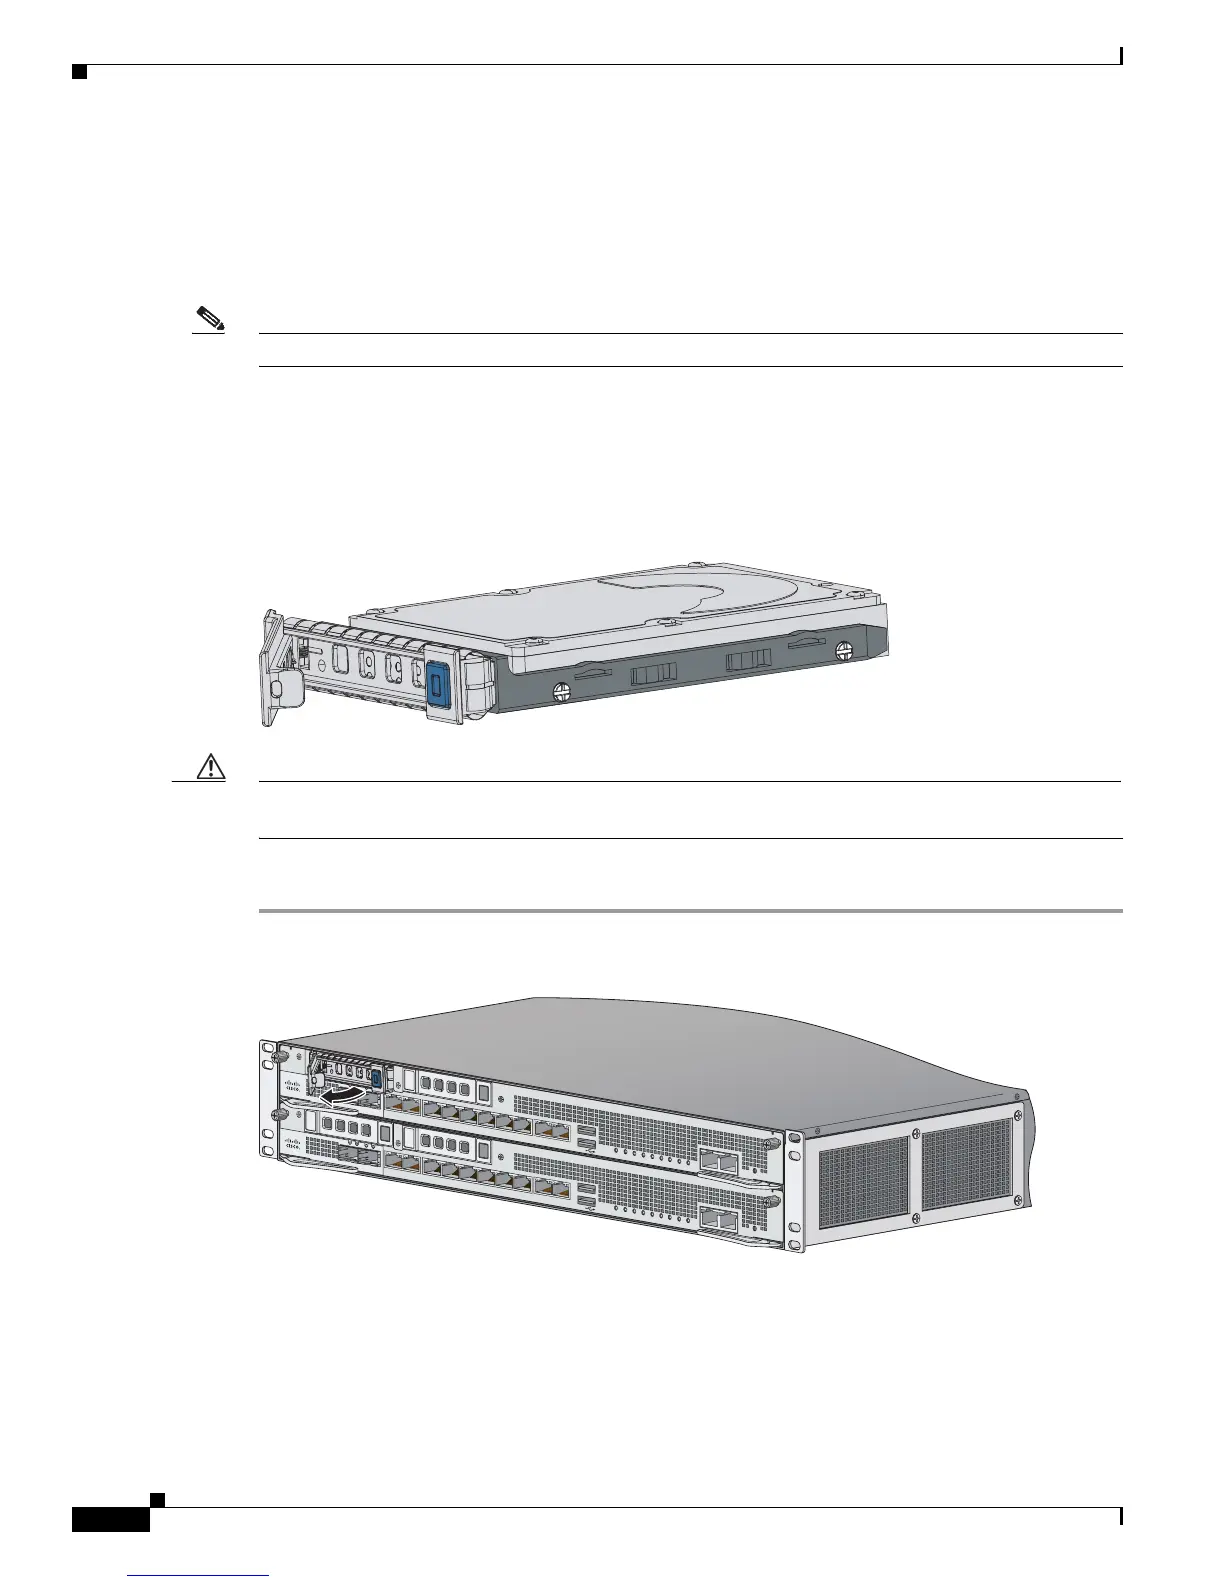
disk drive is shipped in a carrier, as shown in Figure 4-1.
Figure 4-1 SSP Hard Disk Drive in Carrier
Caution Make sure that you replace the failed hard disk drive as soon as possible; otherwise, if the remaining
hard disk drive fails, all data is lost.
To remove and install a hard disk drive in the SSP, follow these steps:
Step 1 From the front panel of the SSP, remove the hard disk drive by pressing the button on the right side of
the bay until the locking lever is released. Pull out the hard disk drive.
Step 2 On the front panel of the SSP, line up the hard disk drive carrier with the hard disk drive bay and push it
in until it is seated. Push the locking lever into place.
PWR
BOOT
ALARM
ACT
VPN
PS1
HDD1
PS0
HDD0
USB
RESET
0
SFP1
SFP0
1
01234567
MGMT
0
1
AUX CON SOLE
332632
PWR
BOOT
ALARM
ACT
VPN
PS1
HDD1
PS0
HDD0
USB
RESET
0
SFP1
SFP0
101234567
MGMT
0
1
AUX CONSOLE

 Loading...


