EasyManuals Logo

Cisco ATA 191 Get Started

Cisco ATA 191
8 pages
To Next Page IconTo Next Page
To Previous Page IconTo Previous Page
Page #5 background imageLoading...
Page #5 background image
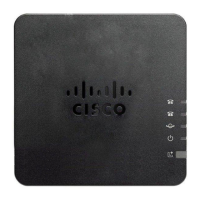
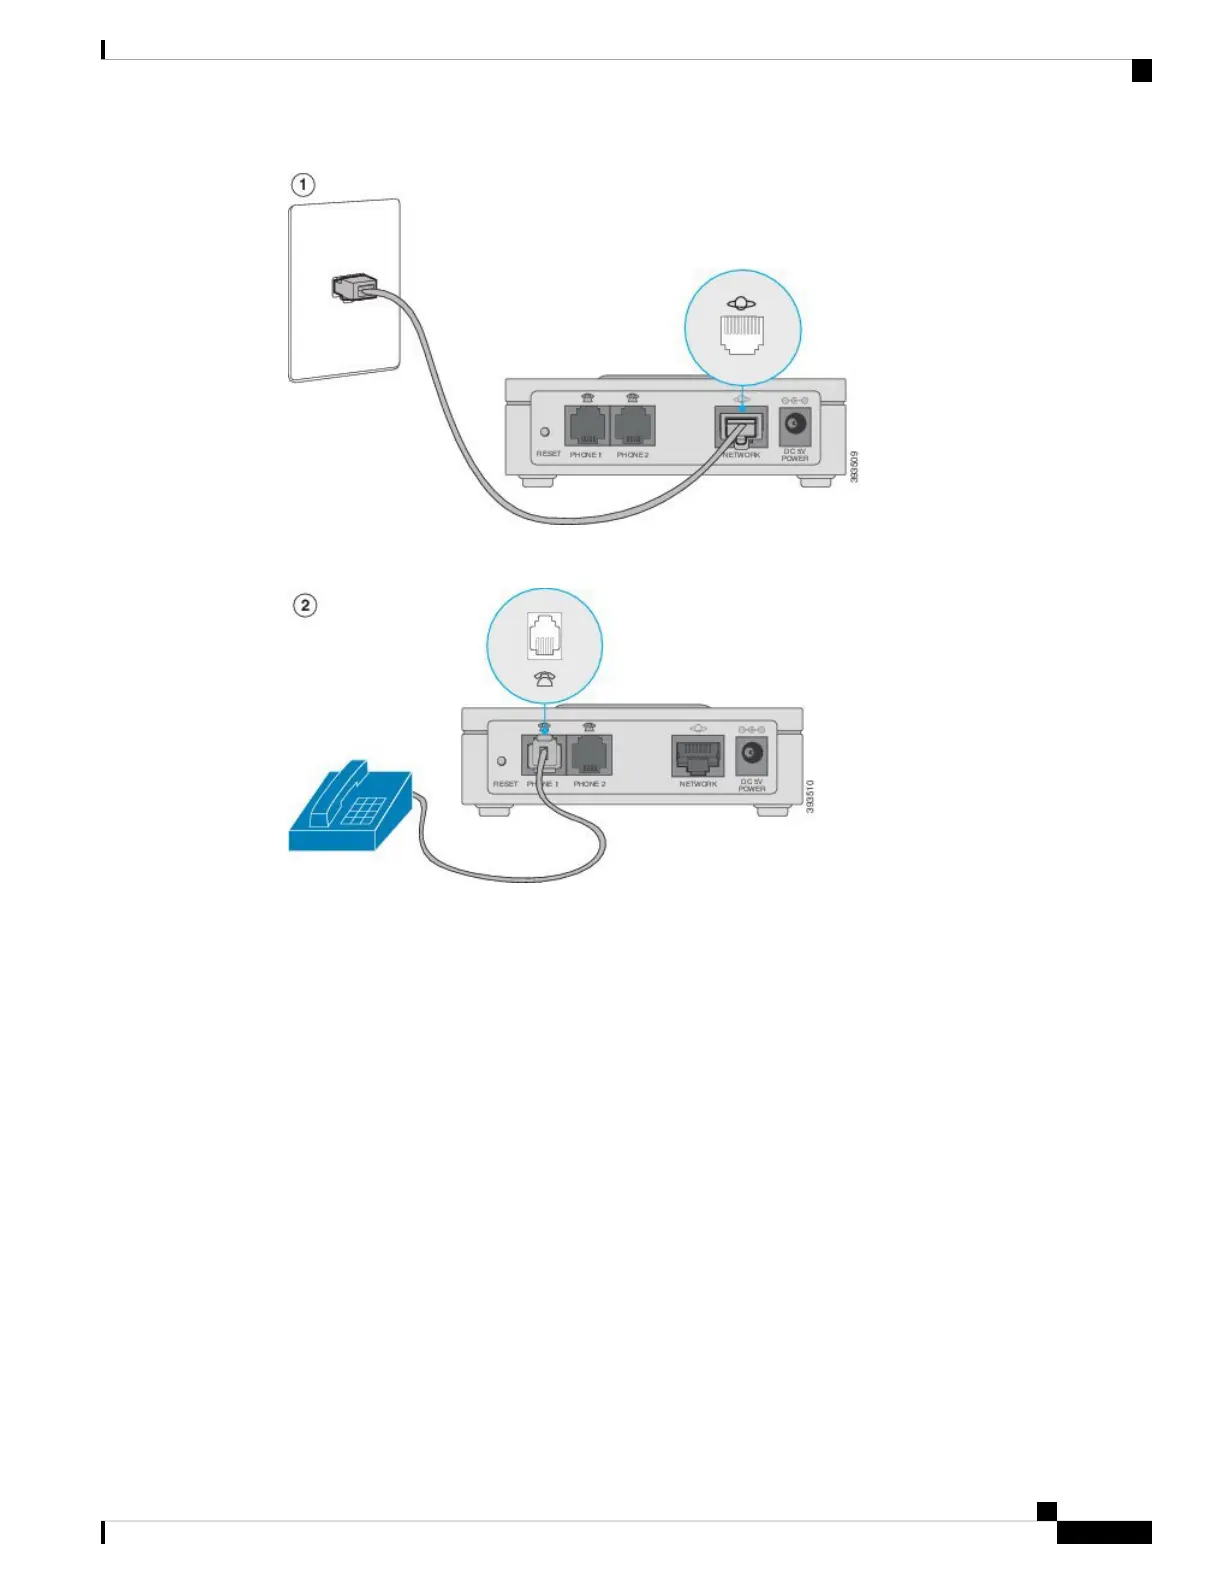
Step 2 Connect the phone cable to the PHONE 1 port on the ATA and to your analog device (phone or fax machine).
If connecting a fax machine, connect it directly to the ATA. Do not connect an extension to a fax machine,
and do not use a splitter.
Step 3 (Optional) If you have a second analog device, connect the phone cable to the PHONE 2 port on the ATA
and to your second analog device.
Step 4 Connect the ATA power cable to the DC 5V POWER port on the ATA, and plug the power cable into your
power source.
Get Started with Your New ATA
5
Get Started with Your New ATA
Install Your New ATA

Other manuals for Cisco ATA 191

Questions and Answers:

Question and Answer IconNeed help?

Do you have a question about the Cisco ATA 191 and is the answer not in the manual?

Cisco ATA 191 Specifications

General IconGeneral
Fax SupportT.38 Fax Relay
Relative Humidity10% to 90% (non-condensing)
Ports2 FXS ports
Voice ProtocolSIP
ProtocolsSIP, RTP, RTCP
Power5V DC
Network Interfaces10/100BASE-T Ethernet port
Operating Temperature32°F to 104°F (0°C to 40°C)
Audio CodecsG.711 (a-law and μ-law), G.729a, G.722, G.726
Voice CodecsG.711 (a-law and μ-law), G.729a, G.722, G.726
Storage Temperature14 to 140°F (-10 to 60°C)

Related product manuals