Step 4
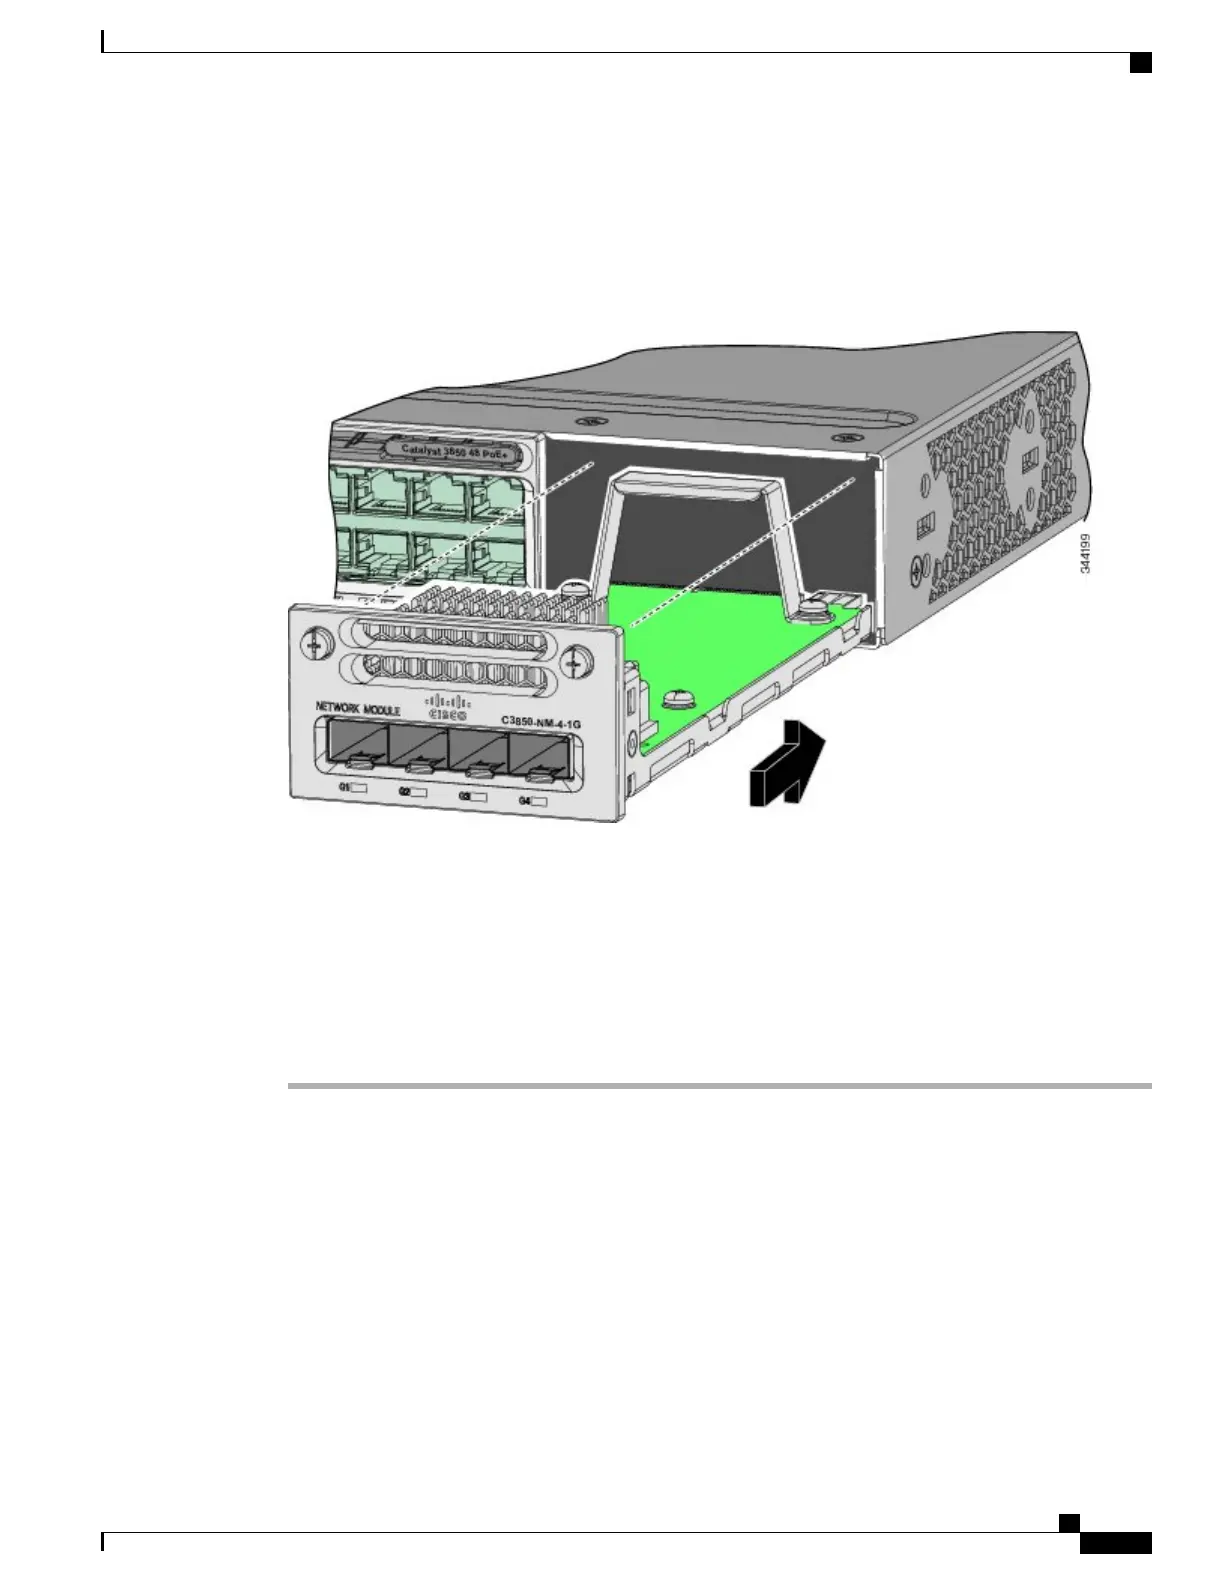
Position the module face up to install it in the module slot. Slide the module into the slot until the back of the
module faceplate is flush with the switch faceplate. Fasten the captive screws to secure the network module
in place.
Figure 8: Installing the Network Module in the Switch
Unlike other network modules, the C3850-NM-8-10G cannot be fully inserted and secured until the
jackscrew is properly tightened.
Note
1
Push the module into the uplink slot until the jackscrew connects with the rightmost tab.
2
You will feel some light resistance, because a spring-loaded tab inside the slot will push back
against the C3850-NM-8-10G module
3
Continue to tighten the jackscrew while gently pushing the front panel of the network module
into the slot.
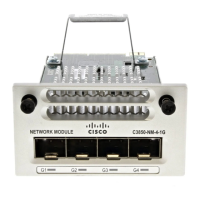
Network Module Port Configurations
C3850-NM-4-1G Module
All ports in the C3850-NM-4-1G module are natively GigabitEthernet and are configured GigabitEthernet1/1/1
though GigabitEthernet1/1/4. There are only four interfaces that are valid, and the other four should not be
used even though they still show up in the CLI.
Catalyst 3850 Switch Hardware Installation Guide
OL-26779-05 9
Installing a Network Module
Network Module Port Configurations
 Loading...