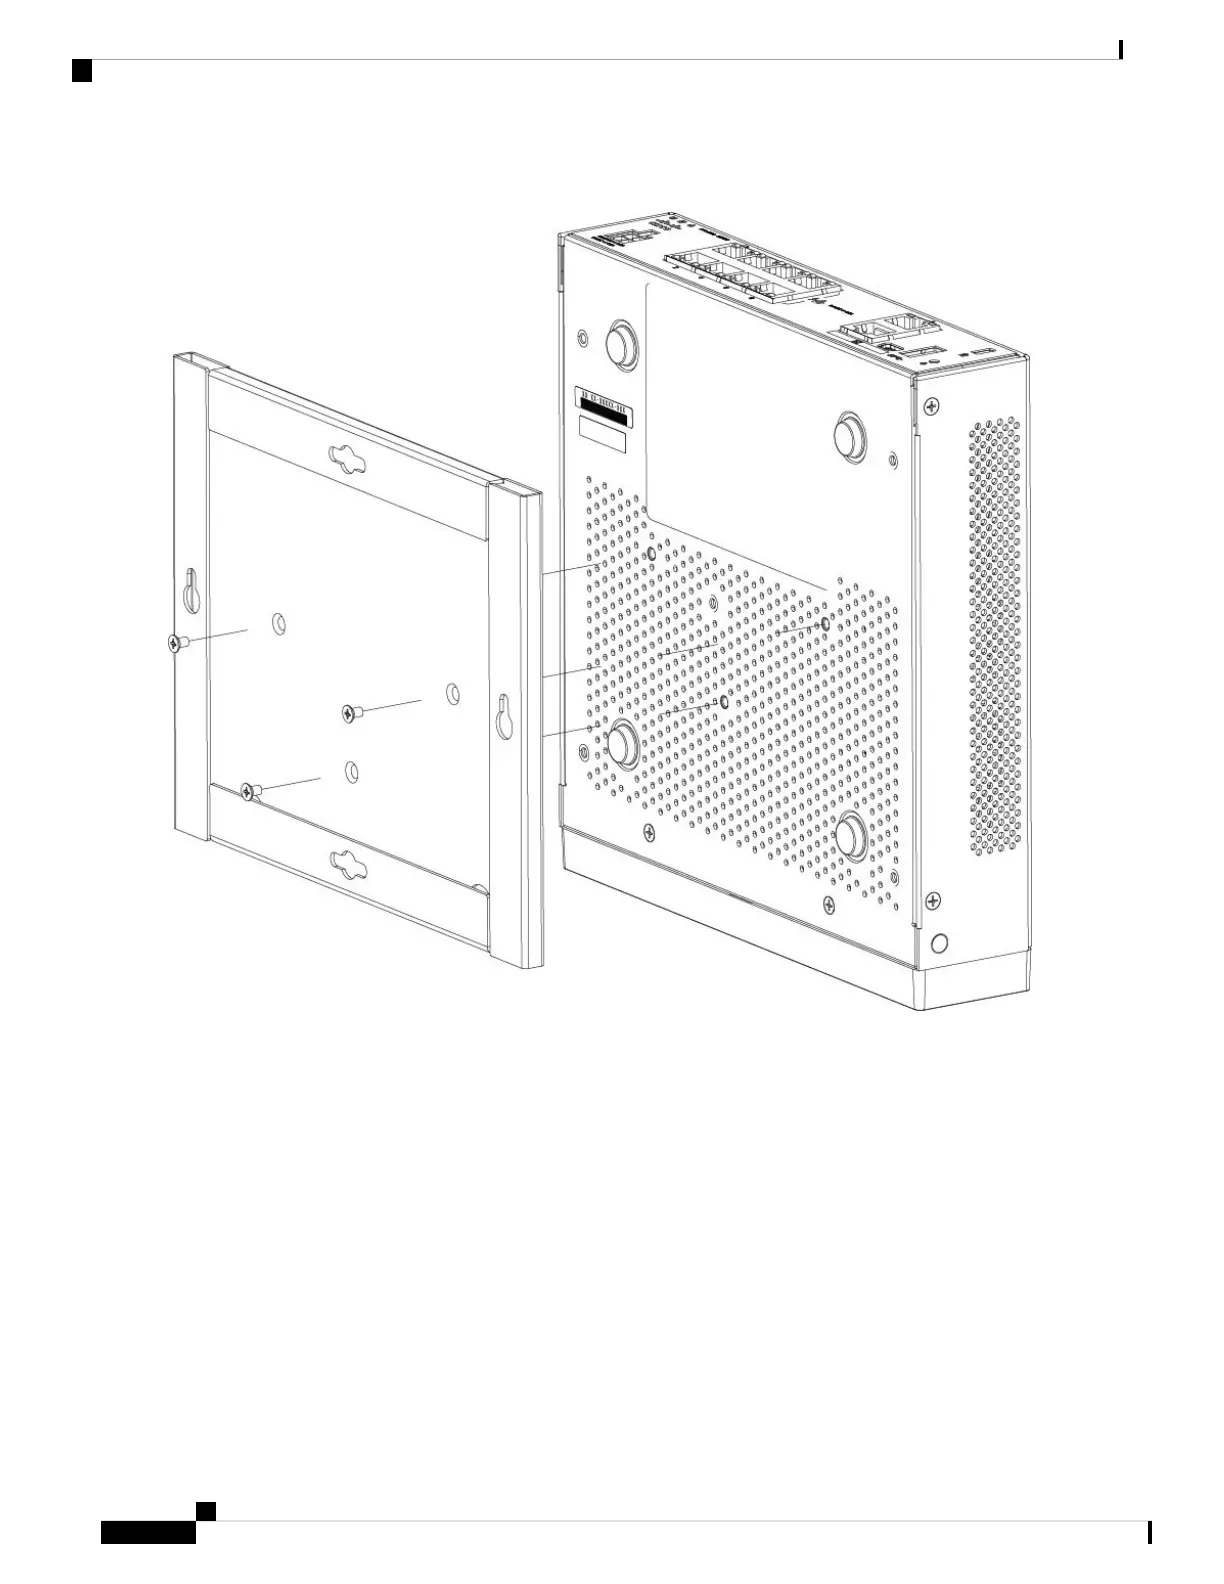
Figure 27: Attach the Wall-Mount Bracket to the Chassis
Step 4 Use the two #6 x 1¼-inch screws to drill into a stud, or use the anchors (#8 wall screw) from the dry-wall kit to hang it
into dry wall.
If you are mounting the chassis onto something other than drywall, such as wood or sheet metal, anchors may not be
required.
Step 5 Drill a hole into the wall at each mark that you made in Step 2.
These holes should be slightly smaller in diameter than anchors if you are using them. The recommended drill hole size
is 3/16 inches.
Step 6 Insert the anchors into the holes if needed, and be sure they are properly seated.
Step 7 Fasten each screw into its anchor until it protrudes about ¼ inch.
Step 8 Pick up the chassis, align the screws in the anchors with the holes in the bottom of the wall-mount bracket, move the
chassis toward the wall until the screw heads are in the wall-mount bracket, and then slide it down until it rests on the
screws.
Cisco Firepower 1010 Series Hardware Installation Guide
34
Mount the Chassis
Wall-Mount the Chassis

 Loading...