EasyManuals Logo

Cisco MX300 G2 Installing

Cisco MX300 G2
7 pages
To Next Page IconTo Next Page
To Previous Page IconTo Previous Page
Page #5 background imageLoading...
Page #5 background image
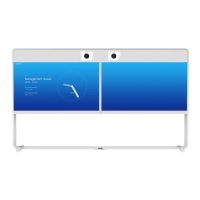
Installing Cisco TelePresence MX300 G2 - Floor Stand
78-100143-01 | OCTOBER 2013 | © 2013 Cisco Systems, Inc. All rights reserved.
3
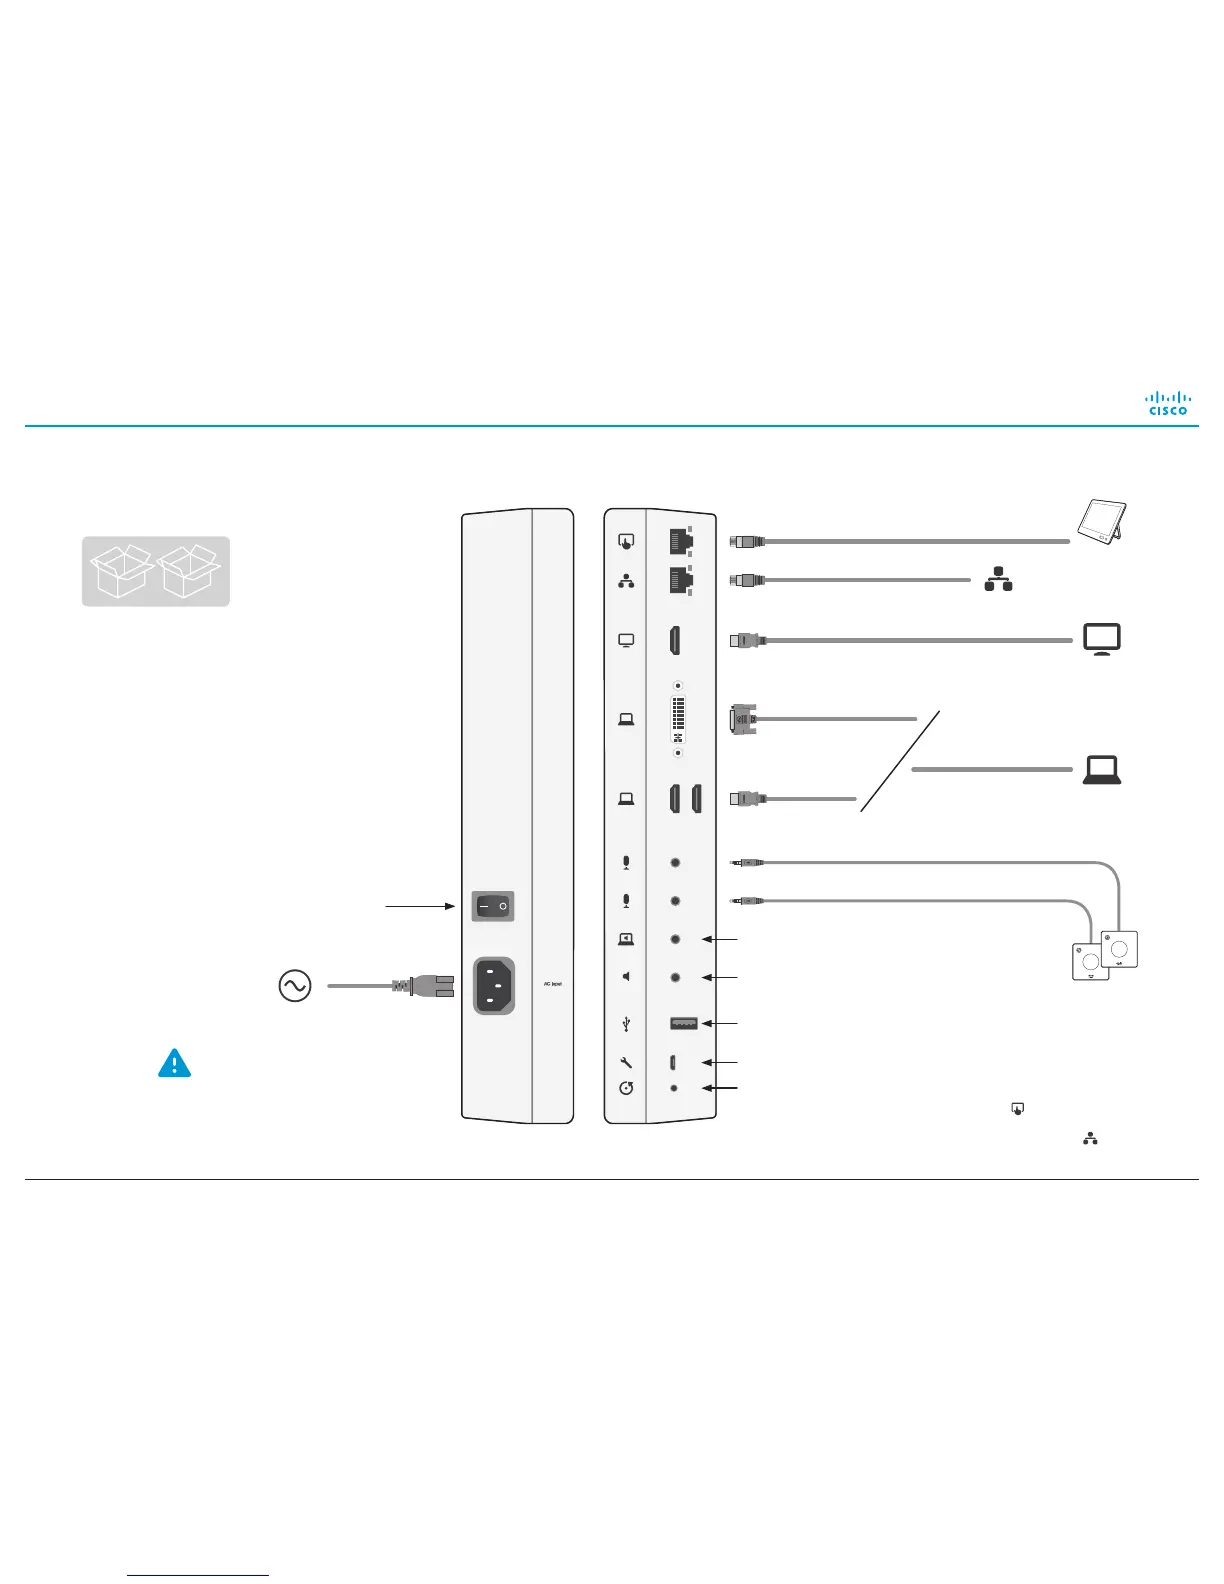
Connecting the cables
For maintenance only
Reset to factory settings
Audio line output
Always use the provided
power cable.
The wall socket outlet must
be easily accessible after
installation.
Power switch
Audio line input
LAN
**
Video input
(e.g. PC
*
)
Video output
(e.g. 2
nd
display
*
)
Power
(100-240 VAC,
50/60 Hz)
Microphones
Touch
controller
**
USB, for future use
HDMI
DVI-I
*
Optional
**
Use the cable that is labeled
with for the Touch controller;
use the cable that is labeled
with for the LAN
C
D

Other manuals for Cisco MX300 G2

Questions and Answers:

Question and Answer IconNeed help?

Do you have a question about the Cisco MX300 G2 and is the answer not in the manual?

Cisco MX300 G2 Specifications

General IconGeneral
MicrophoneIntegrated microphone array
ConnectivityEthernet, HDMI, USB
Frame Rate60 fps
ProtocolsSIP, H.323
Video Conferencing SupportYes
Operating SystemCisco Collaboration Endpoint Software
CameraPrecisionHD Camera 1080p
Display27-inch LCD
ControlTouchscreen controller
Product TypeVideo conferencing system
Video StandardsH.264, H.265
Power100-240 VAC, 50/60 Hz, 12.5 A

Related product manuals