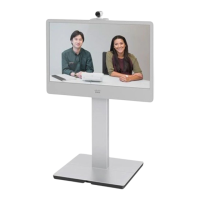
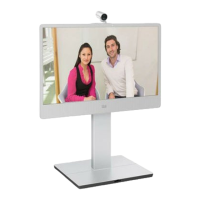
Installing Cisco TelePresence MX300 G2 - Floor Stand
78-100143-01 | OCTOBER 2013 | © 2013 Cisco Systems, Inc. All rights reserved.
5
Starting up the system
• Connect to power and LAN/Ethernet.
• Switch on the system. The power switch is next
to the power connector at the rear side of the
system.
Wait while the unit starts up. Normally this takes a few minutes.
It may include automatic software upgrade and restart of the
Touch controller.
• If prompted, follow the instructions on the Touch controller to
set the language etc.
• If your system is not set up to be automatically provisioned,
you must configure the system before you can make your first
call. This is described in the Getting Started Guide, which is
available on the Cisco web site.
Never move the camera manually when power is switched on;
always use the camera control function on the Touch controller
to change the camera position.
4
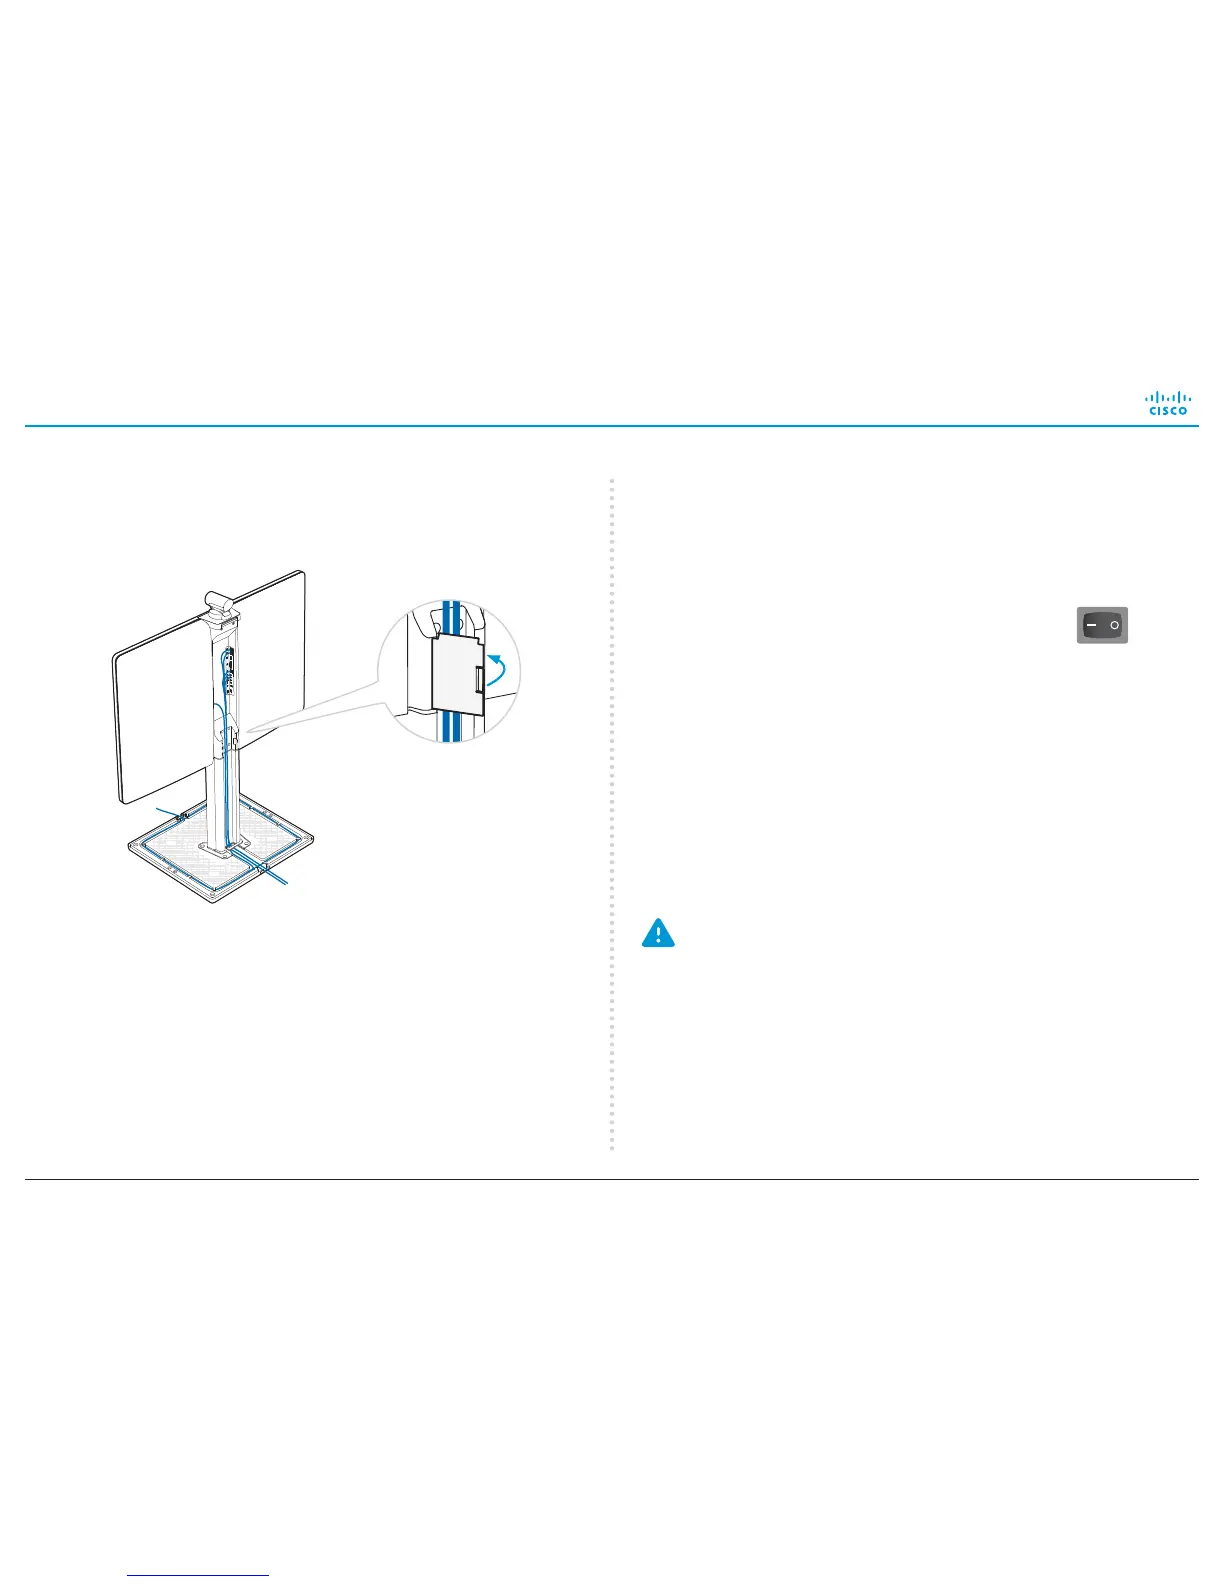
Leading out the cables
Snap on the cable
channel lid for strain relief.
Lead the cables in the cable slots. Lead them
out at the front or back as appropriate.
Lead the cables around the cable slot several
times if the cables are longer than you need.
 Loading...