78-20007-03 MX200 Table Stand Installation Sheet | 2012 JANUARY | © 2011-2012 Cisco Systems, Inc. All rights reserved.
Installing Cisco TelePresence MX200 - Table Stand
1b
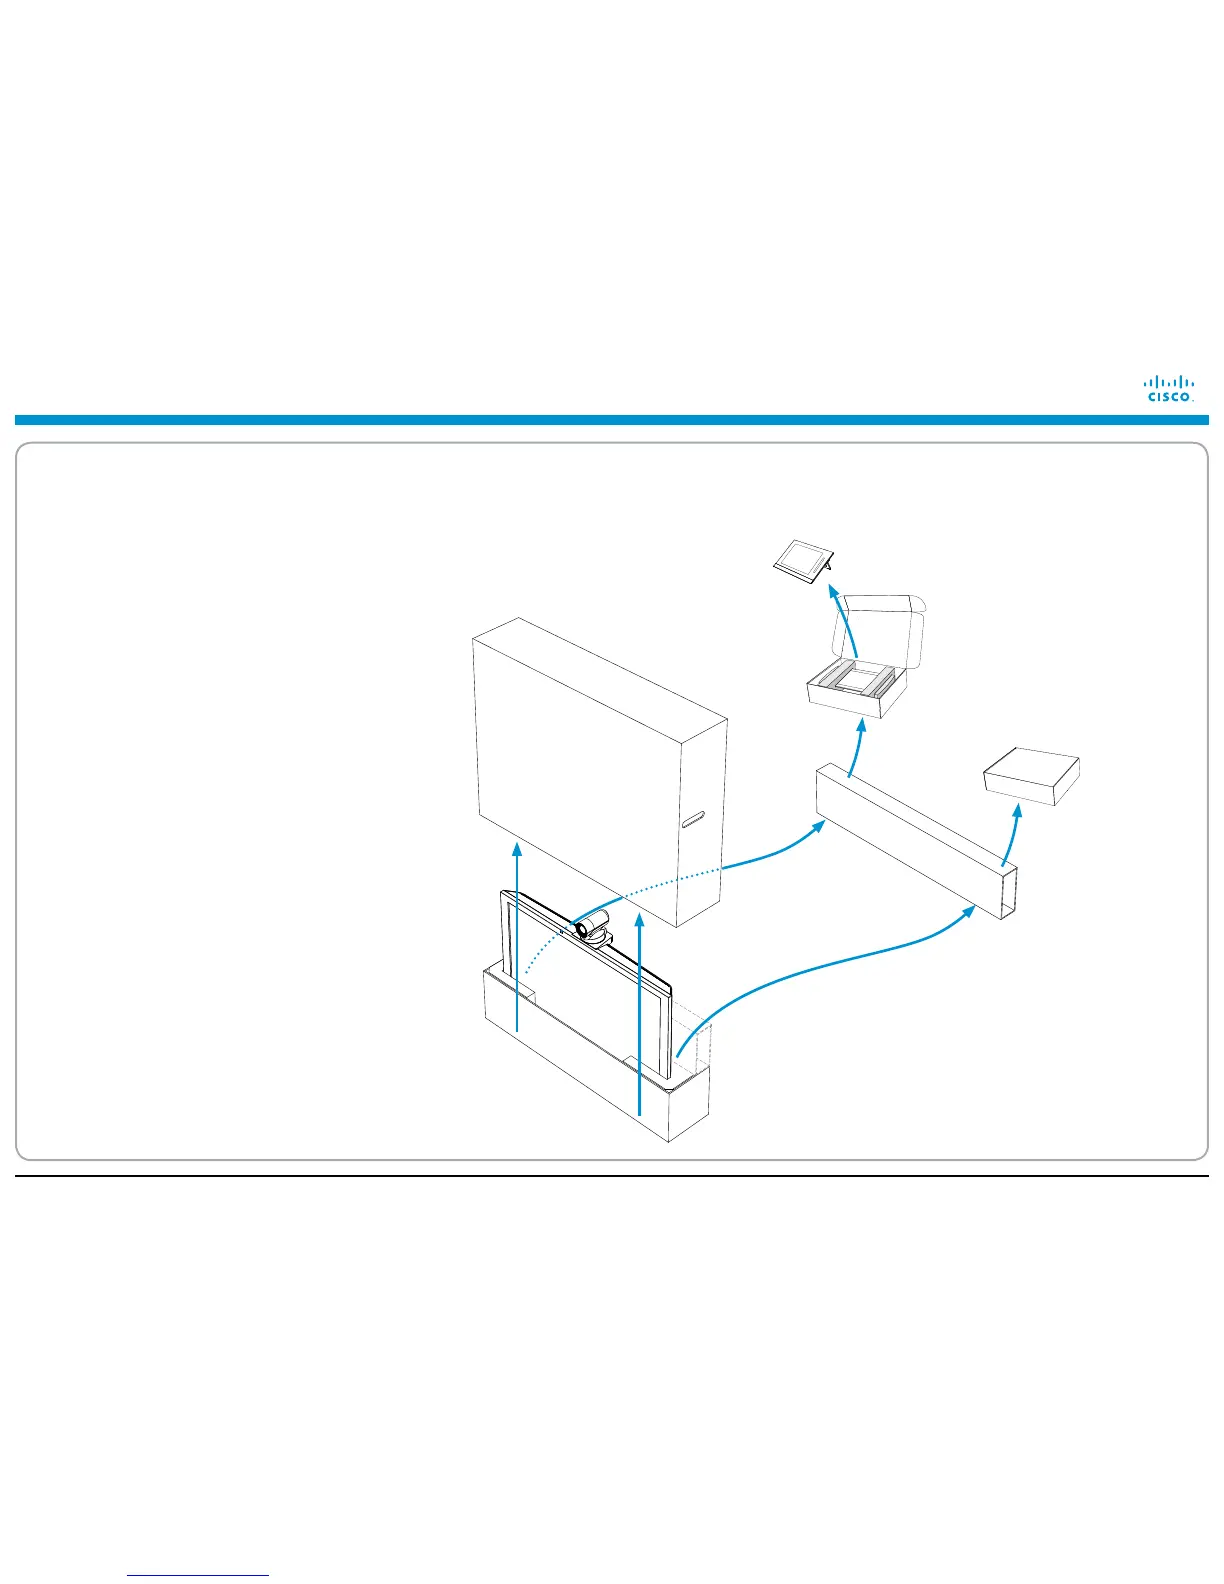
Unpacking the MX200 video system
The MX200 box
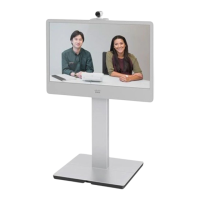
The MX200 box contains the LCD video unit, the Touch
controller and accessories.
i Cut the straps and lift off the outer covering.
ii Remove the upper foam protection.
Note: Leave the LCD video unit in the bottom tray
for now.
iii Lift out the rectangular box from behind the LCD
video unit.
This box contains two smaller boxes: One with the
Touch controller and one accessories box with the
microphone, cables, screws and tool.
iv Unpack the Touch controller, and open the
accessories box.
Bottom tray
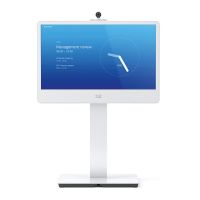
LCD video
unit
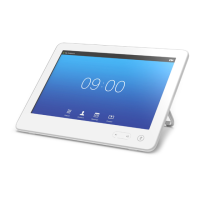
Touch controller
with cable
Accessories box:
• Microphone
• Power cable
• Presentation cable (VGA to
DVI-I; stereo audio)
• Ethernet cable
• Four screws for fastening
the LCD video unit to the
table stand
• Hexagonal screwdriver
• Two pairs of gloves
Outer
covering
 Loading...