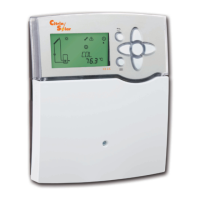
The unit must only be located in dry interior rooms.
The controller must additionally be supplied from a double
pole switch with contact gap of at least 3 mm.
Please pay attention to separate routing of sensor cables
and mains cables.
In order to mount the device to the wall, carry out the
following steps:
Î Unscrew the cross-head screw from the cover and re-
move it along with the cover from the housing
Î Mark the upper fastening point on the wall. Drill and
fasten the enclosed wall plug and screw leaving the head
protruding
Î Hang the housing from the upper fastening point and
mark the lower fastening points (centres 150 mm)
Î Insert lower wall plugs
Î Fasten the housing to the wall with the lower fastening
screws and tighten
Î Carry out the electrical wiring in accordance with the
terminal allocation, see chap. 2.2
Î Put the cover on the housing
Î Attach with the fastening screw
2 Installation
2.1 Mounting
2.2 Electrical connection
Note:
The pump speed must be set to 100 % when au-
xiliary relays or valves are connected.
WARNING! Electric shock!
Upon opening the housing, live parts
are exposed.
Î Always disconnect the control-
ler from power supply before
opening the housing!
ATTENTION! ESD damage!
Electrostatic discharge can lead to da-
mage to electronic components!
Î Take care to discharge proper-
ly before touching the inside
of the device! To do so, touch
a grounded surface such as a
radiator or tap!
upper fastening
point
lower fastening point
cover
screw
Note
Strong electromagnetic fields can impair the
function of the controller.
Î Make sure the controller as well as the
system are not exposed to strong electro-
magnetic fields.
 Loading...