6
English
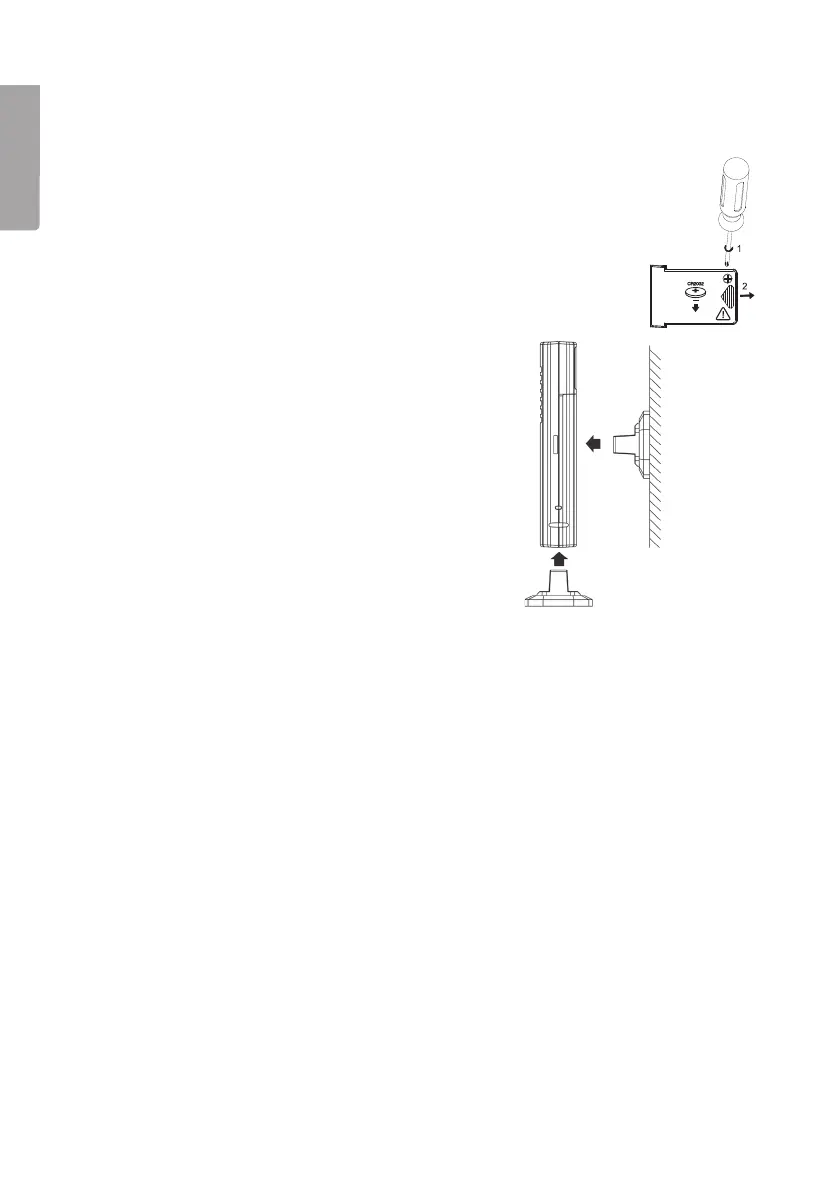
Freestanding
Mounted
on a wall
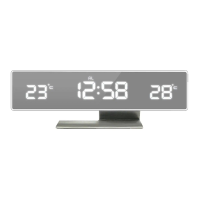
8. Thetime will be set automatically if themain unit is able to receive theradio time
signal. If asignal cannot be received then thetime must be set manually (refer to
theManual time setting section).
Time signal reception
As soon as it is plugged into thepower supply, thealarm clock begins to receive radio
signals for setting theclock. The radio signal icon (5) will flash.
• When theicon flashes, thealarm clock is searching for or processing asignal.
• When theicon shines steadily, thesignal reception has been successful.
• When theicon disappears, thereception has failed.
Automatic time signal search
The alarm clock searches for asignal every day at 1 am, 2 am and 3 am. If thealarm
clock fails to receive asignal at 3 am, it tries again at 4 am. If thealarm clock fails to
receive asignal at 4 am, it tries again at 5 am. If thealarm clock fails to receive asignal
at 5 am, it tries again at 1 am thenext day.
11. Stand thesensor up or mount it on
awall next to awindow.
12. Hang theoutdoor sensor’s cable out
of awindow, between thewindow
frame and window and close
thewindow gently. Make sure that
thecable is not damaged during
closing.
13. Theoutdoor sensor will transmit to
themain unit, which will then display
theoutdoor temperature.
14. Thetemperature readings will
become more stable and accurate
after about 30 minutes.
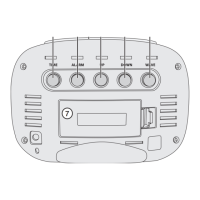
9. Remove thebattery cover on theback of themain unit and insert
theincluded 1×CR2032 battery. Make sure that thepositive
terminal of thebattery is facing upwards. Thebattery is just
aback-up. If there is apower cut, theback-up battery will save
thetime and alarm settings until thepower comes back on.
Note: Themain unit’s alarm will not sound if there is apower cut,
theback-up battery only saves thesettings.
10. Refit thebattery cover.