5
English
14
15
16
17
18
19
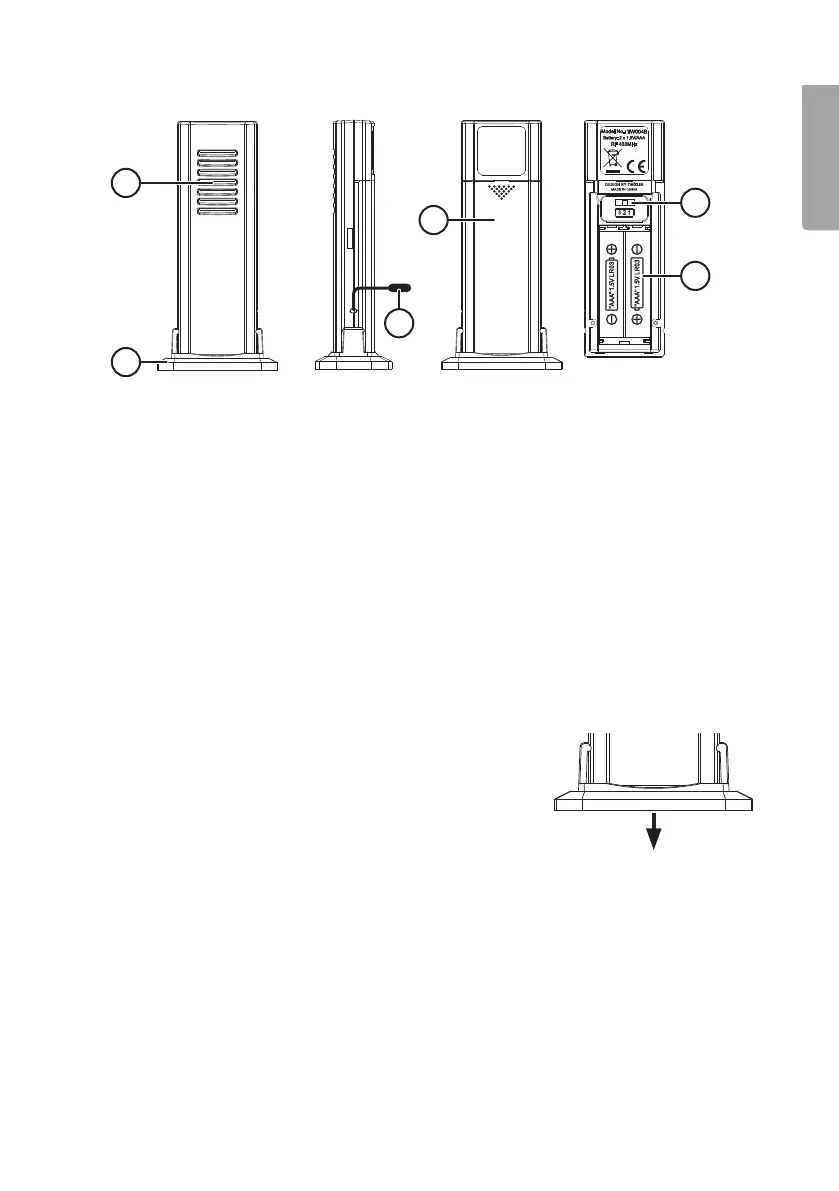
Sensor unit
14. LED indicator
15. Wall bracket/stand
16. Outdoor temperature sensor
17. Battery cover
18. Channel selector
19. Battery holder
Getting started
Note: Connect themain unit to amains electricity outlet (step 1 below) before inserting
thebackup battery (step 9). If you insert themain unit’s battery first and then connect
it to themains, it will go into energy-saving mode and will not conduct anautomatic
signal search from theoutdoor aerial. In this case press [ ▲ ] to conduct amanual search.
1. Plug themains adaptor into awall socket and then into theport on themain unit (13).
2. Position themain unit and thesensor next to each other.
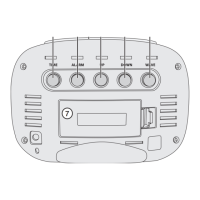
3. Remove thewall bracket/stand from theoutdoor
sensor if applicable.
4. Open thebattery cover on theback of theoutdoor
sensor by sliding it in thedirection of thearrow.
5. Set thechannel selector (18) to channel 1 and insert 2×AAA/LR03 batteries.
Refer to themarkings in thebattery compartment to ensure correct polarity.
6. Thereadings from theoutdoor sensor will appear on themain unit’s display after
afew seconds.
7. Once themain unit has received asignal from theoutdoor sensor, it will
automatically begin searching for atime signal. All buttons and controls will be
inoperative whilst theunit is busy searching for thetime signal. Themain unit will
be unreceptive to any outdoor sensor signals whilst in search mode.