15 EN
Assembly
1. Plug the telescopic rod (2) into the recess on the top of the motor unit (4).
2. Place the hanger (1) onto the telescopic rod (2). When you do this, make sure that
the slight bend in the hanger (1) points forwards.
3. Attach the nylon balloon:
– Pull it over the hanger (1). When you do this, make sure that the side with the hole
line points forwards.
– Pull the small elastic cord at the top over the collar section (9) on the hanger (1).
– Pull the large elastic cord at the bottom over the mounting fl ange (7).
The device is disassembled in the reverse order.
Use
CAUTION!
■ Only place the device on a stable, fl at, moisture-resistant and heat-resistant surface.
■ Caution! Hot surface! The motor unit / telescopic rod will become hot during use. You
should therefore not touch it during or shortly after use.
■ It is essential that you follow the care labels for the textiles to be dried!
■ Never cover up the ventilation slots and do not insert any objects into them.
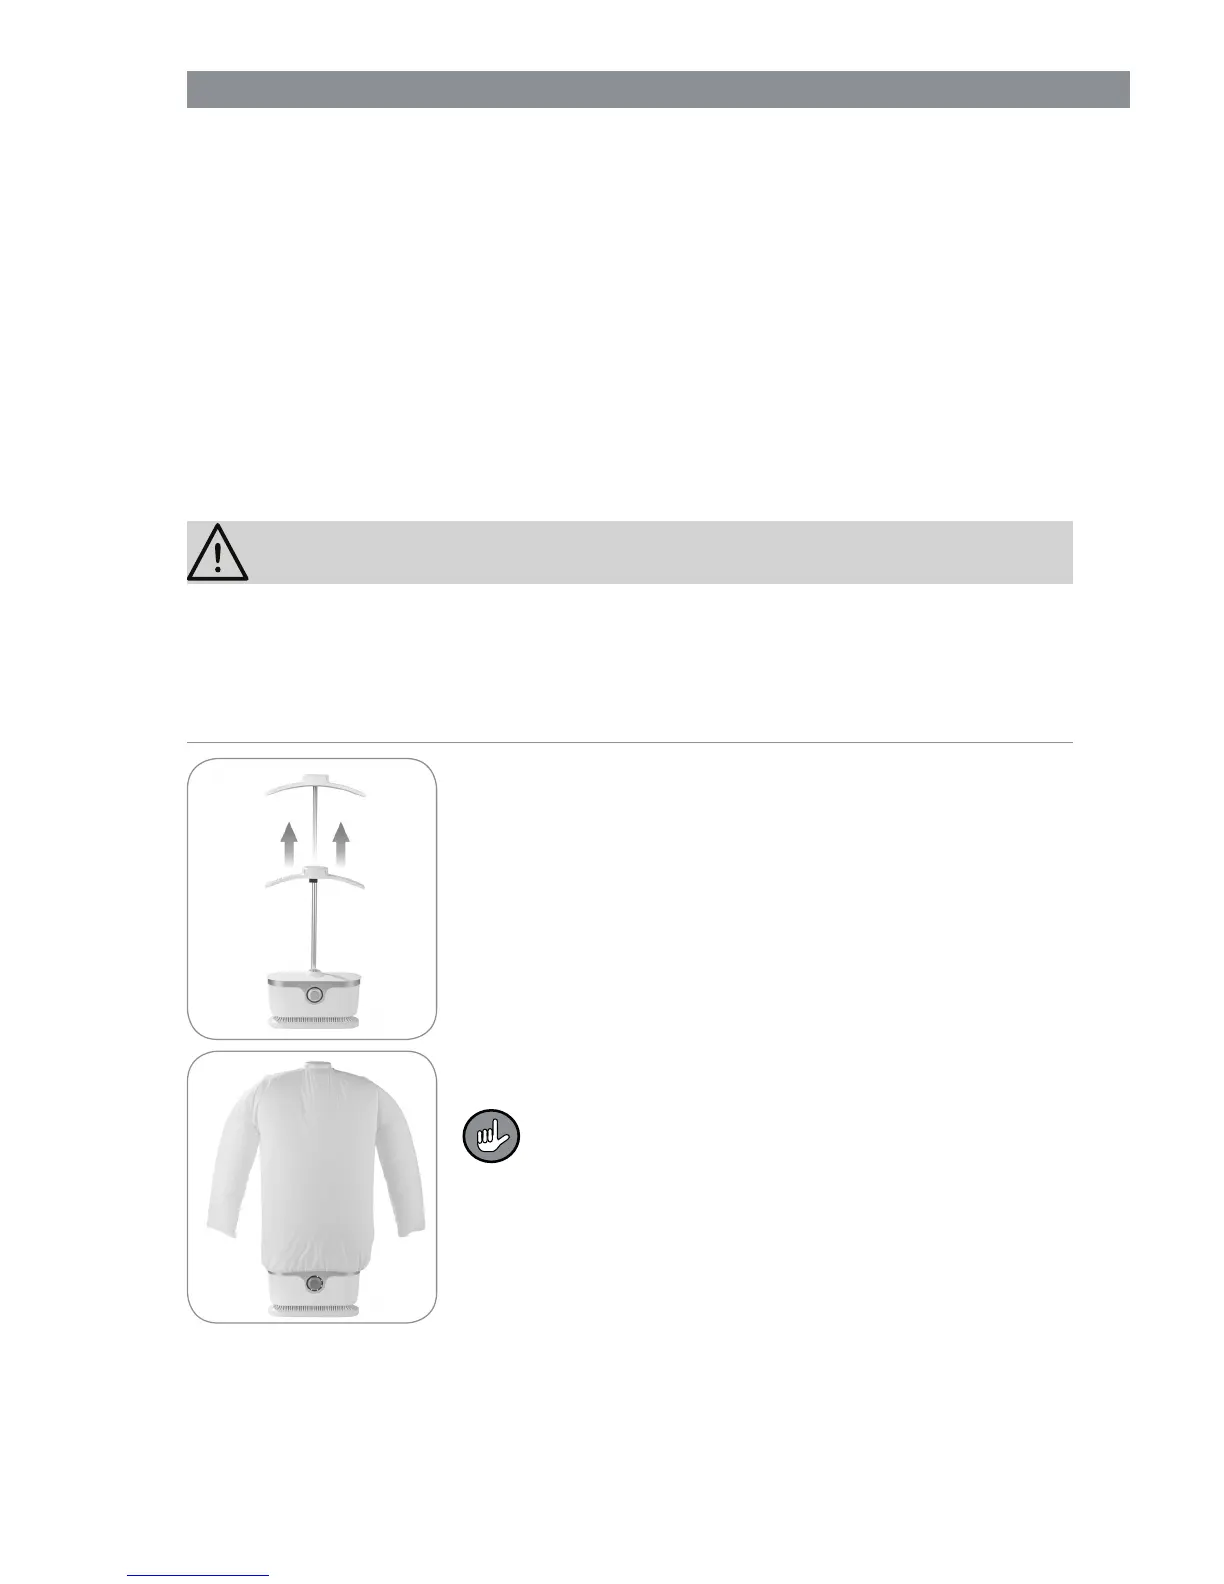
1. Set the height you want. To do this, open the clip (8), pull
out the telescopic rod (2) and then close the clip (8) again.
2. If you have not already done so, pull on the nylon balloon
(see the “Before Initial Use” chapter, “Assembly” section).
The nylon balloon should sit immediately below the
mounting fl ange (7) so that it can fully infl ate.
 Loading...