Troubleshooting (continued)
22
OZONE GENERATOR
– continued
PROBLEM/SYMPTOM POSSIBLE CAUSE SOLUTION
Unit flooded with water - Defective check valve - Replace check valve(s)
Ozone smell detected in or - Assess damage, repair as required near
ozone generator - Insufficient vacuum at venturi - Adjust injector See “Start- Up &
Calibration - Steps 1-4”
- Loose internal fittings - Check all fittings, tighten as needed
- Defective O-ring seals in reaction chamber(s) - Check & replace as required
- Defective dielectrics - Check & replace as required
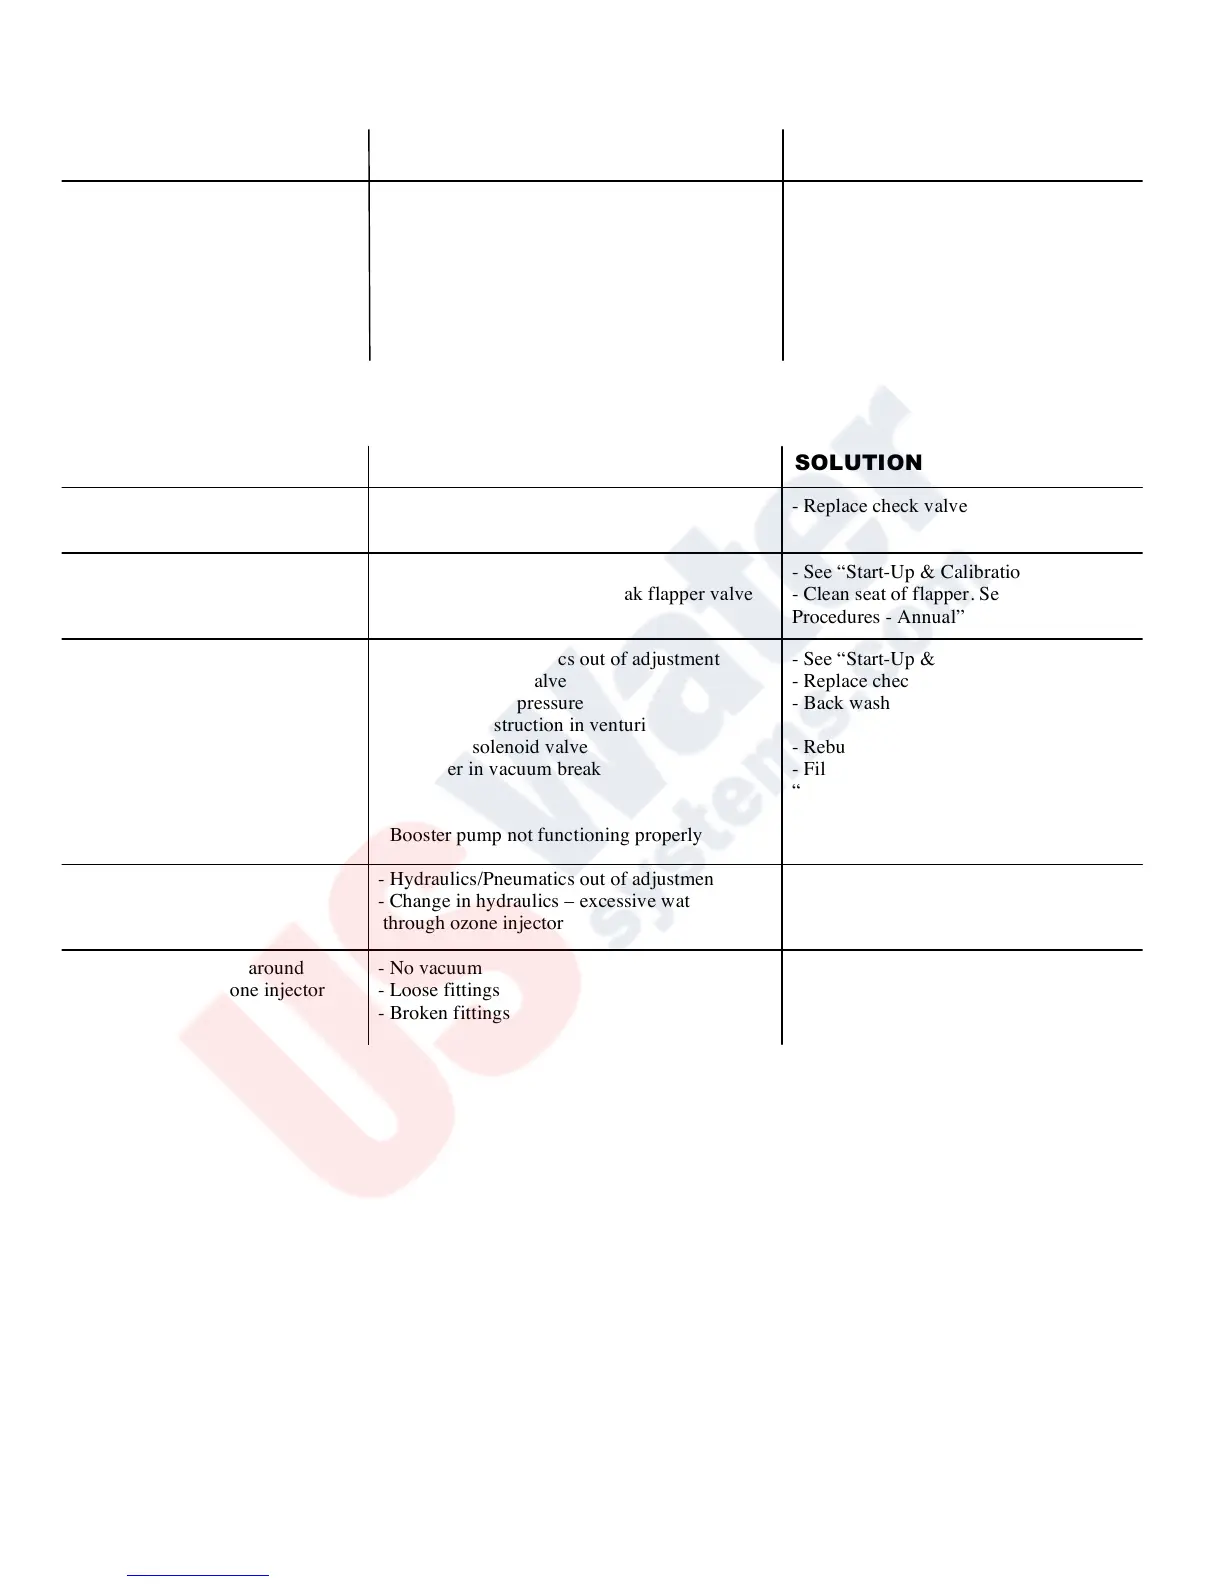
OZONE INJECTION/CONTACTING
PROBLEM/SYMPTOM POSSIBLE CAUSE SOLUTION
Water backflow past injector - Defective check valve - Replace check valve
check valve
Water bubbling in vacuum break - No vacuum - See “Start-Up & Calibration”
- Debris on seat of vacuum break flapper valve - Clean seat of flapper. See “Maintenance
Procedures - Annual”
Low vacuum - Hydraulics/Pneumatics out of adjustment - See “Start-Up & Calibration - Steps 1-4”
- Defective check valve - Replace check valve
- Hydraulic back pressure - Back wash filter (if so equipped)
- Check for obstruction in venturi
- Defective solenoid valve - Rebuild or replace as required
- No water in vacuum break - Fill vacuum break with water See
“Start-Up and Calibration – Vacuum
Break”
- Booster pump not functioning properly - Check booster pump (contact dealer)
High Vacuum - Hydraulics/Pneumatics out of adjustment - See “Start-Up & Calibration – Steps 1-4”
- Change in hydraulics – excessive water flow - See “Start-Up & Calibration – Steps 1-4”
through ozone injector
Ozone smell detected around - No vacuum - See “Start-Up & Calibration – Steps 1-4”
vacuum break or ozone injector - Loose fittings - Tighten all fittings
- Broken fittings - Replace fittings