EU +44 118 324 1242 | Germany +49 361 7473
www.clearlight-saunas.eu
14
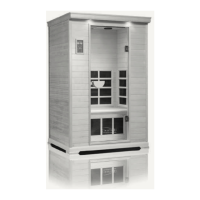
PREMIER IS-1, IS-2 AND IS-3
Assembly Instructions Cont’d
10 - CONNECT HEATERS IN ROOF
1. Locate the “trap” doors that open in the roof.
2. Connect the black and white cables that come
out of the walls to the connector located in the
roof.
3. Connect the green ground wire that come out of
the walls to the green ground wire that is in the
roof. Push the wiring inside the roof area and
close the roof door compartments.
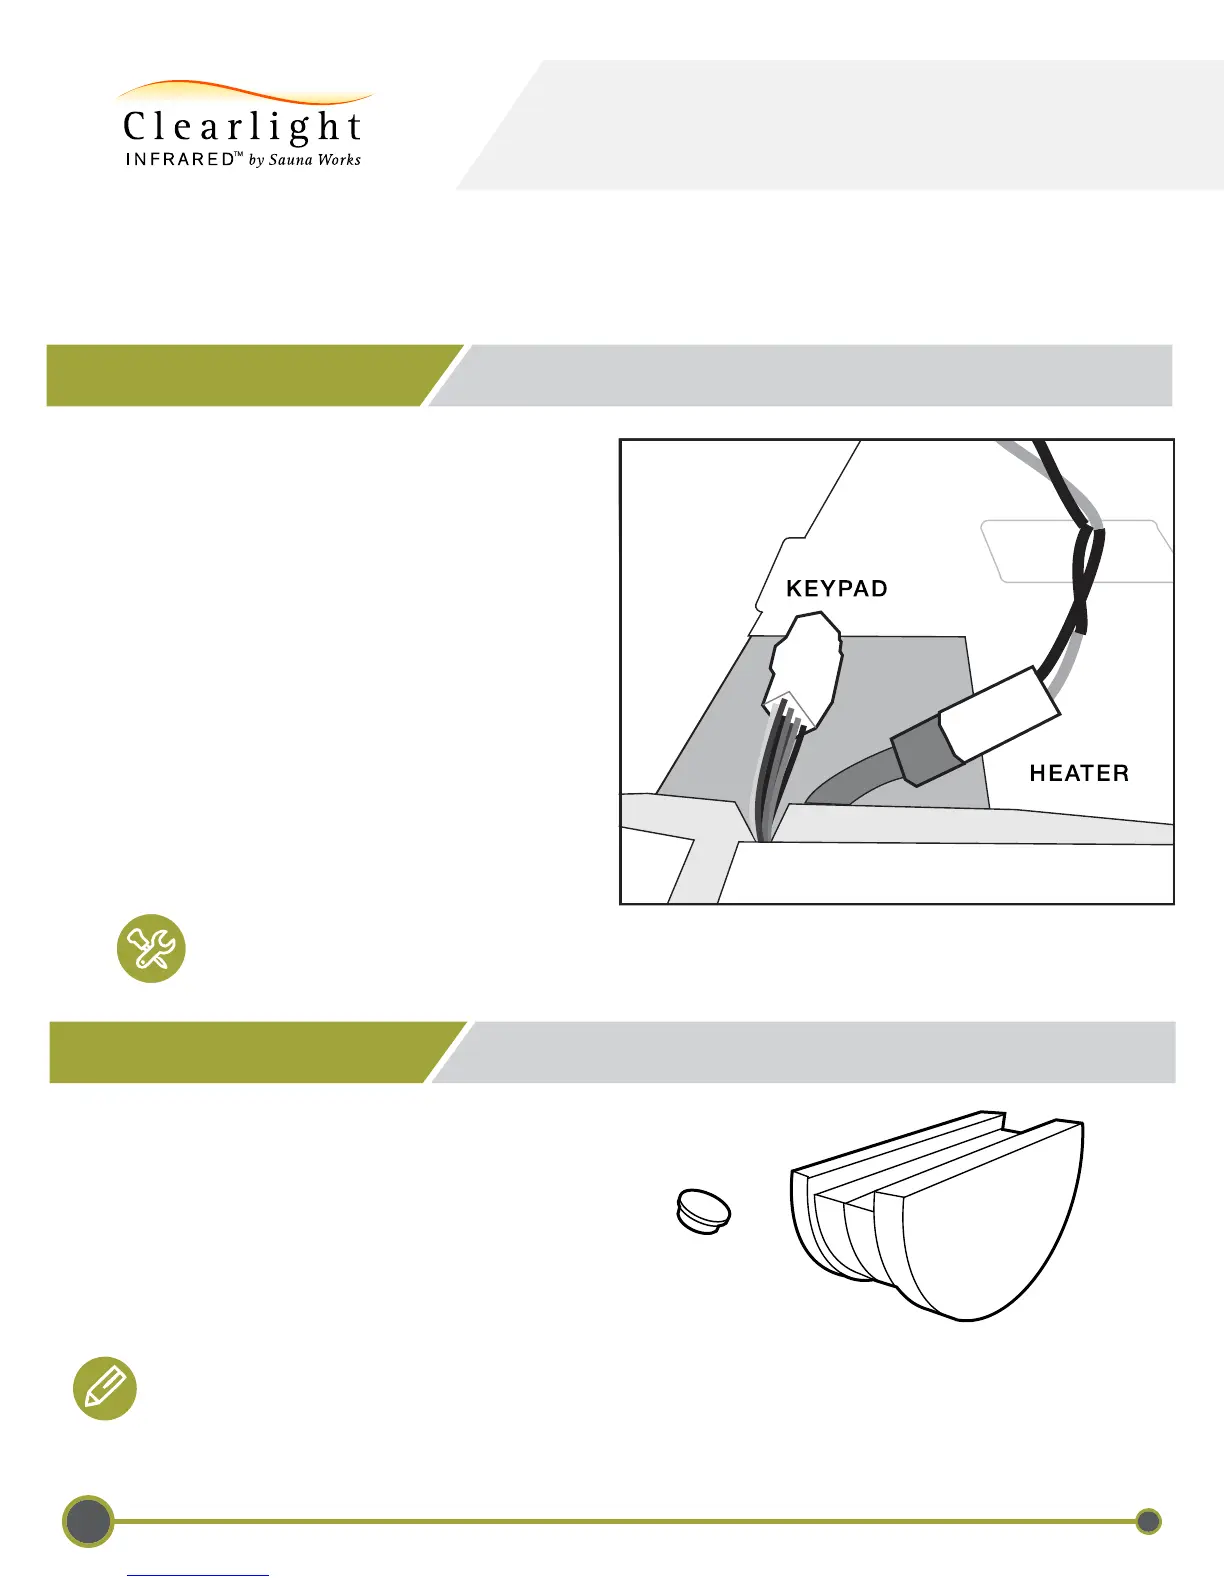
4. In the left side wall compartment, there will be
two connectors: 1) Heater connector. 2) Keypad
connector. The heater connector is a two wire
connector. The keypad connector is a seven wire
connector.
BE SURE TO MATCH THE COLORS IN THE CONNECTORS.
THE BLACK WIRE SHOULD MATCH UP WITH THE BLACK WIRE, ETC.
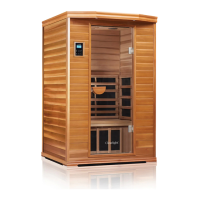
1. Locate the door handle.
2. Attach the door handle using the enclosed bolts.
3. Insert the included decorative mushroom caps
in the screw hole to cover the screws.
11 - INSTALLING DOOR HANDLE
Note: If you are using a tablet or smartphone, the door handle will act as both the door handle and
tablet/smartphone holder when the door is closed.