7 / 17
receive MIDI messages from multiple designated USB ports and/or
MIDI input ports. If you need to send information from more than two
ports to a MIDI output port at the same time, the interface will
automatically merge all the information.
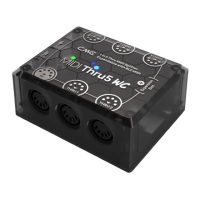
5. LED Indicators
U6MIDI Pro has a total of 6 LED green indicators, which are
used to indicate the working status of the 3 MIDI IN and 3 MIDI
OUT ports respectively. When a certain port has MIDI data
being transmitted, the corresponding indicator light will flash
accordingly.
CONNECTION
1. Use the provided USB cable to connect the U6MIDI Pro to the
computer or USB host device. Multiple U6MIDI Pros can be
connected to a computer via USB hub.
2. Use a MIDI cable to connect the MIDI IN port of the U6MIDI Pro
to the MIDI OUT or THRU of other MIDI devices, and connect the
MIDI OUT port of the U6MIDI Pro to the MIDI IN of other MIDI
devices.
3. When the power is on, the LED indicator of the U6MIDI Pro will
light up, and the computer will automatically detect the device.
Open the music software, set the MIDI input and output ports to
U6MIDI Pro on the MIDI settings page, and get started. See the
manual of your software for further details.
Note: If you want to use U6MIDI Pro standalone without connecting to a
computer, you can directly connect a USB power supply or power bank.
 Loading...