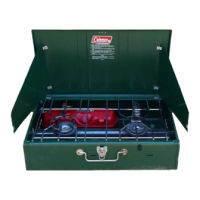
To Set Up
Step 1
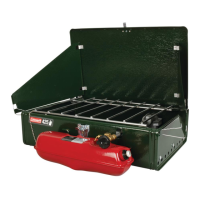
■ Remove stove, legs and
regulator from packaging.
■ Regulator is packed in
the end of the Styrofoam
near front of stove.
■ Inspect all packing and
remove all parts.
■ See carton for parts
included with your unit.
(1) Stove
(1) Lid
(1) Regulator
(1) Cooking Grate
(1) 1/2 Grill
(1) Full Griddle
(4) Legs
(1) Storage Bag
(1) High Pressure Hose
■ Use a ground cloth to protect the finish.
■ Remove Legs from storage bag.
■ Thread Legs into Receivers on bottom of stove.
Step 1
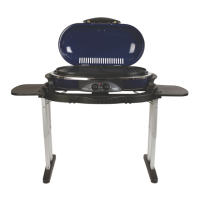
■ Open stove Lid.
■ Insert Wire Clips on
Wind Baffles into slots on
side of stove as shown.
Step 2
Step 3
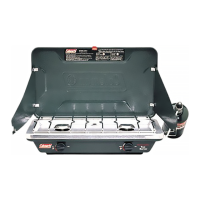
Install 1/2 Griddle (standard with some models)
■ Place Cooking Grate
onto stove.
■ See replacement parts
list for identification.
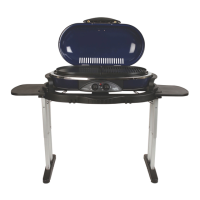
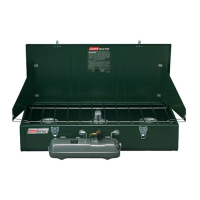
■ Stand stove upright and adjust
Leg Levelers if necessary.
■ Place 1/2 Griddle on
Cooking Grate as
shown.
Install Legs (standard with some models)
CONSUMER NOTICE: These assembly instructions are designed
for
more than one
stove model. Features shown MAY NOT be in
your stove and will not be provided by this company or at the place
you purchased your stove.
4
WARNING
• Keep children and pets away from appliance at all times.
• NEVER leave the stove unattended while it is in use.
• The use of alcohol, prescription or non-prescription drugs may
impair the consumer’s ability to properly assemble or safely operate
the appliance.
• Do not place empty cooking vessel on the appliance while in oper-
ation. Use caution when placing anything in cooking vessel while the
appliance is in operation.
• DO NOT move the appliance when in use. Allow the cooking vessel
to cool before moving or storing.
• This appliance is not intended for and should never be used as a
heater.
• Cylinders must be stored outdoors out of reach of children.
To Set Up cont.General Safety Information cont.
Step 1
Install Legs
(standard with some models) cont.

 Loading...