Do you have a question about the Coleman GALILEO 9276-141 and is the answer not in the manual?
Position tent with doors facing desired directions, unzip doors, and stake floor taut.
Assemble shock-corded poles and insert longer black poles into sleeves.
Insert shorter grey side pole into sleeves running side to side.
Insert main tent pole pins into corners, arching poles to connect.
Insert side pole pin, arching pole to connect to opposite end.
Assemble and insert rainfly poles into pockets, forming an 'X'.
Drape rainfly over frame, connect elastic loops to rings, and secure with ties.
Attach and stake out the two guy lines for stability.
Understand and minimize condensation caused by humidity and breathing.
Avoid prolonged setup in sunlight to prevent material damage.
Dry tent thoroughly, clean dirt, avoid telescoping poles for storage.
Pull stakes by the stake itself, not the tent fabric or loop.
Seam sealing is recommended for waterproofing; purchase separately.
| Brand | Coleman |
|---|---|
| Model | GALILEO 9276-141 |
| Poles | Fiberglass |
| Setup Time | 10 minutes |
| Doors | 1 |
| Rainfly | Yes |
| Pockets | Yes |
| Gear Loft | No |
| Carry Bag | Yes |
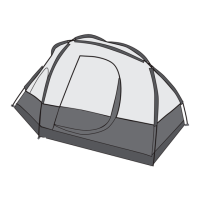
| Type | Dome |
| Capacity | 4 Person |
| Center Height | 4 ft 11 in |
| Material | Polyester |
| Floor Material | Polyethylene |