
S
Sue CoxAug 1, 2025
How to troubleshoot a Comelit 49807 with no power?
- AAmy RomeroAug 1, 2025
First, check the power cord connections. Then, confirm that there is power at the outlet.
How to troubleshoot a Comelit 49807 with no power?
First, check the power cord connections. Then, confirm that there is power at the outlet.
Why is there no live video on my Comelit 49807 DVR?
Check the camera video cable and connections, and the monitor video cable and connections. Also, confirm that the camera has power and check the camera lens settings.
What to do if my Comelit 49807 DVR displays a date and time error?
The DVR will automatically reset the time and date of the unit, according to the time and date of the last recorded image. If this is not the correct time and date, reset the time and date manually. If the correct time and date is earlier than the last recorded image, any video with a later time and date will be lost when resetting the correct time and date.
How to get live video on VGA monitor with Comelit 49807?
If the DVR does not detect a VGA monitor automatically, press and hold the DISPLAY button on the front panel for 5 seconds or longer to switch the video output from Video out to VGA out.
Essential safety instructions regarding electric shock and product operation.
Information regarding compliance with FCC rules for digital devices.
Guidelines for the environmentally safe disposal of electronic equipment.
Covers safe usage, cleaning, ventilation, placement, power, and handling of the equipment.
Details safety procedures for servicing, replacement parts, and field installation.
Addresses battery safety, operating temperature, air flow, and grounding requirements.
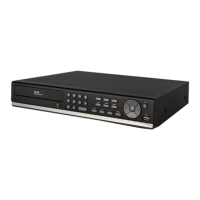
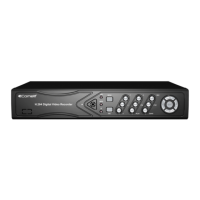
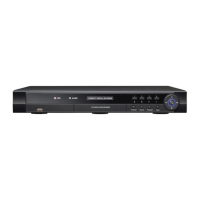
Lists the key capabilities and specifications of the digital video recorder.
Details all items included in the product package.
Describes the purpose and location of all connectors on the rear panel.
Explains the operation of navigation, function buttons, and status LEDs on the front panel.
Details the usage of the USB port for software upgrades and data transfer.
Steps for turning on the DVR and its initial startup process.
How to set, change, or manage the DVR's system access password.
Procedure for setting the correct date, time, and time zone for accurate recording.
Instructions for switching between full-screen, quad, sequence, and freeze views.
Steps to activate the playback interface and navigate recorded media.
Searching video by specific date, time, or calendar view.
Locating recordings based on detected events like motion or alarms.
Steps to activate PTZ control from the DVR interface.
Using buttons to pan, tilt, zoom, and focus PTZ cameras.
Overview of accessing and navigating the main system configuration menu.
How to select menu items and modify parameter values.
Configuration for system, storage, network connectivity, and camera parameters.
Procedures for configuring recording schedules and event detection settings.
Managing system language, checking version, and performing software upgrades.
Managing DVR settings, system logs, password, and system shutdown.
Configuring system time, zone, and optimizing VGA display output.
Configuring video compression, resolution, and storage recycling.
Setting up basic or advanced recording schedules for different cameras.
Adjusting sensitivity, defining detection zones, and setting minimum blocks.
Configuring actions upon event detection and daytime-specific settings.
Setting up remote video streaming quality and network bandwidth limits.
Configuring secure remote access using WebGuard, ports, and SSL encryption.
Configuring static/dynamic IP, DNS server, and port numbers.
Setting up DVRNS for remote access using dynamic IP addresses.
Setting up SMTP server details for sending email notifications.
Configuring camera titles, PTZ models, IDs, and communication ports.
Displaying the Self-Monitoring, Analysis, and Reporting Technology status of the storage device.
Options for clearing recorded video data and formatting the storage device.
Troubleshooting steps for power loss and lack of live video feed.
Resolving issues related to stopped recording or incorrect date/time settings.
Operating the playback interface and adjusting video layout.
Customizing clip player display, saving, and image processing.
Modifying screen size, OSD, audio, and anti-aliasing settings.
Options for saving images, clip copies, AVI files, and logs.
Troubleshooting steps for power loss and lack of live video feed.
Resolving issues related to stopped recording or incorrect date/time settings.
| Video Compression | H.264 |
|---|---|
| Recording Resolution | Up to 1080p |
| Motion Detection | Yes |
| Type | Digital Video Recorder (DVR) |
| Channels | 8 |
| Network Connectivity | Yes |
| Remote Viewing | Yes |
| Operating Temperature | +55°C |