10
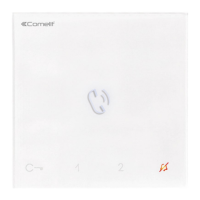
Button configuration
By default the buttons control the functions in row A (“Standard configuration” table).
It is possible to change the default configuration of the buttons by changing the positions of S2 DIP-switches 1-2-3-4 on the rear
of the door-entry phone to one of the combinations (B-P) suggested in the table. All the buttons will change function.
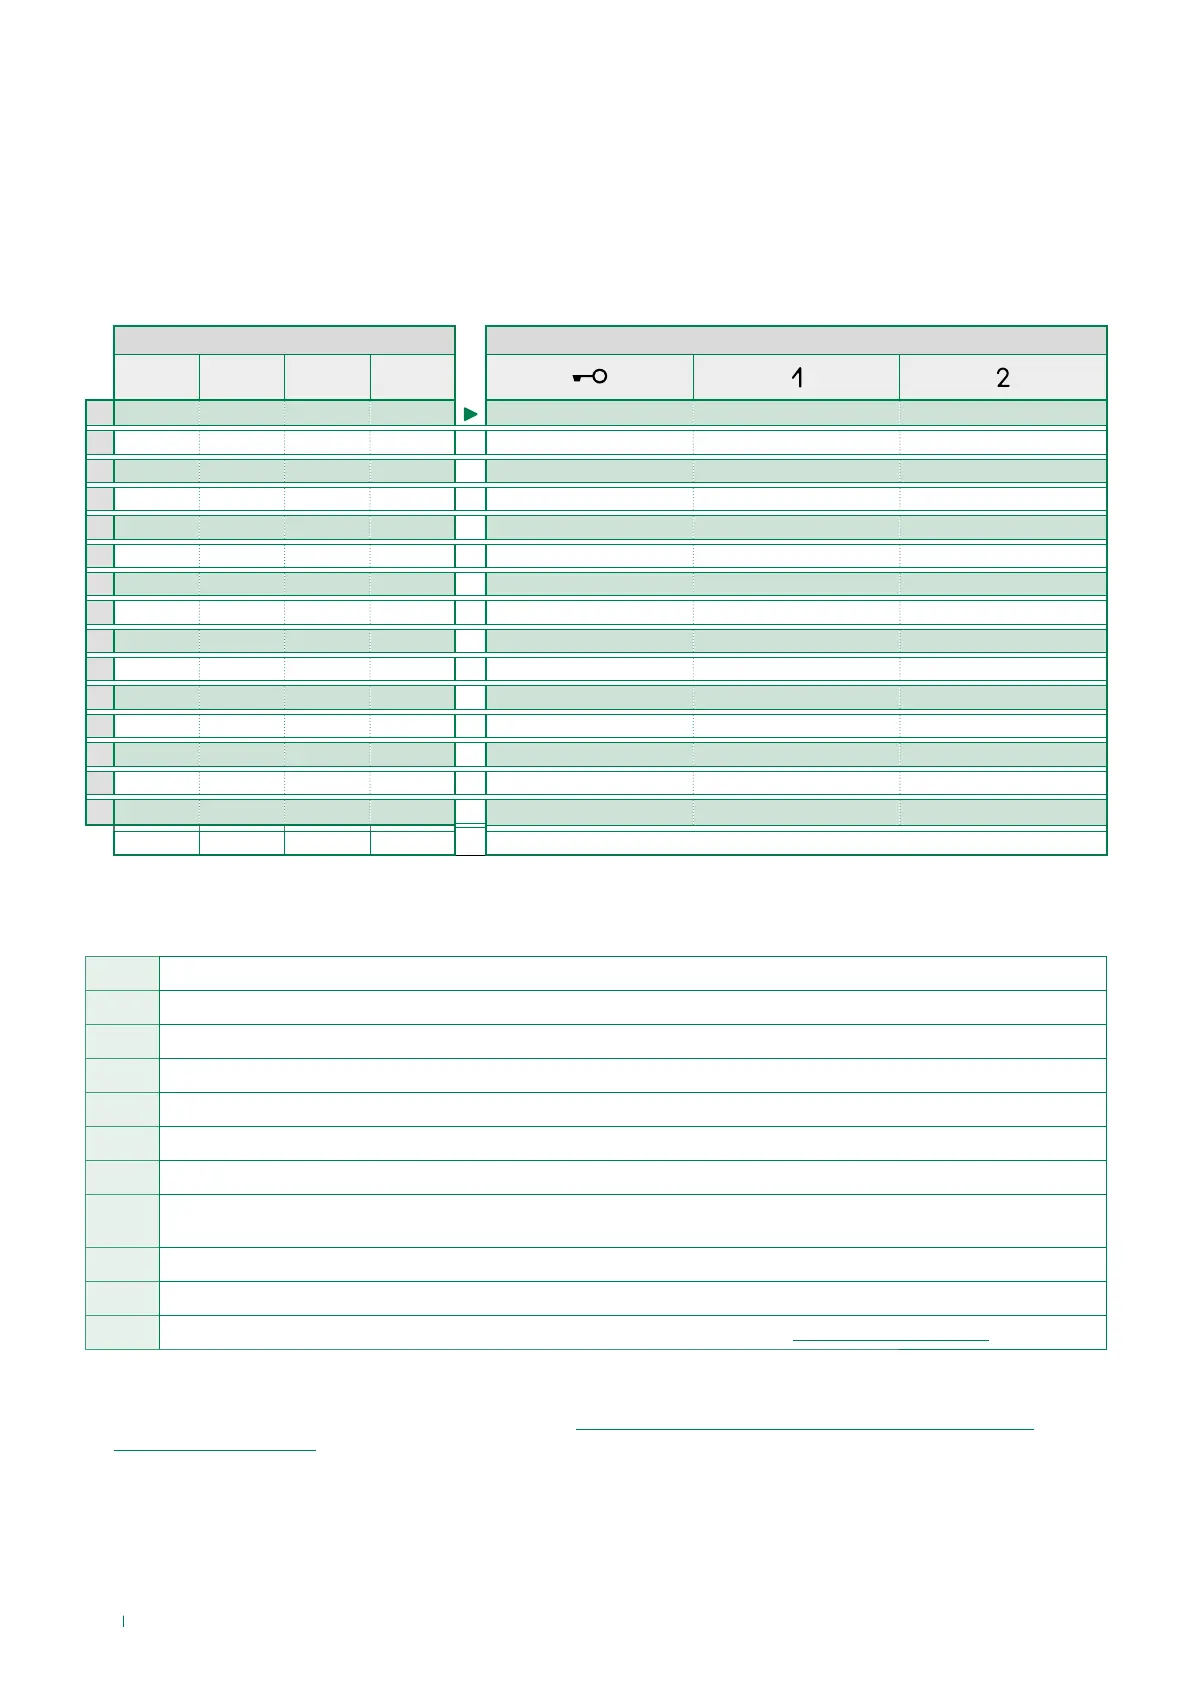
Basic configuration
DIP-switch S2
BUTTON PROGRAMMING
DIP 1 DIP 2 DIP 3 DIP 4
A
OFF OFF OFF OFF
AP
ACT CCS
B
ON OFF OFF OFF AP ACT INT
C
OFF ON OFF OFF AP INT D
D
ON ON OFF OFF AP ACT CCP
E
OFF OFF ON OFF ACT ACT ACT
F
ON OFF ON OFF AP ACT K
G
OFF ON ON OFF AP ACT D
H
ON ON ON OFF AP INTb INT
I
OFF OFF OFF ON AP CCS PAN
J
ON OFF OFF ON AP K CCS
K
OFF ON OFF ON AP CCP K
L
ON ON OFF ON AP PAN CCP
M
OFF OFF ON ON AP INTb PAN
N
ON OFF ON ON AP INT INT
P
OFF ON ON ON NULL NULL NULL
ON ON ON ON PROG
Legend
AP
Lock-release
ACT
Actuator
CCP*
Call to main switchboard
CCS*
Call to secondary switchboard
K
Caretaker door-entry phone call
D**
Automatic door opening on receipt of call [Doctor mode]
PAN *
Priority call to switchboard
INT
Intercom call (general programmable or to selective address).
Single-family call by default
INTb
Two-family intercom [KIT only]
NULL
No function
PROG
With these S2 DIP-switch settings, the buttons control the programmed functions as in “Advanced configuration".
* Cannot be used in Kit systems
** Pressing and holding enables / disables the function, see “Pressing and holding keys (Disabled by default from
firmware version 1.2.0)"
default
 Loading...