Basic Operations
5
Alarm Limit
You can set up the alarm limits for all alarm levels with the same
method. Here FHR1 is taken as an example:
1. Select the FHR1 parameter area;
2. Select [FHR1 Alarm Setup] in the pop-up [FHR1 Setup]
window to enter the FHR1 alarm setup menu
Alarm Delay
1. Enter [Main Menu] [Maintain] and input the password;
2. Enter [Alarm Setup];
3. Select [Alarm Delay Time] and select an appropriate delay
time on the pop-up menu.
Patient Management
1. Select patient information area or select [Patient Management]
on-screen key.
2. In the pop-up menu, go to admit the patient, modify the
patient information and discharge the patient .
Changing screens
1. Select [Screens] on-screen key;
2. Or access [Main Menu] and select [Screens]
How to save user default settings:
1. Access [Main Menu], select [Maintain] and enter the
password;
1. Select [Save Current As User Config] to save current settings.
How to use factory adult/pediatric/neonate default settings:
1.Access [Main Menu]→[Monitor Setup] →[Restore Default
Configuration];
2.Select [Adopt Factory Default Adu Config], [Adopt Factory
Default Ped Config] or [Adopt Factory Default Neo Config], the
alarm limit will restore to the factory default settings.
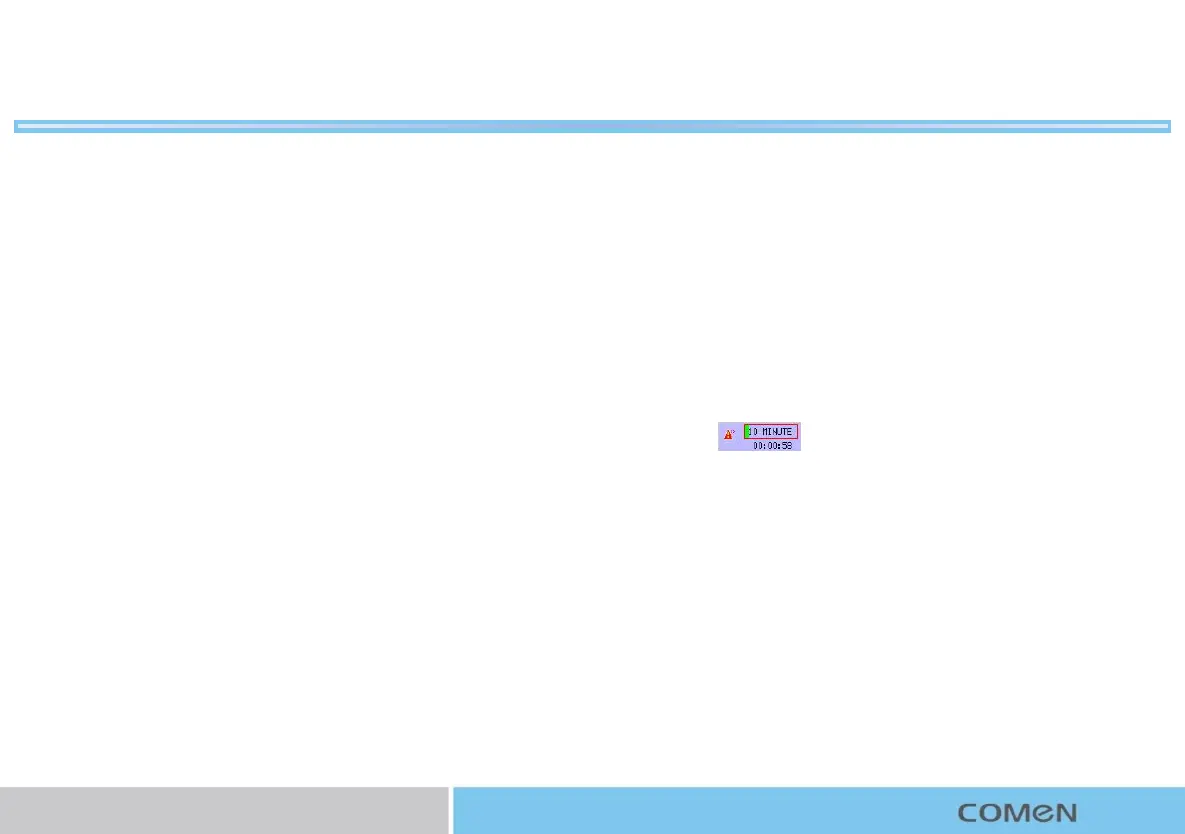
How to start timed monitoring
1. Select the timed monitoring information area on the screen
,such as .
2. Or select [Timed Monitor] on-screen key;
3. Enter the [Timed Monitor] menu to set the related
parameters.
How to select score:
1.Enter [Main Menu] [Monitor Setup] [Print Setup];
2.Or select print icon on icon area.
3.Select [Score Select] to show the scores on the case report.
4.Select [Score Criterion] to select scoring criterion you use
(options: [KREBS], [Fischer], [Advanced Fischer], [NST]).
 Loading...