41
Remove the filter strainer and clean it.
Check the filter strainer for damage.
Damaged filter strainer has to be replaced immediately.
If the filter strainer cannot be cleaned, replace the filter strainer.
If the seal of the cap of the filter strainer is damaged, replace the filter strainer.
Insert the cleaned or a new filter strainer.
Screw the cap of the filter strainer back on using the spanner (size 24).
The recommended torque is approx. 125inlb (14 Nm).
Collect any coolant that emerges using an absorbent cloth.
Open the ball valve.
Check coolant level and top up, if necessary, see "Adding coolant"
Start up the unit, see "Putting the unit into operation"
The filter strainer is now clean.
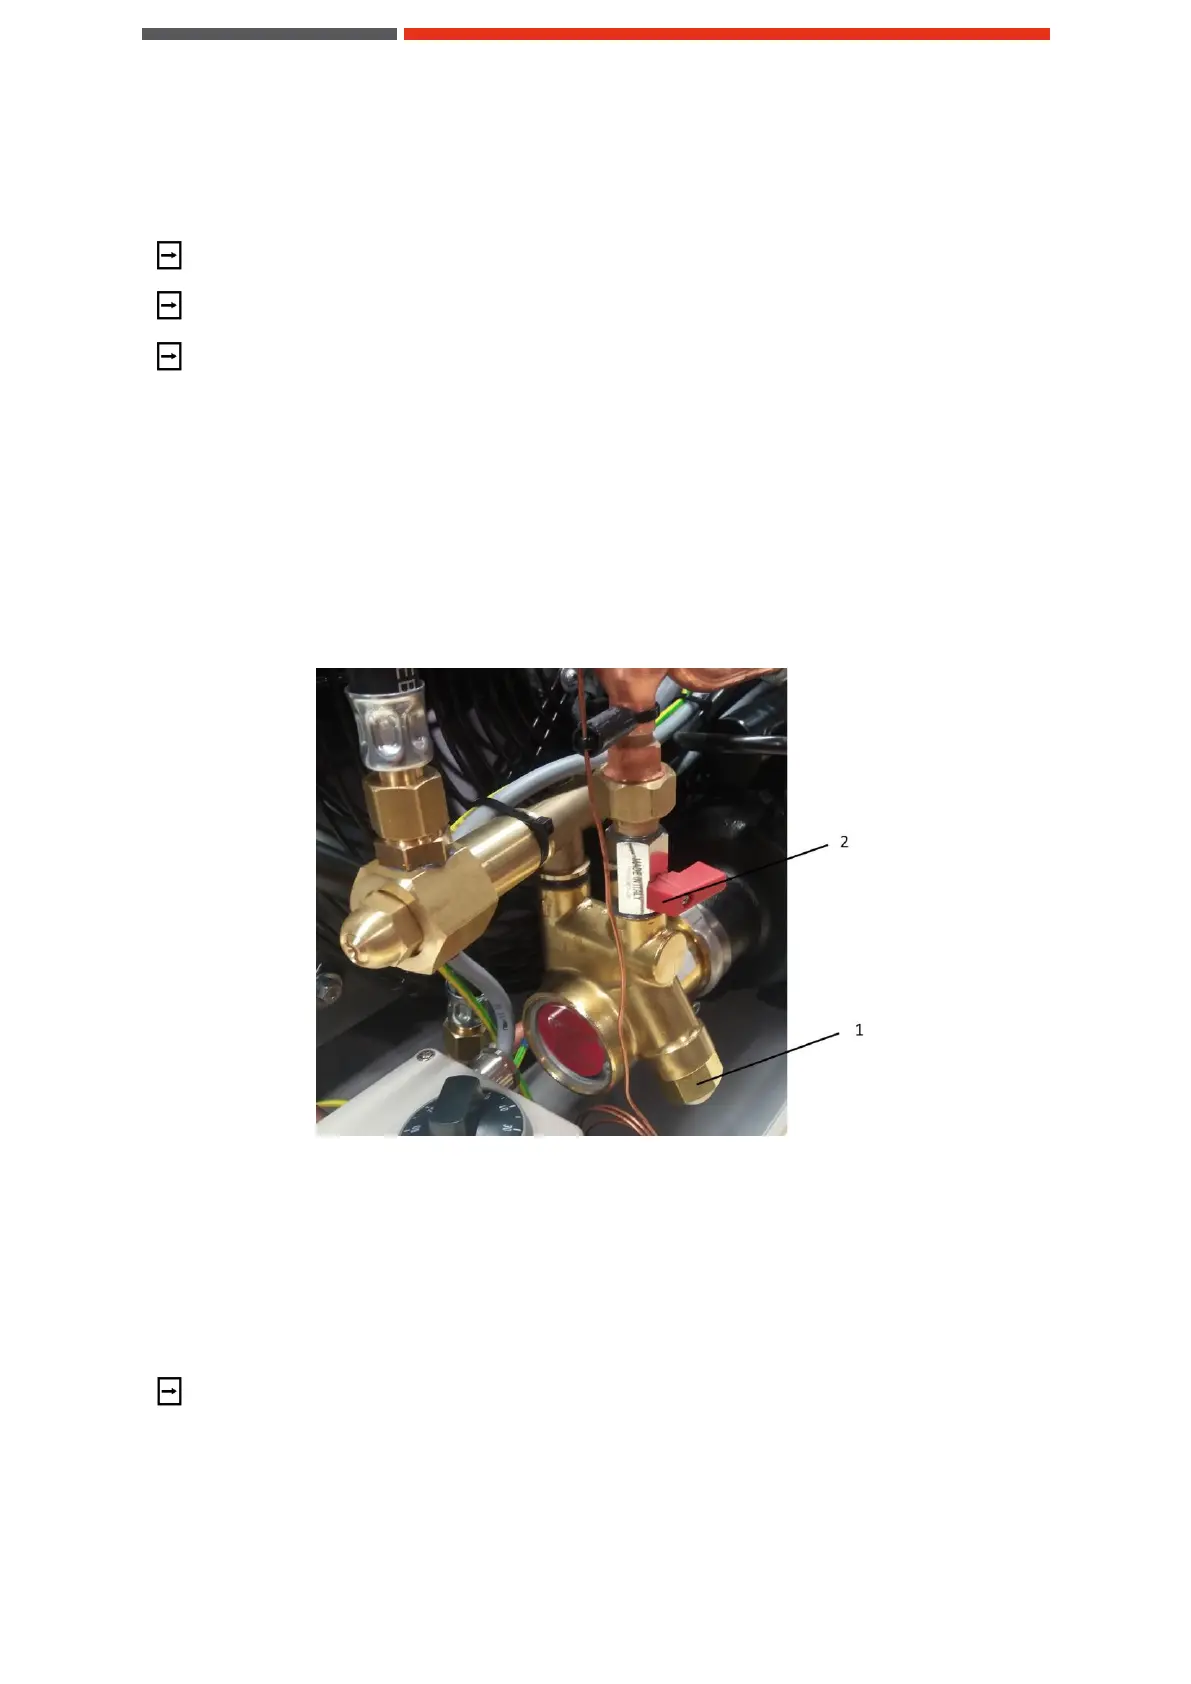
Figure 13: Mounting position of the filter strainer
(1) Screw cap of the filter strainer (2) Ball valve
9.11. Cleaning the heat exchanger
Cooling capacity is heavily reduced, if the heat exchanger is contaminated. The heat exchanger has to
be checked for contamination regularly and be cleaned, if required.
The cleaning of the heat exchanger has to be performed in accordance with the maintenance
intervals.
 Loading...