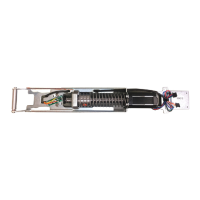
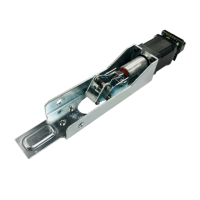
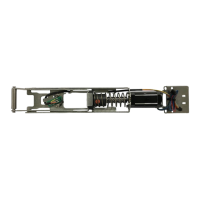
3.
Turn over BACK push pad end cap over and start a pilot hole beneath the bottom right hand corner
(see measurements below). Use the gold bracket as a guide. Once your hole is drilled use your
preferred method to clear out the remaining debris and file to clean up the edges.
1/4”
1/2”
PILOT HOLE IN INCHES (“)
PILOT HOLE
BEFORE
AMOUNT REMOVED IN INCHES (“)
5/16”
5/8”
AFTER
2
1
4.
1. Slide BACK push pad end cap into channel before re-installing to push pad.
2. Re-install (2) screws on BACK & FRONT push pad end caps.
5.
1. Slide filler plates on and plug into power.
2. Set “Push-to-Set” and once you found the correct location, turn PTS switch to OFF position,
remembering to turn the Programming Switch to the off position when completed.
US customer support 1-888-622-2377 | www.commandaccess.com | CA customer support 1-855-823-3002
Step 1 -
Select your preferred torque mode (ships in standard torque). Press the
device push pad to the desired setting. (We recommend to fully depress
and release 5%, giving the device room for changing door conditions.)
Step 2 -
While depressing the push pad, apply power. (i.e. presenting the credential
to the reader).
Step 3 -
Continue to keep the pad depressed, the device will beep 6 times. After the
beeps have stopped, release the pad and the adjustment is now complete.
If not to your liking repeat the 3 steps.
MM4 SWITCHES
2
STANDARD TORQUE
HIGH TORQUE
PTS PROGRAMMING OFF
PTS PROGRAMMING ON
1
OFF
OFF
ON
ON