- 5 -
W
i
r
i
ng & Ins
t
a
ll
a
t
i
on
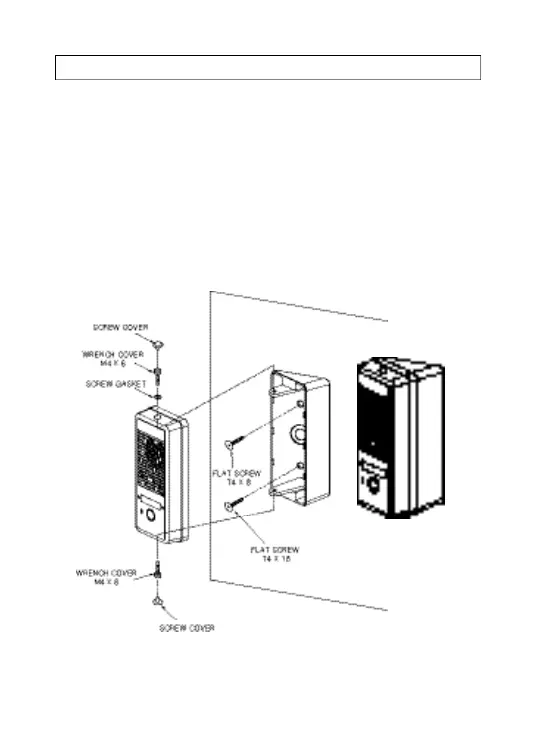
1. Align holes on the wall, where the unit is to be installed, with mounting brackets and secure.
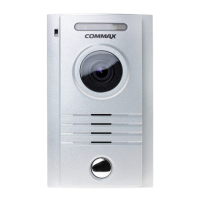
FIG -1: Installs the camera at a 30° angle to the left.
(install the bracket in reverse to angle 30° to the right)
FIG -2: Installs the camera at a perpendicular angle to the front.
2. W ire the household monitor cables as shown below. Take heed to the polarity of the wiring. [FIG -3]
(#1:RED/VO IC E, #2:BLUE/G N D, #3:YELLO W /DC 12V, #4:BLACK/VIDEO )
3. W ire the door release cable as shown in the diagram. [FIG -3]
4. Tighten using bolts and a wrench, then cover using the rubber caps.
[FIG -1]