Note: I don't have the original Compaq supplied hard disk container in my computer. The
container you see in my pictures is that from a Procom "Atom Drive" upgrade.
The hard disk container may be opened and a different drive put in, if desired. While the
connector on the tray is a proprietary type, the drive inside is a standard 2.5" IDE hard
disk.
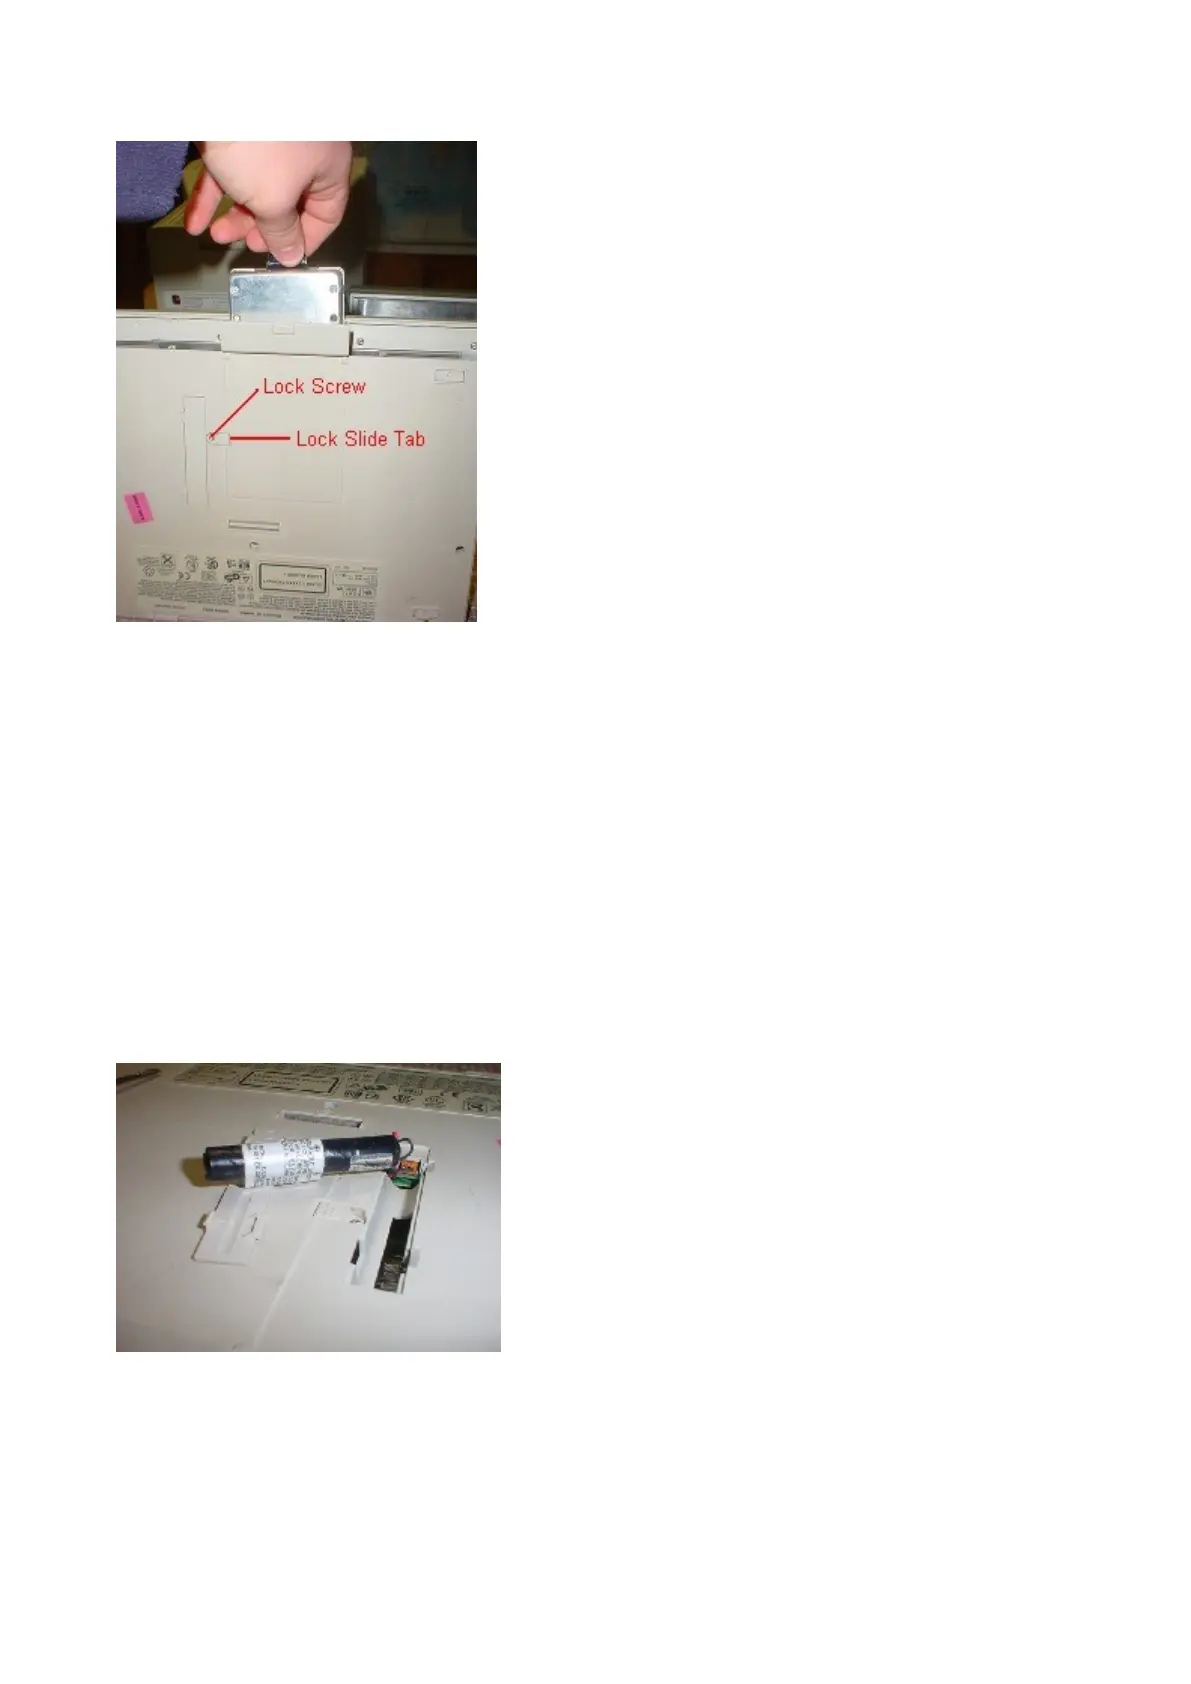
4. If you are planning to do work on the LTE motherboard or processor card, you may wish
to remove the standby/CMOS battery. Locate the long thin door on the bottom of the
system. Pry it open gently with a screwdriver. Disconnect the battery leads from the plug.
Set this battery safely aside.
Disconnecting the battery will not remove a power on password. If you need to do
this, keep on reading.
5. Now it is time to start removing screws. Flip your LTE 5000 over so that the "front"
where the drives go is facing you. There are four brass screws (two in each of the battery
and drive bay areas, none in the hard disk bay) that will need to be removed. Each is
marked "KYBD". Remove these screws and set them aside.
 Loading...