This secon describes the procedure of making and receiving connecons on BRIC-Link via the Comrex Switchboard
server. This is the easiest way, but not the only way, to make BRIC-Link connecons. Before connecons are made this
way, you must set up and congure a Switchboard Account as described in .
If you don’t want to use the Switchboard server to make connecons, skip this secon and go to , Making
Manual CrossLock Connecons. BRIC-Link requires a Switchboard Traversal Server License to be used with
Switchboard.
Switchboard Connecons can be made with or without the CrossLock protecon layer. Note that this choice aects
which IP ports are used for connecons, so there are implicaons concerning rewalls and routers.
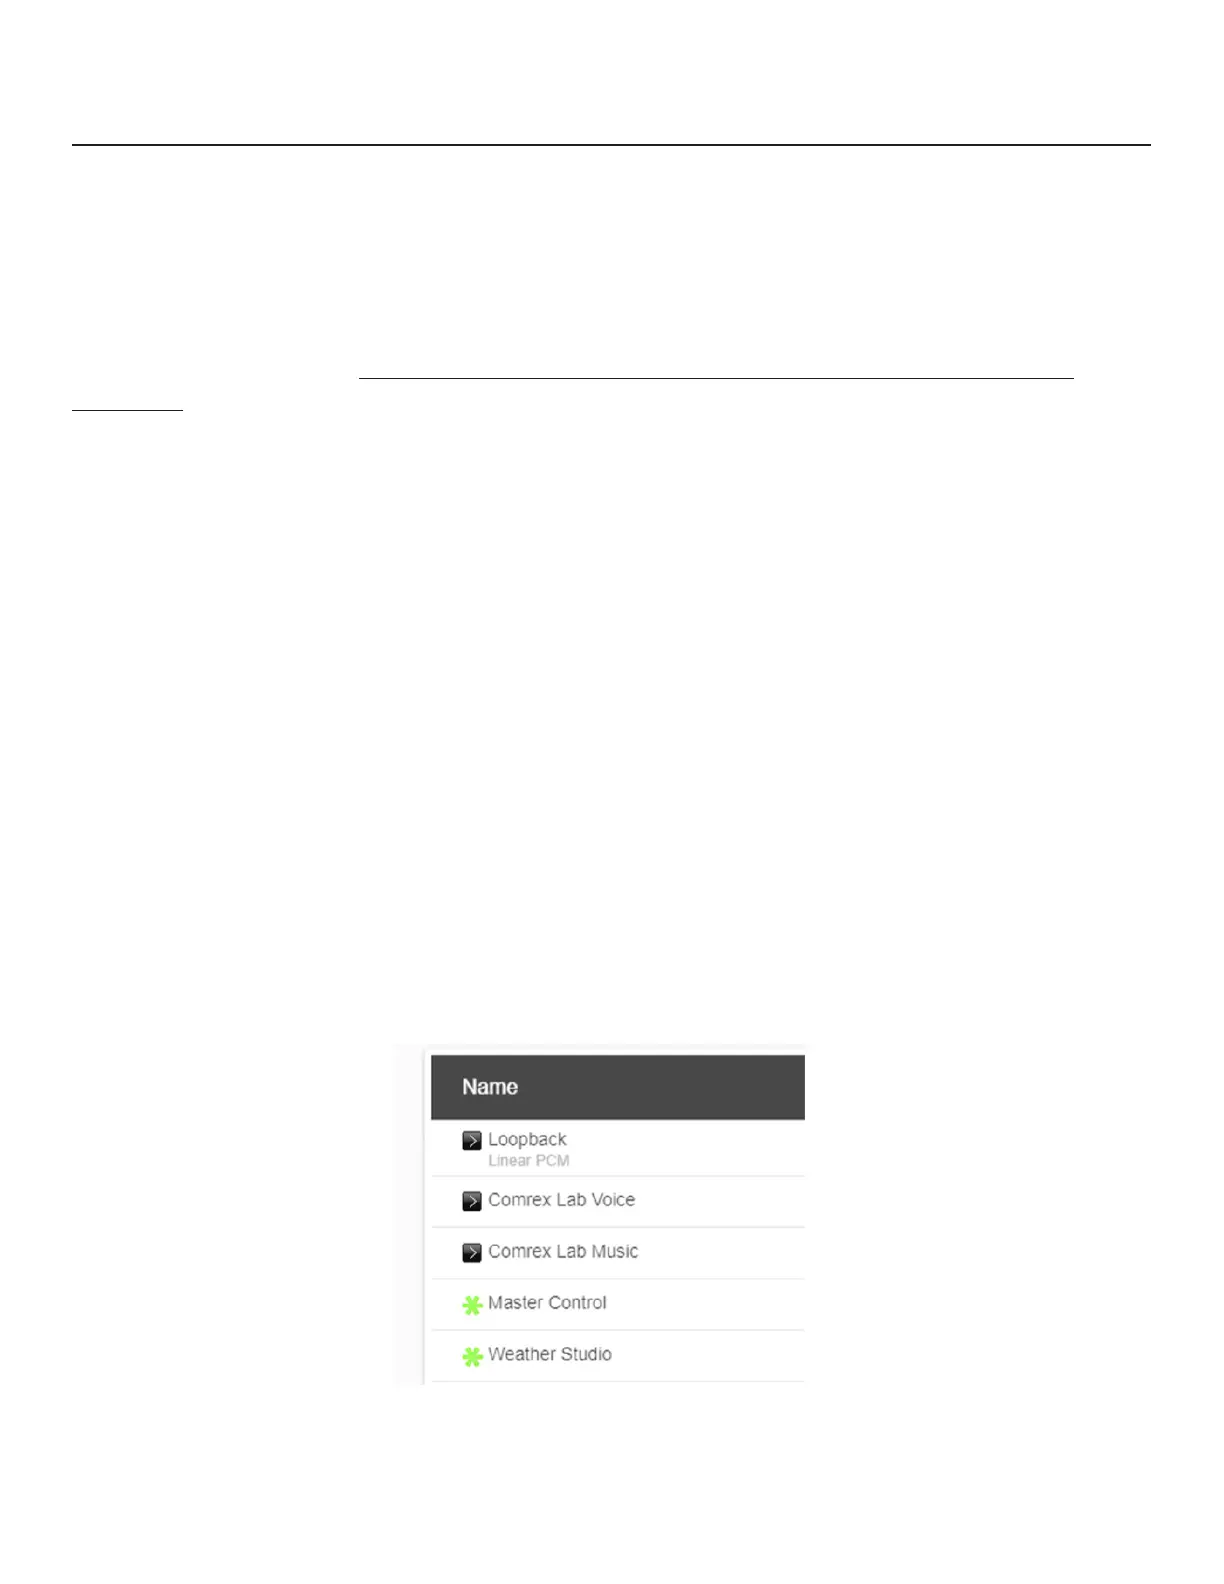
When Switchboard is used, the choice of “peers” to connect to appears in a dynamic list, as shown in . Any peer
showing a “gear” icon is a connecble codec. If that gear is green, the far-end is available for incoming connecons.
By selecng a Switchboard peer and clicking the edit “pencil’ icon on the right side, you can change several important
aspects of the Switchboard connecon:
1. - Determine whether the connecon will be made over the CrossLock Layer and port arrangement,
or over the legacy BRIC Normal protocol and port arrangement.
2. - This adds an extra layer of security to the connecon. This is a password that has been
programmed into the receiving codec, and will be required on the outbound side for proper connecon. Since
Switchboard provides its own connecon ltering, passwords are not normally used in this mode.
3. - Choose one of the factory-supplied or custom built proles for this connecon. This denes encoders
used in both direcons, along with a long list of other parameters. See the Prole secon in the setup secon for
more. If none is specied, the prole designated as default will be used.
4. - Described in the secon “Making Manual Connecons”.
47
 Loading...