22
MCU RADIO
DIP Function
1 Storage of the transmitters
3 Deletion of all the stored transmitters
2-4 NOT USED
5.5 DIP-SWITCH 1: STORAGE OF THE TRANSMITTERS
To store a transmitter TX1 on a blank control unit proceed as follows:
A Prepare the electrical connection to the main voltage 230 VAC, but do not connect the central unit.
B Set the transmitter dip-switch no.1 into ON position (all the other dip-switches must be in OFF position).
C R6 control only: press the key SELC of the transmitter repeatedly, until displayed by the led the selected channel.
D Connect the central unit to the 230 VAC voltage.
E Within 5 sec press and hold (for about 3/4 sec) the key PROG of the transmitter.
F Release the key PROG.
G Set the transmitter dip-switch no.1into OFF position.
H Wait 10 sec.
I Pressing the keys UP or DOWN, the actuator moves in opening/closing direction.
5.6 TO ADD ANOTHER TRANSMITTER (TX2) TO THE CONTROL UNIT IT IS NECESSARY TO USE A REMOTE CONTROL
PREVIOUSLY STORED (TX1) AND PROCEED AS FOLLOWS:
A R6 control only: press the key SELC of the already programmed transmitter repeatedly, until displayed by the led
the selected channel.
B Set the dip-switches no.1 into ON position of both transmitters.
C Press and hold for 15 seconds the key PROG of the transmitter 1 already programmed.
D Release the key PROG of transmitter 1.
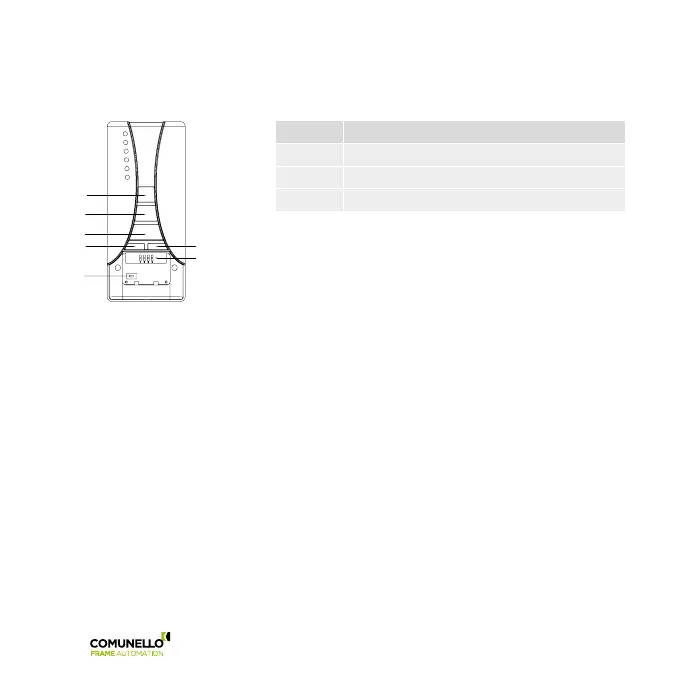
DIP-SWITCHE
UP
STOP
PROG
SELC
SELG