Thread the wires from the wall through the back of the large rectangu-
lar opening in the new rear plate (see Figure 3), and then position the
new rear plate against the wall to make sure it sits flush.
Use a small level or visually check that the rear plate is level; mark the
locations of the three (3) screw holes on the wall (see Figure 4).
Remove the rear plate from the wall and drill 3/16-inch mounting holes
at the three (3) screw hole locations you marked previously.
Press the plastic wall anchors (included) into the holes you drilled in
Step 8.
Re-thread the wires from the wall through the back of the rear plate of
the new Wireless Thermostat to place the rear plate against the wall
(see Figure 3).
5
6
7
8
9
10
11
12
13
Insert the mounting screws (included) into the plastic wall anchors and firmly tighten the
screws.
See “Sample Wiring Configurations” later in this document to determine the appropriate
wiring connections for your system configuration.
Connect the wires to the screw terminals in the rear plate, matching the labeled wires (see
Step 4d) to the letters on the terminals. The wiring can dier depending on the wires avail-
able.
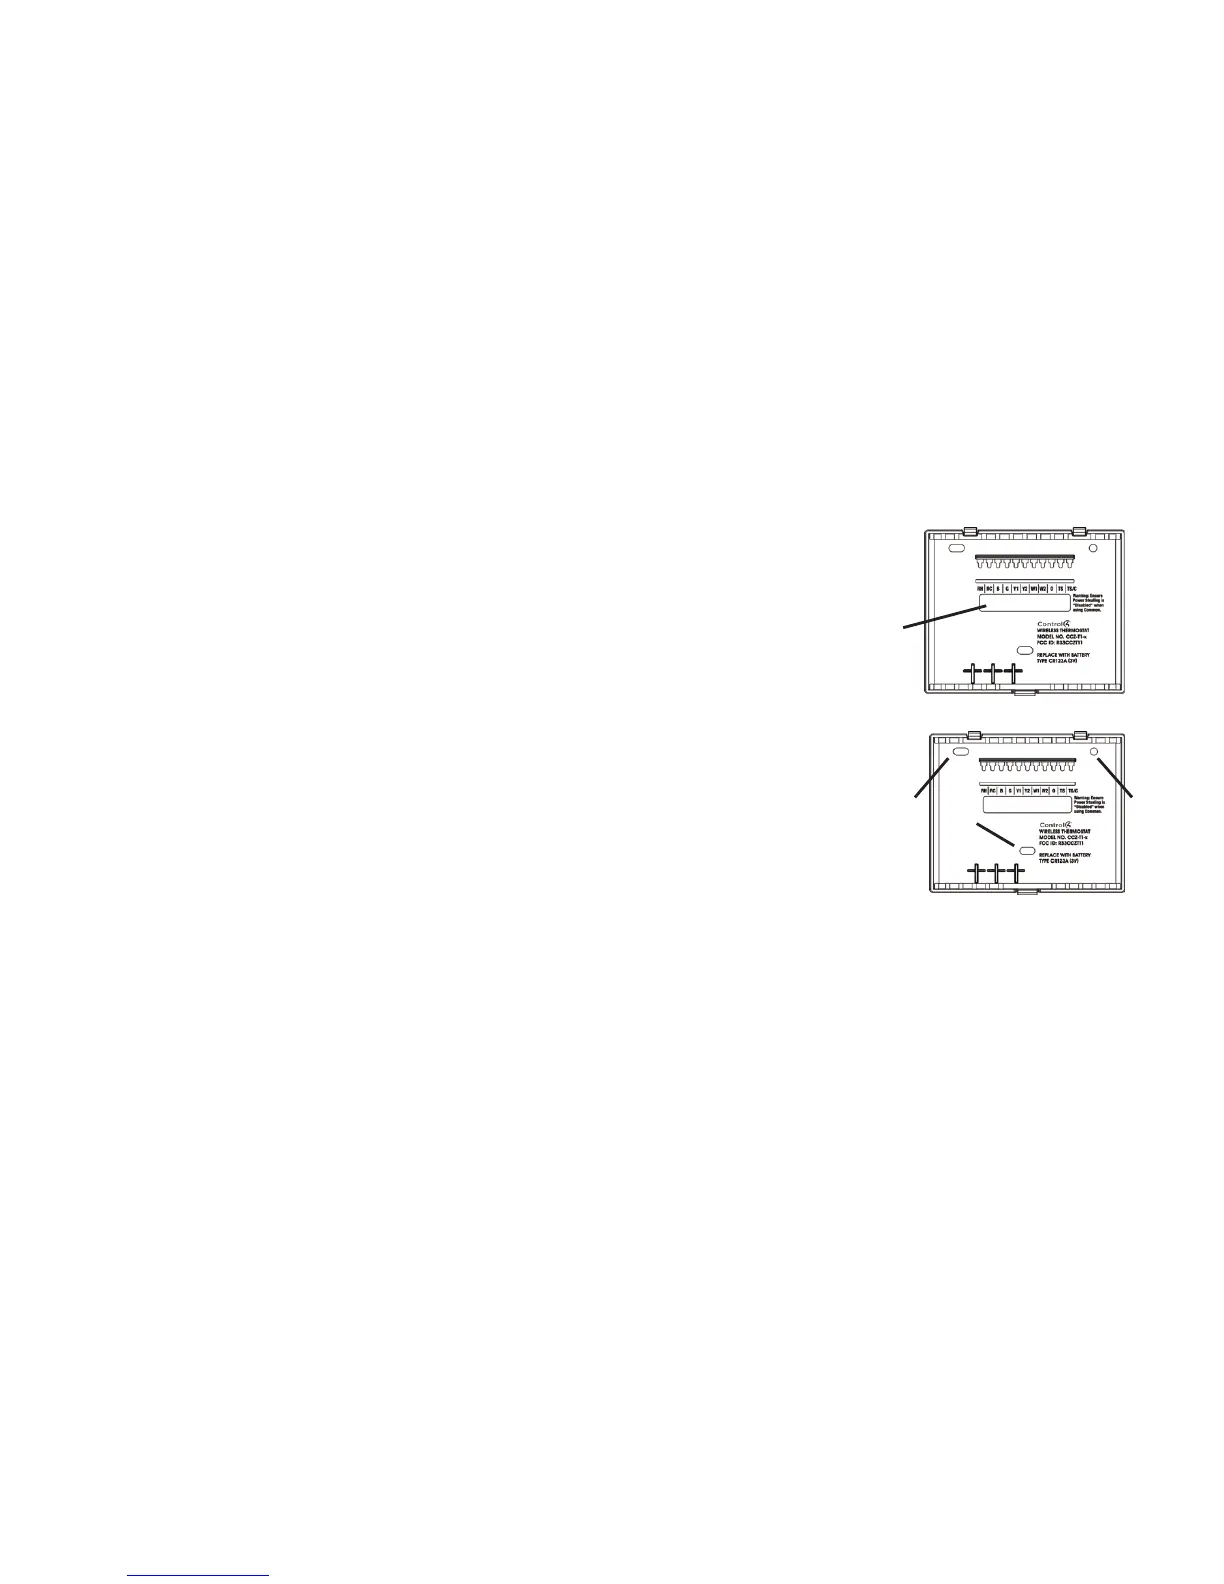
Figure 3. Opening
Figure 4. Screw Holes
8
Remove the Control4 Wireless Thermostat from the packaging, and detach the rear plate
from the Thermostat. (Press the release clip at the bottom of the Thermostat to release it,
and then swing the bottom of the Thermostat up.)
 Loading...
