EasyManua.ls Logo

convenience concepts AMERICAN HERITAGE 3 TIER END TABLE User Manual

convenience concepts AMERICAN HERITAGE 3 TIER END TABLE
4 pages
To Next Page IconTo Next Page
Page #1 background imageLoading...
Page #1 background image
AMERICAN HERITAGE
3 TIER END TABLE
7107159BL
7107159ES
7107159CH
7107159W
7107159DW
7107159MG
ASSEMBLY INSTRUCTIONS
We have designed our furniture with you , the customer in mind . Our clear , easy to follow ,
step by step instructions will guide you through the project from start to finish .
Feel confident that this will be a fun and rewarding project . The final product will be a quality
piece of furniture that will go together smoothly and give years of enjoyment .
Please do not return to the store
Broken or missing parts?
Need help with assembly?
If you have any questions just call 1-800-468-6447 or email us at
parts@convenience-concepts.com
STOP
Question and Answer IconNeed help?

Do you have a question about the convenience concepts AMERICAN HERITAGE 3 TIER END TABLE and is the answer not in the manual?

convenience concepts AMERICAN HERITAGE 3 TIER END TABLE Specifications

General IconGeneral
Brandconvenience concepts
ModelAMERICAN HERITAGE 3 TIER END TABLE
CategoryIndoor Furnishing
LanguageEnglish

Summary

Assembly Instructions

Product Identification

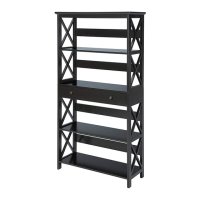
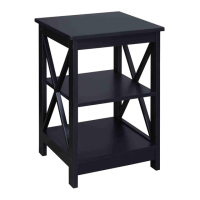
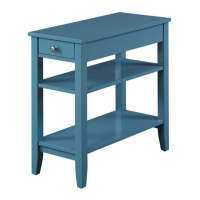
Product name and model numbers for the American Heritage 3 Tier End Table.

Customer Support Information

Contact details for assistance with missing parts or assembly questions.

Hardware and Parts Identification

Lists all hardware components and furniture parts with their respective quantities.

Basic Assembly Mechanism

Demonstrates the use of camlocks and wood dowels for joining furniture pieces.

Step 1: Back Frame and Side Panels

Connects side panels to the back frame using cambolts and camlocks.

Step 2: Shelves and Back Frame Assembly

Attaches middle and bottom shelves to the back frame using dowels and screws.

Step 3: Front Frame and Shelf Attachment

Connects the front frame to side panels and bottom shelf using cambolts and screws.

Step 4: Top Panel Installation

Attaches the top panel to the assembled furniture frame using camlocks.

Step 5: Drawer and Knob Assembly

Installs the knob on the drawer front and inserts the drawer into the unit.

Related product manuals