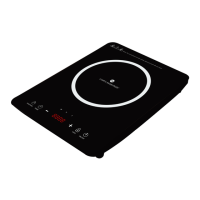
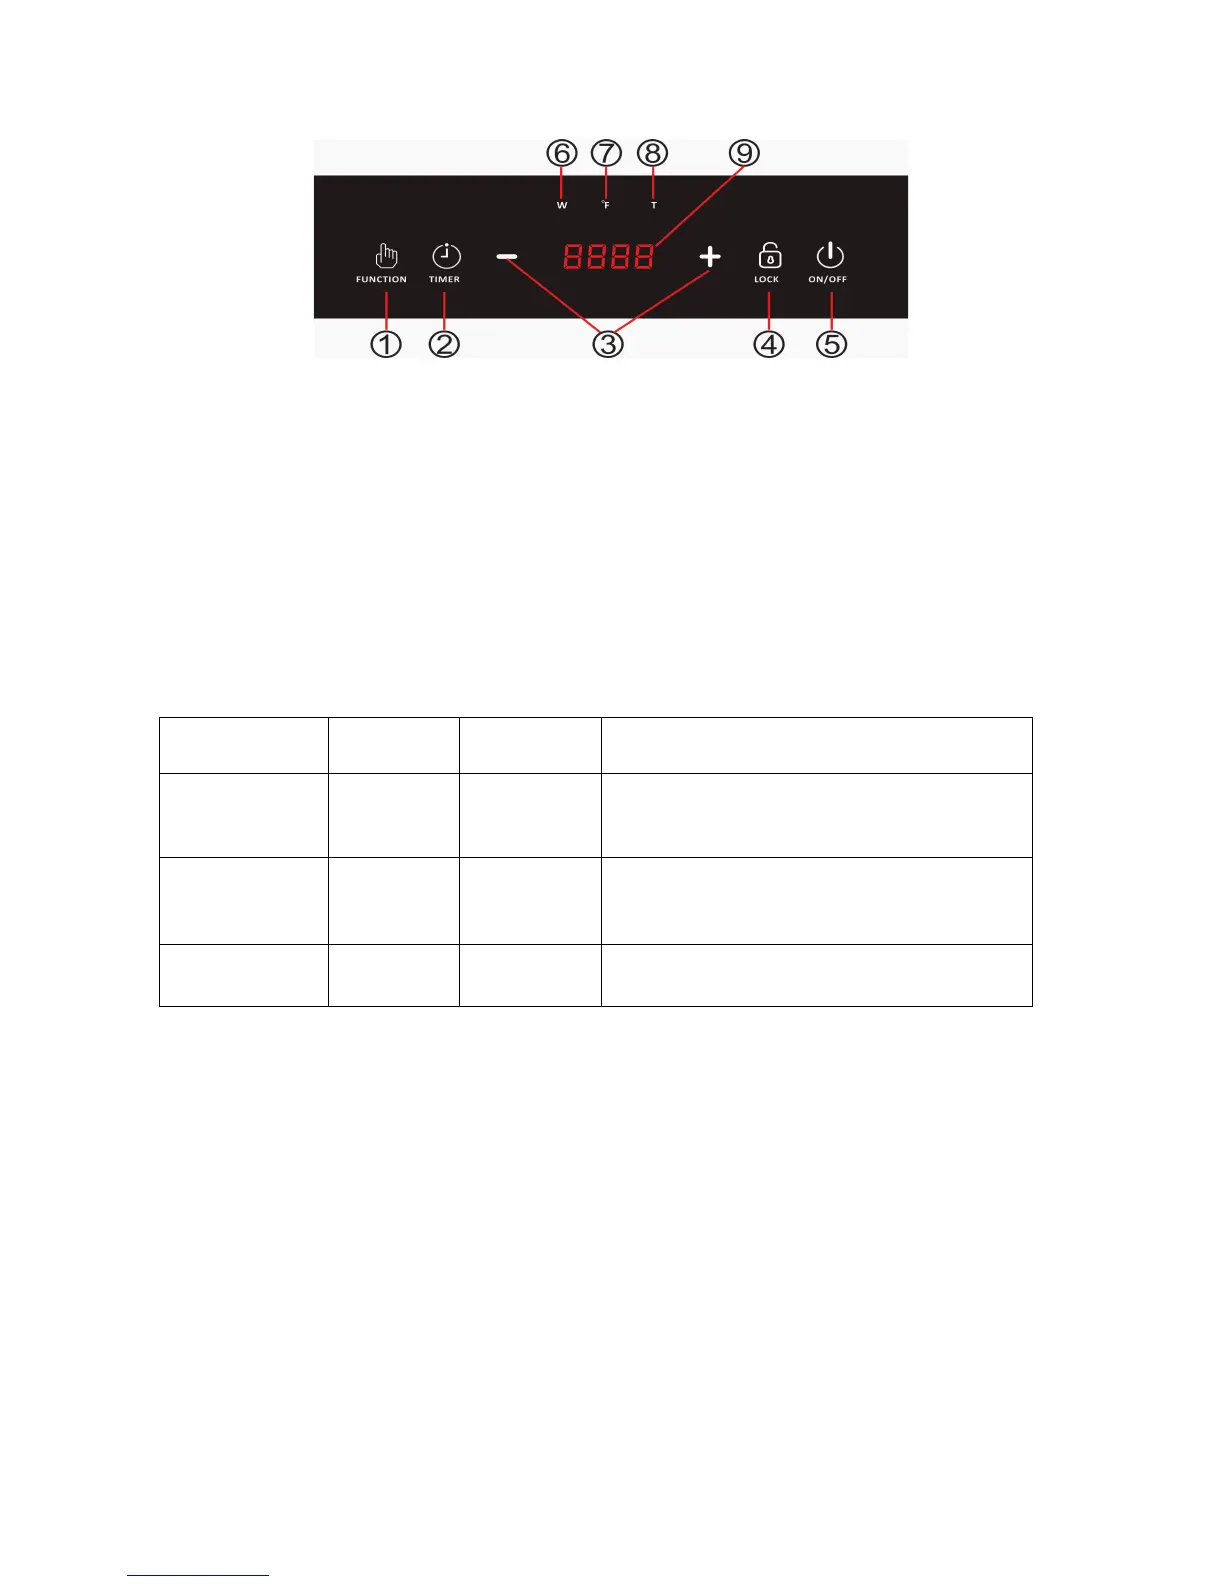
Using the Digital Control Panel
1. FUNCTION Button – Allows user to choose to cook by Wattage or by Temperature (°F). If
Wattage has been selected, a * will show under the W. If Temperature has been selected,
a * will show under the °F. Press the FUNCTION button to change from Wattage to
Temperature. After Wattage or Temperature has been selected, press the +/- buttons to
add/decrease Wattage or Temperature.
2. TIMER Button – Allows user to set a TIMER for cooking. After the TIMER button has been
selected (a * will show under the T), press the +/- buttons to add/decrease time. Once time
has elapsed, the display will go to the OFF position.
If the TIMER is not set, cooking will continue until the ON/OFF button is selected to manually
turn the device off. It will automatically turn off after approximately 2 hours.
3. +/- Buttons - Allows user to increase or decrease the Wattage, Temperature and Timer.
Options include
100W, 200W, 400W, 600W, 800W,
1000W,1200W,1300W,1400W,1500W
Options include
140°F, 212°F, 250°F, 280°F, 310°F,
340°F, 370°F, 400°F, 430°F, 460°F
1-minute increments (Press)
10-minute increments (Press & Hold)
4. LOCK Button – Allows user to LOCK all buttons. Press and Hold the LOCK button for 3
seconds once the unit is cooking and all buttons will be locked. To unlock the buttons, Press
and Hold the LOCK button for 3 seconds once again.
5. ON/OFF Button – Select ON/OFF button to begin cooking cycle or to power the device on
or off.
6. W – When the Wattage FUNCTION has been selected, a * will show under the W.
7. °F - When the Temperature FUNCTION has been selected, a * will show under the °F.
8. T – When the TIMER has been selected, a * will show under the T.
9. LED Display – Indicates Wattage, Temperature, Time, ON, OFF.