QD3 Quik-Drive Voltage Regulator Tap-Changer Manual
64
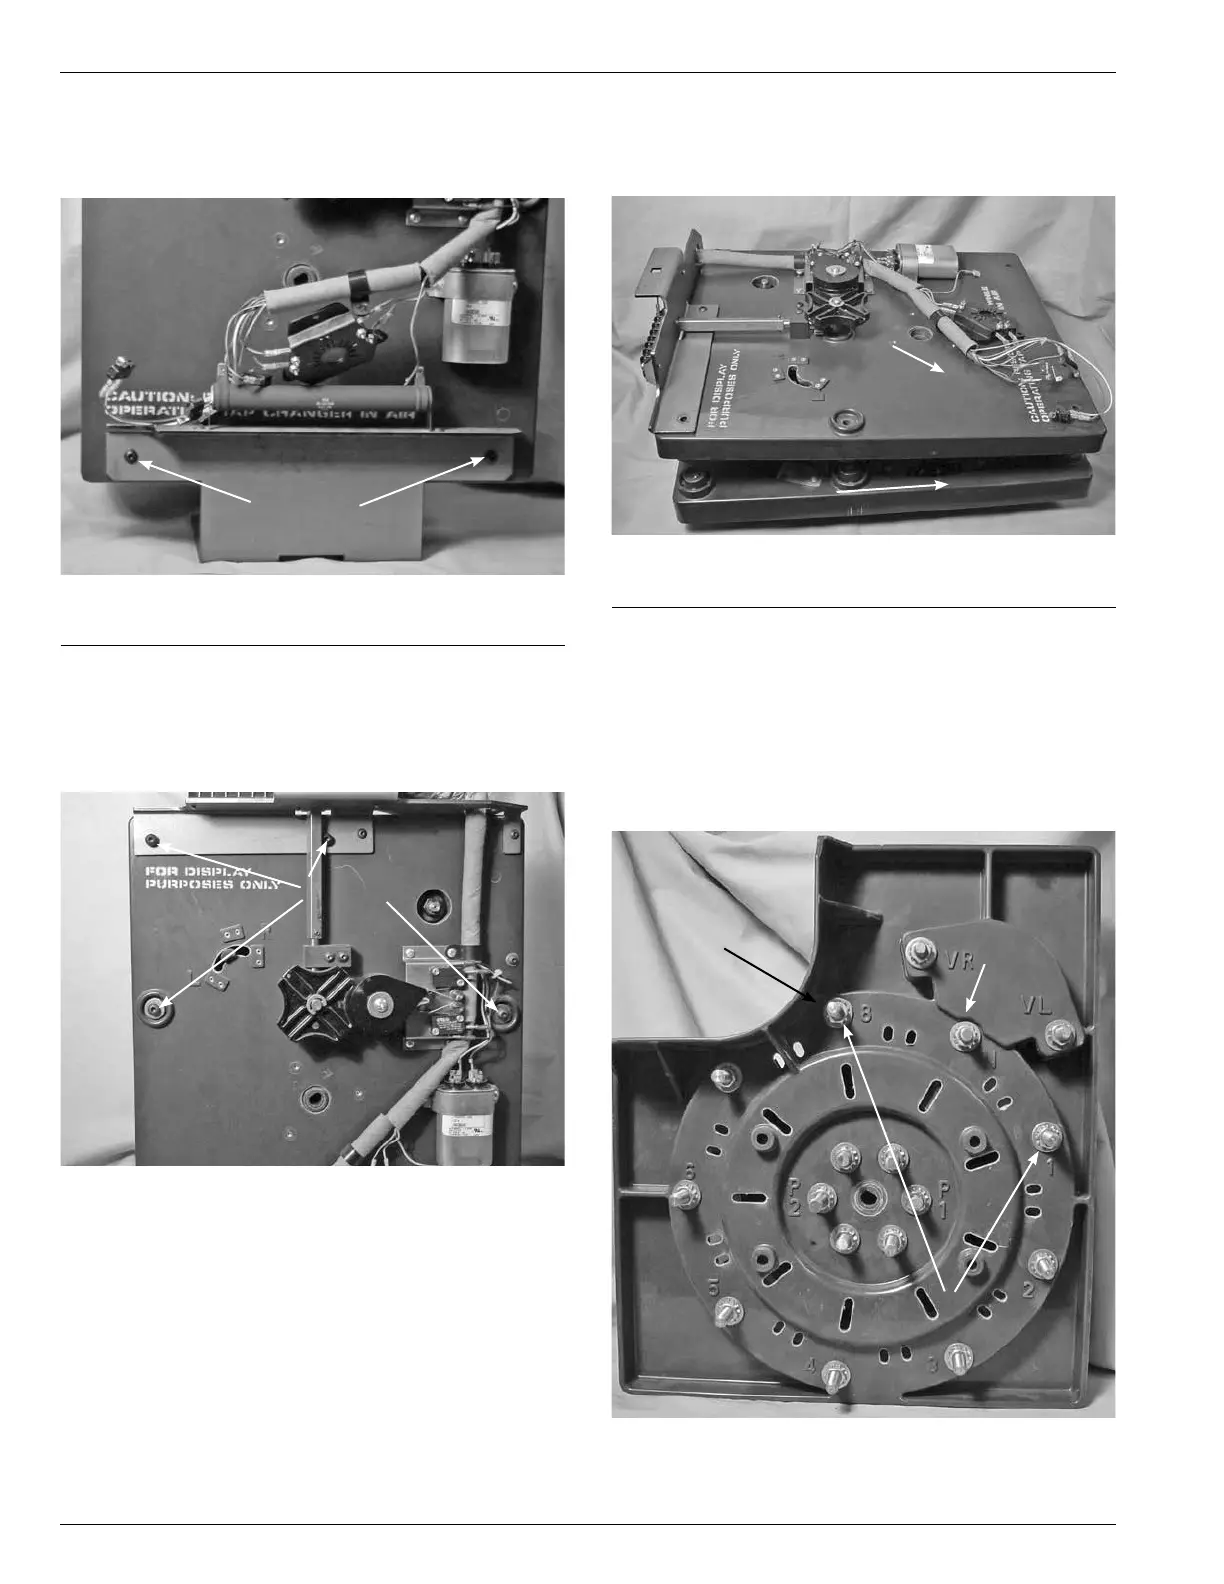
13. Using a 5/32 Allen wrench loosen and remove the two
pan head Allen screws from the tapchangermounting
bracket. (See Figure 192.)
14. Using a 5/32 Allen wrench, loosen and remove the pan
head Allen screws fastening the front drive assembly
section and the contact panel assembly section together.
(See Figure 193.)
Figure 192.
Tap-changer bracket mounting.
Bracket
Fastening
Screws
Figure 193.
Drive panel and contact panel fastening.
Screws
15. Lift the front drive assembly off of the contact assembly
and set aside. (See Figure 194.)
Figure 194.
Tap-changer sections.
Drive Assembly
Contact Panel
Reversing Moveable and Neutral
Stationary Contact Removal and
Re-assembly
1. Use a 9/16 wrench or a deep well 9/16 socket and
ratchet, loosen and remove the brass nut on stationary
contact one, remove the external tooth lock washer and
flat washer. (See Figure 195.)
Figure 195.
Stationary contacts.
Stationary
Contact
Eight
Stationary
Contact
One
Fastening Hardware