QD3 Quik-Drive Voltage Regulator Tap-Changer Manual
68
Figure 209.
Stationary contact panel assembly.
19. Replace the number 1 stationary contact by inserting
the contact stud into the contactmounting hole in the
contact panel. The contact position number is located
on the contact panel. (See Figure 208.)
20. Place a brass flat washer, external tooth lock washer,
and nut on the number 1 stationary contact stud.
Tighten and torque the hardware 6070 poundinch
(6.7797.908 Nm).
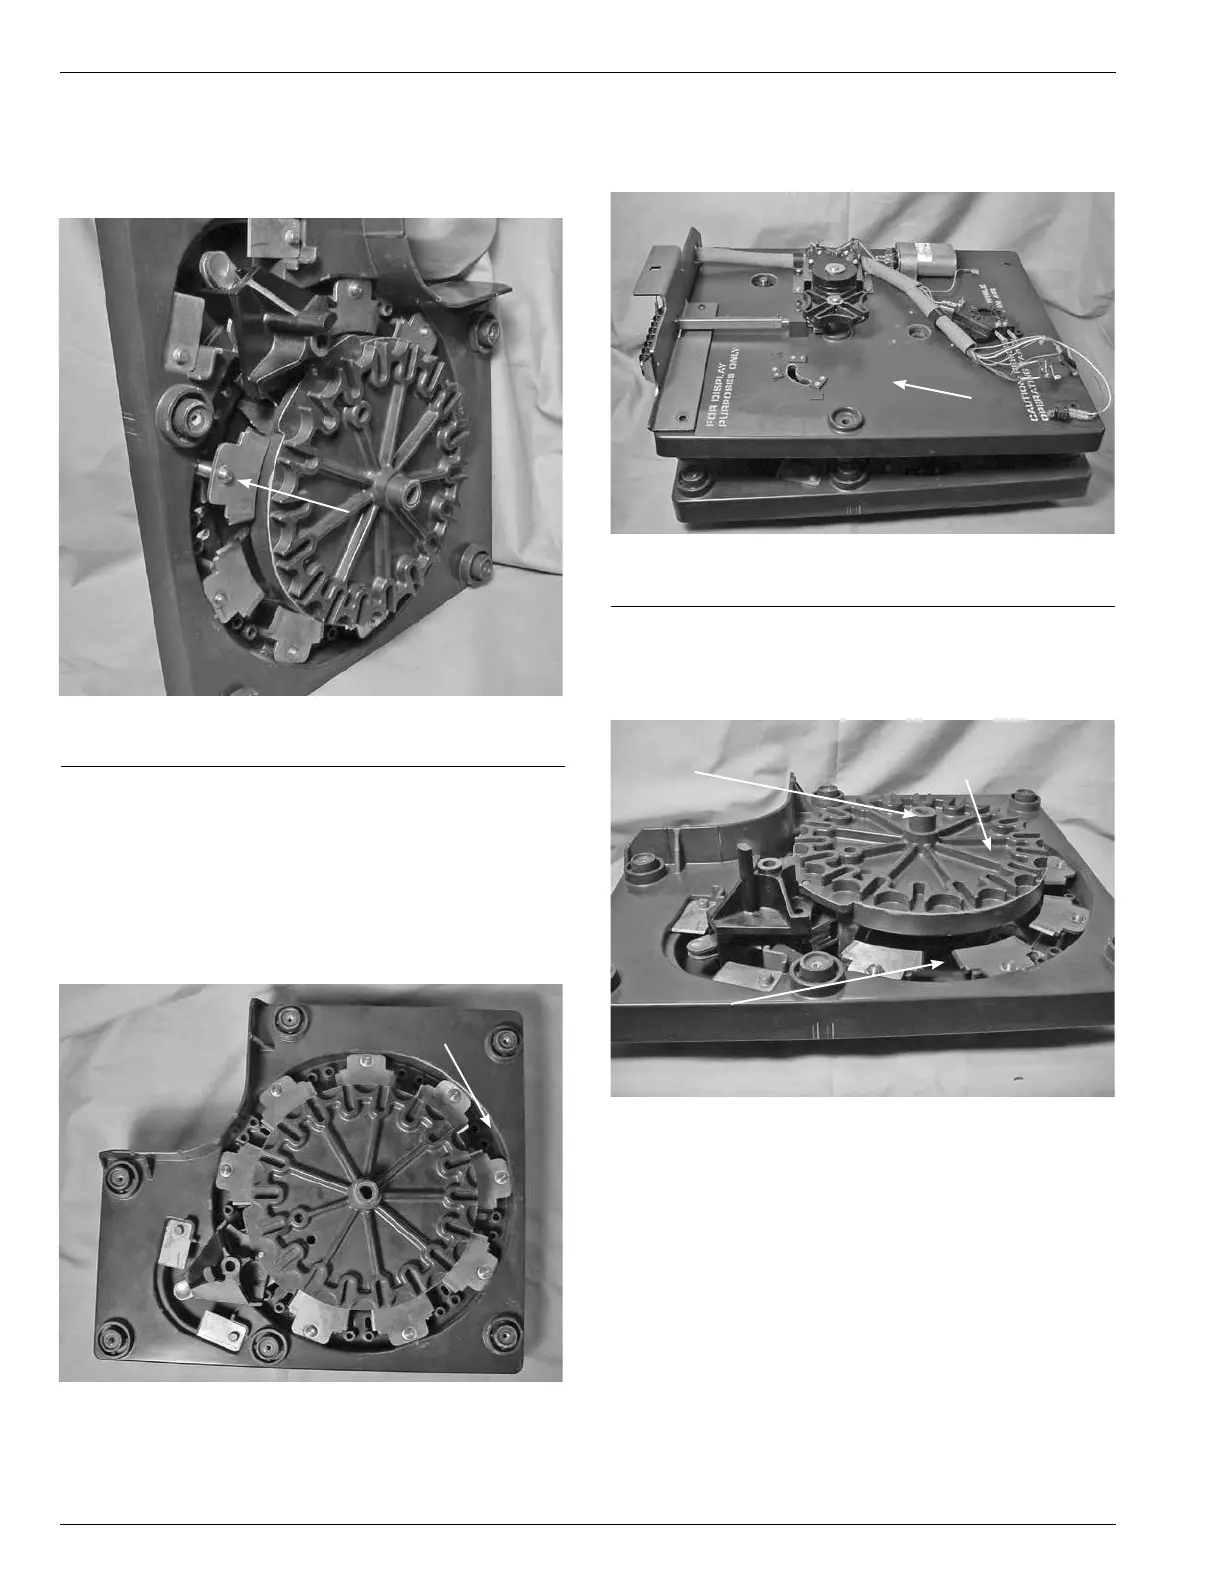
Tap-changer Re-assembly
1. Lay the contact panel assembly section flat on a table
surface. (See Figure 209.)
Figure 208.
P1 and P2 mounting holes.
Stationary
Contact
Assembly
Stationary
Contact
Panel
Assembly
2. Place and align the tapchanger drive assembly section
on top of the contact panel assembly. (See Figure
210.)
3. Align the center hub of the main moveable contact
assembly with the center hole in the tapchanger drive
assembly. (See Figures 211 and 212.)
Figure 210.
Tap-changer sections.
Drive Panel
Assembly
Figure 211.
Contact assembly and main moveable contacts.
Stationary Contract
Assembly
Main Moveable
Contact Assembly
Hub