 Loading...
Do you have a question about the Corsair CRYSTAL SERIES 570X and is the answer not in the manual?
| Case Type | Mid Tower |
|---|---|
| Motherboard Support | ATX, Micro-ATX, Mini-ITX |
| Material | Steel, Tempered Glass |
| Expansion Slots | 7 |
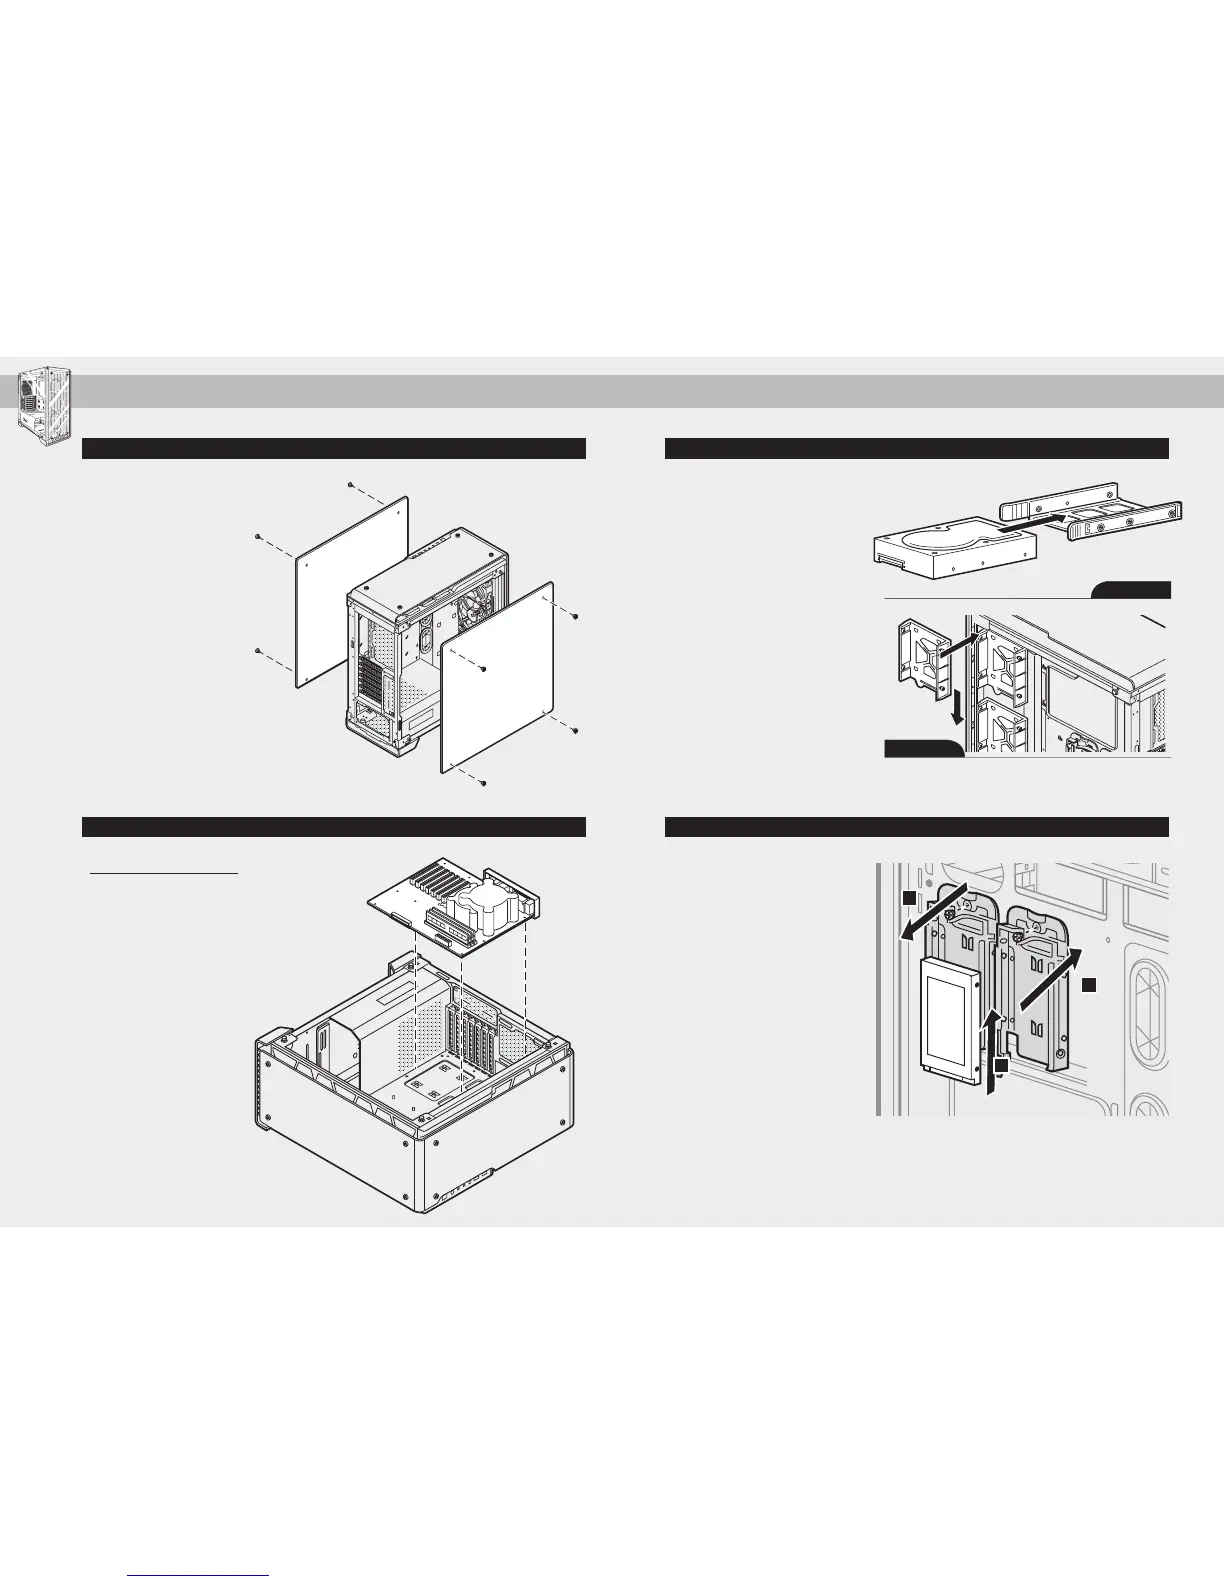
| Drive Bays | 2x 3.5in, 2x 2.5in |
| Dimensions | 480mm x 234mm x 512mm |
| Weight | 10.9 kg |
| Maximum GPU Length | 370mm |
| Maximum CPU Cooler Height | 170mm |
| Maximum PSU Length | 225mm |
| Radiator Compatibility | Up to 360mm |
| Fan Support | Front: 3 x 120mm; Top: 2 x 120mm or 2 x 140mm; Rear: 1 x 120mm |
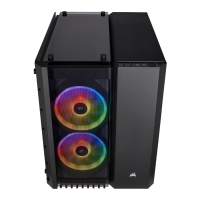
| Pre-installed Fans | 3 x 120mm RGB |
| Front I/O Ports | 2 x USB 3.0, 1 x Headphone, 1 x Microphone |