Do you have a question about the Cosmo 668ICS 750 and is the answer not in the manual?
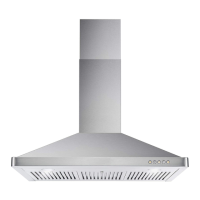
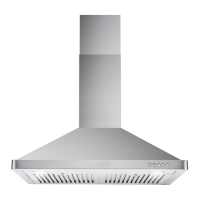
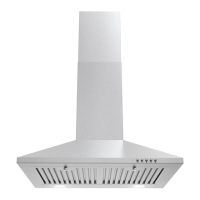
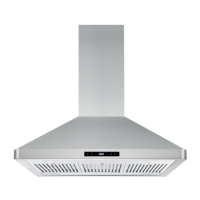
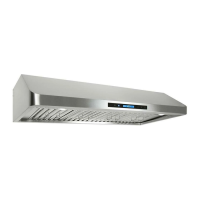
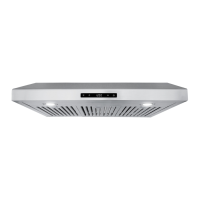
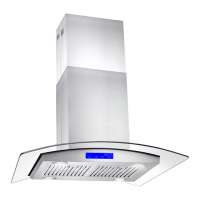
| Material | Stainless Steel |
|---|---|
| CFM | 750 |
| Number of speeds | 4 |
| Lighting | LED |
| Noise Level | 65 dB |
| Number of Motors | 1 |
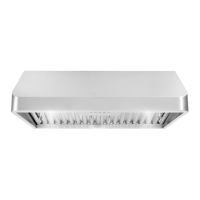
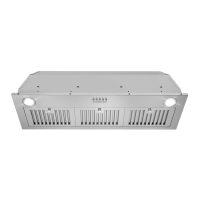
| Filter Type | Baffle |
| Control Type | Touch |
Filters are constructed from stainless steel, requiring no linings and allowing reuse after cleaning.
Filters trap grease by forcing air to change direction rapidly, catching grease on metal blades.
Advises on proper use, service panel disconnection, qualified installation, air circulation, and avoiding electrical wiring.
Details the importance of grounding for electrical safety and proper installation of the appliance.
Covers placement, optimal height, duct connection, and avoiding adverse environmental factors for performance.
Measure and record the desired height for the range hood installation, typically 24" to 36" above the cooktop.
Connect the duct to the air outlet of the range hood using HVAC foil tape.
Attach the Lower Support Frame pieces to the Blower Assembly using provided screws.
Drill holes in the ceiling using the Ceiling Mount as a template and secure it with anchors and screws.
Align and securely screw the Upper Support Frame pieces to the mounted Ceiling Mount.
Slide the Lower Support Frame into the Upper Support Frame and screw them together at the measured height.
Extend the duct from the Blower Assembly through the Ceiling Mount and connect to existing ductwork.
Screw the Inner Chimney back and front pieces to the Ceiling Mount and connect them together.
Connect and screw the Outer Chimney back and front pieces together and to the assembly.
Secure the Outer Chimney pieces to the Blower Assembly from the bottom of the range hood.
Reinstall the Baffle Filters by aligning filter pins with holes and engaging the filter lock.
Instructions for installing charcoal filters in ductless models, including filter placement and securing.
Details the function of Timer, Light, and Fan Speed buttons on the soft touch control panel.
Explains how to turn the unit on and off using the power button.
Step-by-step guide to setting the clock on the range hood using the control panel buttons.
Recommendations for cleaning the range hood exterior, baffle filters, and avoiding cleaning motor/electrical parts with liquids.
Procedure for safely replacing LED lamps, including unplugging and removing the old lamp.
Troubleshooting steps for a noisy range hood, focusing on debris and secure mounting.
Diagnosing and resolving issues with reduced performance, such as distance, airflow, or motor wear.
Solutions for a shaking range hood, emphasizing secure installation and fan/motor integrity.
Steps to address a motor that no longer runs, involving control panel or motor assembly checks.
Guidance on replacing LED lamps when they fail.
Details on finding model/serial numbers and customer support contact information.
Explains requirements for warranty service, including proof of purchase and problem description.
Outlines the terms of the 5-year manufacturer's part warranty, including coverage and customer responsibilities.