Do you have a question about the Cosmo 668A750 and is the answer not in the manual?
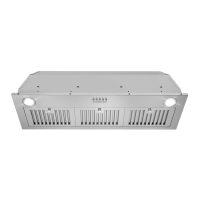
Details the construction and reusability of stainless steel baffle filters.
Explains the grease trapping mechanism of baffle filters.
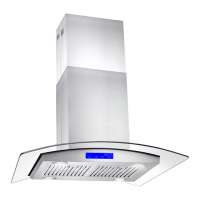
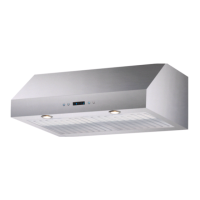
Identifies the primary components of the 668A and 668AS range hood models.
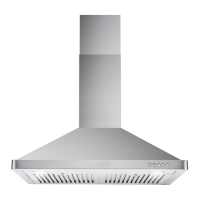
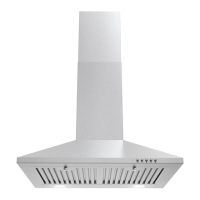
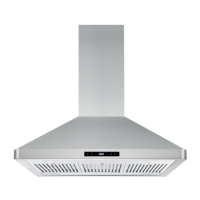
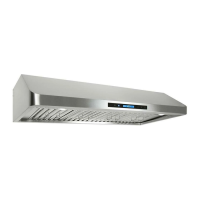
Identifies the primary components of the 63190FT and COS-631 range hood models.
Ensures proper performance by positioning the hood correctly above the cooktop.
Guidelines for exhaust pipe length, bending, and connection to ventilation.
Instructions for ensuring the range hood is securely mounted and level.
Details the specific hardware parts included for installation, such as screws and anchors.
Guides on placing the hood on the wall and marking the installation position.
Instructions for drilling holes, inserting anchors, and hanging the hood.
Details on connecting the exhaust pipe to the top air outlet.
Procedure for attaching the mounting bracket to the inner chimney cover.
Guidance on inserting the inner chimney cover into the outer chimney cover.
Instructions for attaching the outer chimney cover to the unit body.
Steps for extending and fixing the inner chimney cover to the wall.
Instructions for extending the exhaust pipe to the building's vent or outside.
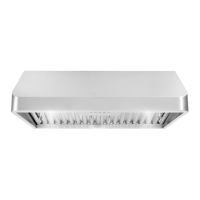
Guidance on inserting and installing the range hood filters.
Explanation of buttons for light, fan speeds, and power on/off.
Description of buttons for light, timer, display, fan speed, and power.
Instructions for cleaning the outer surface and baffle filters using mild solutions.
Procedure for safely replacing LED lamps, including filter removal.
Solutions for range hood noise, including checking for debris and loose parts.
Troubleshooting steps for reduced performance, such as placement and airflow.
Guidance on fixing range hood shaking by checking installation and motor stability.
Troubleshooting steps for when the motor fails to operate.
Guidance on replacing burnt-out light bulbs with new LED lamps.
Details the 1-year warranty for functional parts and exclusions.
Outlines conditions not covered by warranty, such as misuse, accident, and cosmetic damage.
| Brand | Cosmo |
|---|---|
| Model | 668A750 |
| Category | Ventilation Hood |
| Language | English |