11
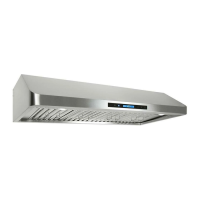
Top /Rear Mounted Installation
* Due to the weight of the unit, we recommend mounting the Range Hood to the wall first
and then secure it to the bottom of the cabinet using the top mounting holes.
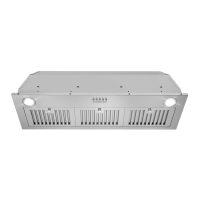
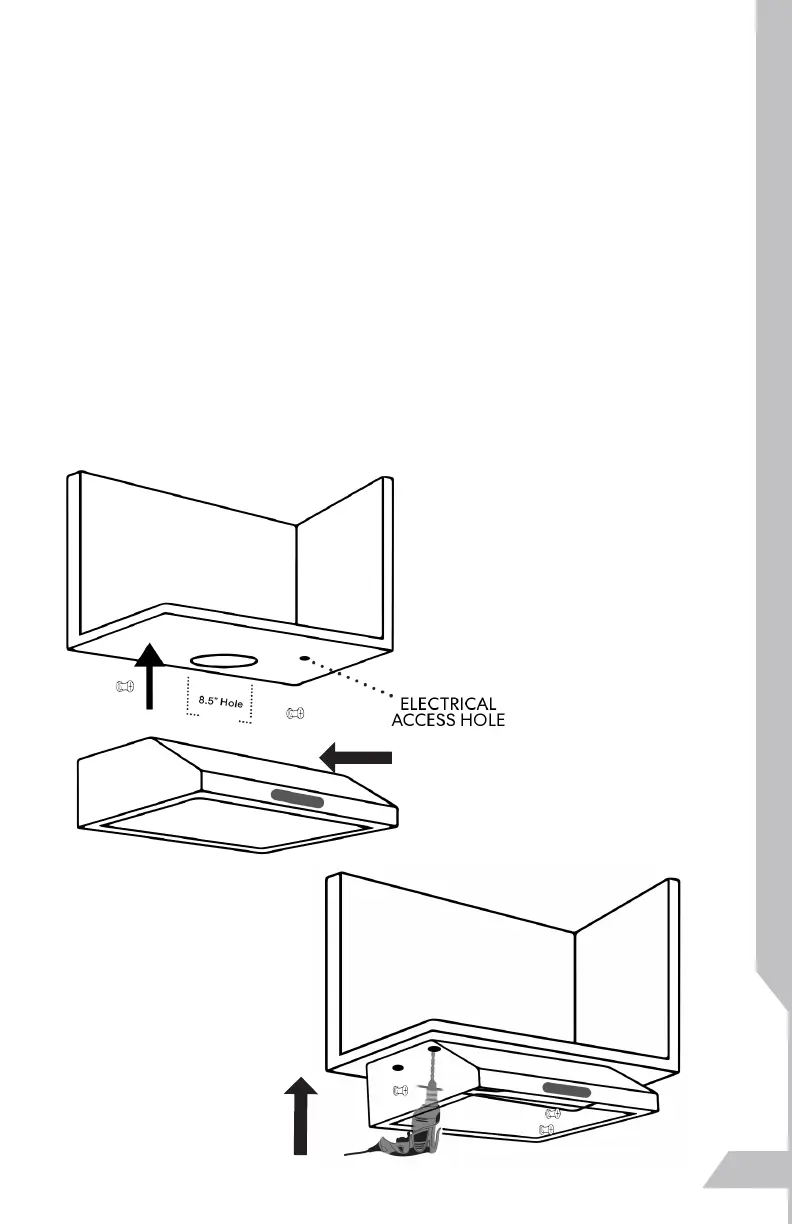
1.) Find the key holes at the back and top of the Range Hood. Mark their locations at the
installation location (Wall / Bottom of Cabinet) with a pencil or marker.
2.) Drill (4) 5/16" (8mm) holes into wall at each of the marked locations. (You may choose
to drill an electrical access hole through bottom of cabinet as well)
3.) Insert included drywall anchors into wall holes. Firmly tap them into place.
4.) Insert screws into anchors and leave 1/4" out for Range Hood to hang on.
5.) Hang your Range Hood into place by aligning the screws with the four holes in the back
of the range hood.
6.) Once Range Hood is secured to the wall, locate the top key holes and Insert wood
screws through top holes and fasten the Range Hood to the bottom of the cabinet by tight-
ening screws with a drill or screwdriver.
7.) Run attached ducting through cabinet as required and electrical wires through electrical
access hole.
Drill all holes first
Hang unit on wall
Secure to cabinet
through holes on top-
Drill from inside unit.
 Loading...