3
Step 3
1. To install the Switch Housing Assembly (#9), locate both modular
wiring plugs (A) and (B). One extends from the mounting plate (E) on
bottom of fan body and one extends from the Switch Housing (#9).
Align the two plugs so the latch on the side of the plugs will engage when
pushed together. Push the two plugs firmly together until latched.
2. Loosen 2 of the 3 screws (F) on mounting plate. Completely remove
one of the screws. Raise switch housing (#9) and align the mounting
slots (D) in the switch housing with the mounting screws (F) on the
mounting plate on bottom of fan body. Rotate the switch housing to the
right until the two screws are completely seated into mounting slots.
Replace screw that was removed. Tighten the three mounting screws
securely.
IMPORTANT: Be sure that no wires are caught in mounting slots or pinched between
switch housing and mounting plate.
Modular Wiring Plug (A)
Modular Wiring Plug (B)
Switch Housing (9)
Tornillos (F)
Ranuras de montaje (D)
Placa de montaje (E)
Step 4
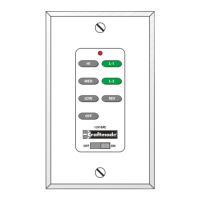
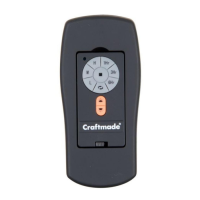
Wall Bracket Installation
Your remote control unit is designed to be operable mounted to the wall.
Included with the unit is a wall mount bracket, two screws and two wall
anchors. Hold the bracket against the wall to mark the screw holes. Make
a one-quarter inch hole on the marks. Press the wall anchors into the holes.
Unsing the screws, fasten the bracket to the wall anchors as illustrated.
The back side of the remote is slotted to fit easily on the bracket. The
remote can be operated from the wall, or taken off the bracket and used
as a hand unit.
Wall
Anchor
Wall
Bracket
Mounting
Screws
4