Do you have a question about the Craftsman 11580 - C3 19.2 Volt Hammer and is the answer not in the manual?
Keeps the workspace clean and well-lit to prevent accidents. Ensures proper lighting and organization.
Precautions regarding power tool plugs, grounding, and cords to prevent electric shock.
Emphasizes staying alert, using safety equipment, and avoiding distractions during operation.
Detailed safety guidelines specific to power tool operation, including eye and lung protection.
Instructions for charging, storing, and handling battery packs to prevent damage and injury.
Guidance on tool maintenance and repair, recommending qualified technicians and original parts.
Explains the meaning of various symbols used on the product for safe and effective operation.
Details the importance of professional servicing and using identical replacement parts for safety.
Highlights critical safety precautions, including reading the manual and using eye protection.
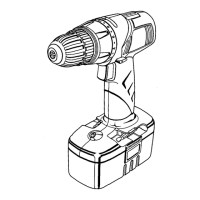
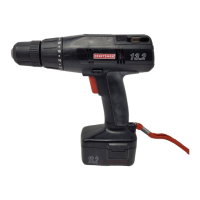
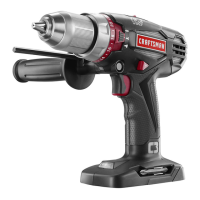
Lists key technical details of the hammer drill, including chuck size, voltage, and speed.
Describes the function and operation of the keyless chuck for easy bit insertion and removal.
Explains the 24-position clutch for selecting appropriate torque for driving screws.
Details the two-speed settings (LO/HI) for drilling or driving applications based on power and speed needs.
Explains how the switch trigger controls speed and torque, allowing for precise operation.
Instructions for safely unpacking the tool and checking for any damaged or missing parts.
Step-by-step guide to attach the auxiliary handle for better control and ease of use.
Lists the various uses for the hammer drill, such as drilling wood, metal, and masonry.
Procedures for safely inserting and removing the battery pack from the tool.
How to operate the drill using the switch trigger for ON/OFF and variable speed control.
Explains the selector for forward, reverse, and center lock modes to control bit rotation direction.
Detailed instructions on how to tighten and loosen the keyless chuck to secure drill bits.
How to use the slide switch to select between low (LO) and high (HI) speed settings for different tasks.
Guidance on using the 24-position clutch to set the appropriate torque for driving screws.
Information on where to store drill bits when they are not in use on the tool.
Step-by-step instructions for correctly inserting and securing drill bits into the keyless chuck.
Procedure for safely removing drill bits from the keyless chuck.
How to adjust and secure the auxiliary handle for optimal grip and control during operation.
Instructions for setting the depth stop rod to control the depth of drilled holes.
How to choose between drill, screw, and hammer modes for different applications.
Best practices for drilling, including using levels, securing material, and applying pressure.
Specific tips for drilling into wood, including speed, pressure, and preventing edge tear-out.
Guidance for drilling into metal, focusing on bit selection, speed, lubrication, and avoiding overheating.
Instructions for drilling into masonry materials like brick, tile, and concrete using hammer mode.
Advice on cleaning the tool, avoiding solvents, and handling plastic parts safely.
Recommendations for maximizing battery life and proper storage conditions for Li-ion and Ni-Cd batteries.
Procedures for safely removing and replacing the drill chuck.
How to fix a wobbly chuck or a loose chuck screw to ensure proper function.
Lists parts with corresponding key numbers and descriptions for ordering replacements.