EasyManua.ls Logo

Craftsman 139.53635SRT User Manual

Craftsman 139.53635SRT
40 pages
To Next Page IconTo Next Page
Page #1 background imageLoading...
Page #1 background image
Garage Door Opener
Models:
139.53225SRT - 1/4 HP
139.53325SRT - 1/3 HP
139.53425SRT - 1/2 HP
139.53628SRT - 1/2 HP
139.53629SRT - 1/2 HP
139.53635SRT - 1/2 HP
139.53637SRT - 1/2 HP
139.53824SRT - 1/2 HP
For Residential Use Only
Complies with
UL 325
Regulations
effective
January 1, 1993.
®
®
Owner's Manual
Please read this manual and the enclosed safety materials carefully!
Fasten the manual near the garage door after installation.
The door WILL NOT CLOSE unless the Protector System
®
is connected and
properly aligned
Periodic checks and adjustment of the opener are required to ensure safe
operation.
The model number label is located under the light lens on the front end panel
of your opener as shown.

Table of Contents

Question and Answer IconNeed help?

Do you have a question about the Craftsman 139.53635SRT and is the answer not in the manual?

Craftsman 139.53635SRT Specifications

General IconGeneral
TypeChain Drive
DriveChain
Horsepower1/2 HP
Voltage120V AC
Frequency60 Hz
Remote ControlYes
Max Door Height7 ft
Battery BackupNo
Warranty1 year

Summary

Tools and Preparations

Required Tools for Installation

Lists all necessary hand tools for assembling and installing the opener.

Sectional Door Installation Guidance

One-Piece Door Installation Guidance

Opener Carton Inventory

Hardware Identification

Assembly Hardware

Lists specific hardware required for the opener assembly process.

Installation Hardware

Lists specific hardware required for the opener installation process.

Safety Reversing Sensor Hardware

Lists specific hardware for the safety reversing sensor installation.

Opener Assembly: T-rail and Pulley Bracket

Opener Assembly: Trolley and T-rail Mounting

Opener Assembly: Chain, Cable, and Sprocket Cover

Opener Assembly: Chain Tightening

Important Installation Safety Instructions

Installation: Header Bracket Location

Installation: Header Bracket Mounting

Installation: Attach T-rail to Header Bracket

Installation: Position the Opener

Installation: Hang the Opener

Installation: Install the Wall Control

Installation: Lights and Emergency Release

Install Light and Lens

Installs the light bulb and the protective lens for illumination.

Attach Emergency Release Rope and Handle

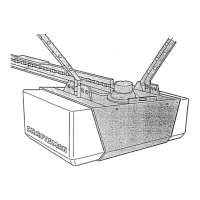
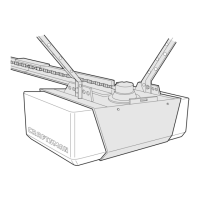
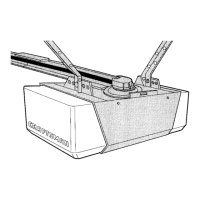
Attaches the emergency release rope and handle for manual operation.

Installation: Electrical Requirements

Installation: Safety Reversing Sensor

Installation: Fasten Door Bracket

Installation: Connect Door Arm to Trolley (Sectional)

Installation: Assemble and Connect Door Arm (One-Piece)

Adjustment: Travel Limits

Adjustment: Force Settings

Adjustment: Safety System Testing

Opener Care and Maintenance

Opener Operation

Remote Control Programming

Troubleshooting Common Problems

Troubleshooting Continued

Repair Parts Identification

Opener Assembly Parts Identification

Optional Accessories

Warranty and Service Information

How to Order Repair Parts

Guide on obtaining replacement parts for the garage door opener.

Sears Warranty Details

Outlines the terms and conditions of the product warranty.

Related product manuals