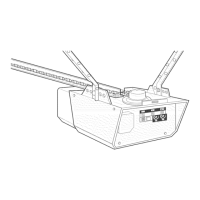
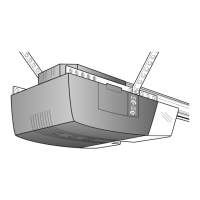
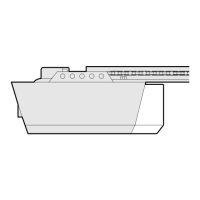
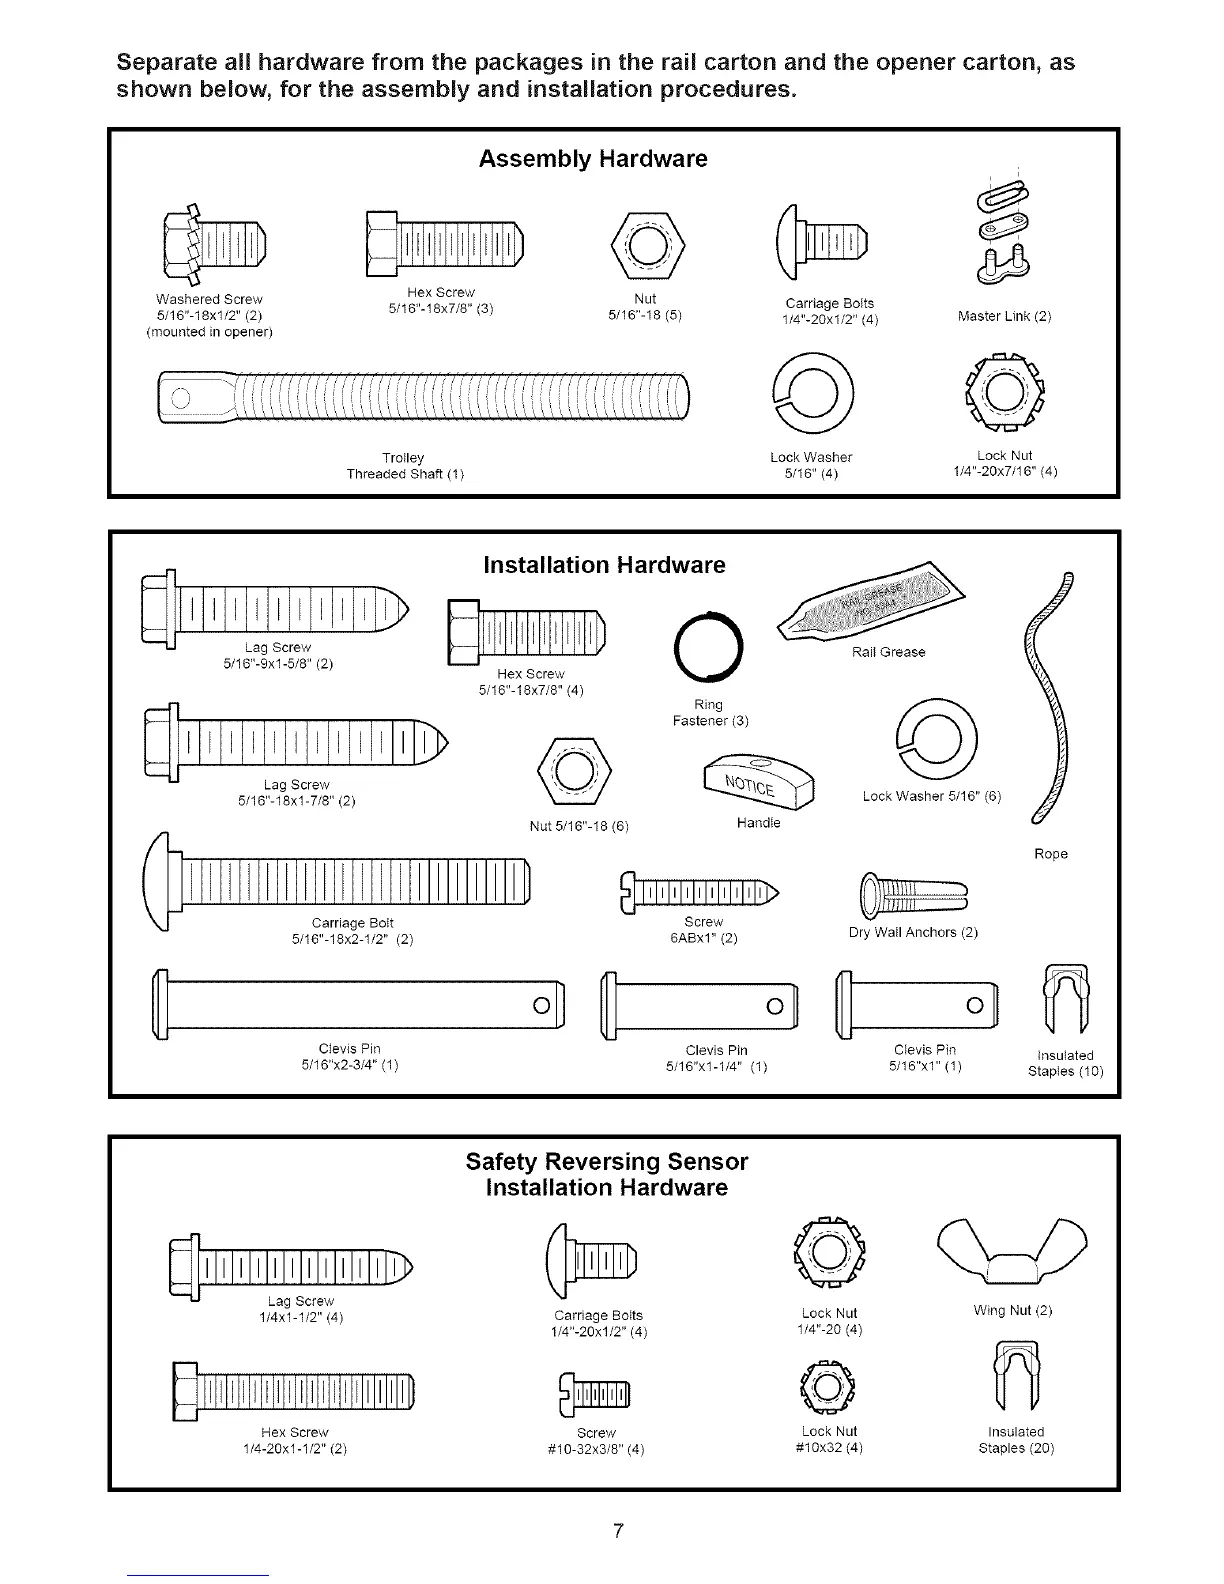
Separate all hardware from the packages in the rail carton and the opener carton, as
shown below, for the assembly and installation procedures.
Assembly Hardware
i
Washered Screw Hex Screw Nut
5/16"-18x 1/2" (2) 5/16"-18x7/8" (3) 5/16"-18 (5) Master Link (2)
(mounted in opener)
Trotley
Threaded Shaft (1)
Carriage Botts
1/4"-20xl/2" (4)
©
Lock Washer
5/16" (4)
©
Lock Nut
1/4"-20x7/16" (4)
Installation Hardware
0
5/16"-18x7/8" (4)
l E I I E I I I E I I I_
Lag Screw
5/16"-18xl -7/8" (2)
Carriage Bolt
5/16"-18x2-1/2" (2)
CIevis Pin
5/16"x2-3/4"(1)
©
Nut 5/16"-18 (6)
Ring
Fastener (3)
Handle
_ IIllllllllllllllllll]>
Screw
6ABxl" (2)
o] _ ol
Clevis Pin
5/16"x1-1/4" (1)
Rail Grease
©
Lock Washer 5/16" (6)
Dry Wall Anchors (2)
Rope
Clevis Pin Insulated
5/16"xl" (1) StapIes (16)
Hex Screw
1/4-20x1-1/2" (2)
Safety Reversing Sensor
Installation Hardware
Carriage BoIts
1/4"-20xl/2" (4)
Screw
#10-32x3/8" (4)
©
Lock Nut
1/4"-20 (4)
©
Lock Nut
#10x32 (4)
Wing Nut (2)
Insulated
Staples (20)
 Loading...