Do you have a question about the Craftsman 139.53627SRT and is the answer not in the manual?
Introduces the opener and highlights critical safety precautions and usage guidelines.
Lists all necessary hand tools for assembly, installation, and adjustment.
Connects T-rail sections and attaches the cable pulley bracket.
Attaches trolley to rail, installs chain, and secures sprocket cover.
Adjusts chain tension to the correct level for proper operation.
Locates and secures the header bracket to the wall or ceiling structural support.
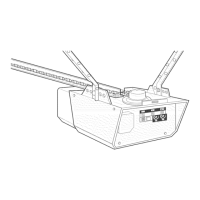
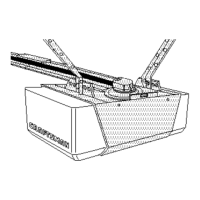
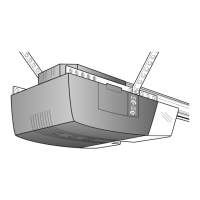
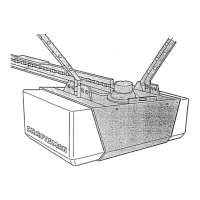
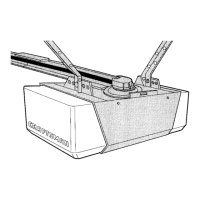
Attaches T-rail to header, positions and hangs the opener unit securely.
Connects wall control, electrical wiring, and safety reversing sensors.
Attaches door bracket and connects door arm to trolley and bracket.
Sets door travel limits and regulates opening/closing force for optimal performance.
Verifies the proper functioning of the safety reversing sensor and reverse system.
Routine maintenance, remote programming, and basic operation of the opener.
Solutions for common issues encountered with the opener's operation.
Lists and illustrates all available parts for repair and assembly.
Describes various accessories to enhance opener functionality.
| Type | Chain Drive |
|---|---|
| Model Number | 139.53627SRT |
| Horsepower | 1/2 HP |
| Frequency | 60 Hz |
| Remote Controls Included | 2 |
| Safety Sensors | Yes |
| Battery Backup | No |
| Smart Technology | No |
| Drive System | Chain |
| Voltage | 120V |
| Lift Capacity | 7 ft |
| Speed | 7 inches per second |
| Max Door Weight | Unknown |
| Max Door Height | 7 ft |