Do you have a question about the Craftsman 16496 Bolt-On and is the answer not in the manual?
Indicates DANGER, WARNING, OR CAUTION. May be used with other symbols.
Indicates hazardous situation which, if not avoided, will result in death or serious injury.
Indicates hazardous situation which, if not avoided, could result in death or serious injury.
Indicates hazardous situation which, if not avoided, could result in minor or moderate injury or property damage.
Keep work area clean and lit, avoid explosive atmospheres, keep bystanders away.
Match plugs, avoid grounded surfaces, keep away from wet conditions, protect cords.
Stay alert, use PPE, prevent unintentional starting, maintain balance, dress properly.
Use correct tool, maintain tools, disconnect power, store safely, use sharp tools.
Use correct charger and battery packs, keep terminals away from metal, handle battery leaks.
Have tool serviced by qualified personnel using identical replacement parts.
Grip insulated surfaces, use auxiliary handles, secure workpiece, keep clear of vents.
Hold firmly with two hands, avoid dust, wear hearing protection, wear safety glasses.
Definitions for V, Hz, min, ~, A, W, no load speed.
Definitions for Class I and Class II Construction.
Definitions for safety alert symbol, earthing terminal, reading manual, eye protection.
Avoid liquid, do not charge damaged batteries, keep away from foreign material, unplug when not in use.
Use correct gauge extension cords, ensure proper wire size.
Recommended wire gauge for cord sets based on voltage, length, and amp rating.
Do not incinerate, avoid explosive atmospheres, prevent short circuits.
Avoid contact with battery liquid, flush with water if contact occurs.
Do not store or use in high temperatures, do not immerse in water.
Do not open, crush, drop, or damage battery pack; return damaged packs for recycling.
Protect terminals from short circuits; do not place in checked baggage.
Store in a cool, dry place away from direct sunlight and extreme temperatures.
Plug in charger, insert battery, monitor green LED for charge status.
Initiates a 10-minute boost charge with blue LED indication.
Explains LED patterns for bad battery and hot/cold pack delay.
Optimal charging temps, pack may get warm, troubleshooting charging issues, recharging partially used packs.
Insert pack into unit until click; ensure it is seated and latched.
Depress release button and pull pack out; ensure it is fully seated/latched.
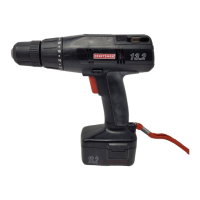
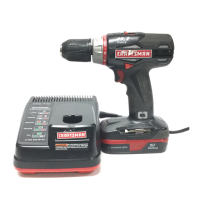
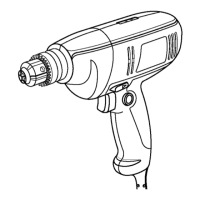
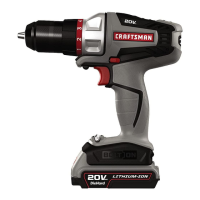
Lists and identifies parts like Power Unit, trigger, slider, battery, charger.
Lists and identifies parts like drill attachment, chuck, torque collar.
Control ON/OFF and speed by pulling/releasing trigger.
Control tool direction; release trigger before changing direction.
Lock unit, align, push until click; check secure attachment.
Depress release button and remove attachment.
Use only designated attachments; lock unit before adjustments.
Hold firmly, use auxiliary handle, expect drill stall, do not overload, check for pipes/wires.
Lock tool, open/tighten chuck, insert bit, remove bit from holder.
Use correct bit, lubricate if needed, hold straight, use correct forward/reverse setting.
Tighten/loosen bits by rotating chuck; turn off tool before adjustments.
Grasp rear half of chuck, rotate front half to insert/tighten bit.
Select mode (drill/screws) and set torque for tightening.
Start low, tighten screw, adjust collar until desired result is achieved.
Integrated slot above battery pack for bit storage.
Use sharp bits, secure work, wear PPE, start slowly, apply steady pressure, hold firmly.
Do not repeatedly trigger stalled drill; minimize stalling on breakthrough.
Use twist or spade bits, keep sharp, clear chips frequently.
Use cutting lubricant for most metals, drill cast iron/brass dry.
Use mild soap and damp cloth; never immerse in liquid.
Repairs/adjustments should be done by qualified service personnel.
Use only recommended accessories; contact Sears for available options.
Check battery installation, charge, and attachment security.
Check charger connection, battery insertion, and ambient temperature.
Allow battery to cool or recharge if depleted.