3
TOOLS REQUIRED:
Socket wrench
3/8” socket
7/16” deep-well socket
7/16” open end wrench
Square
Screwdriver, Flathead
Screwdriver, Crosstip
Drill
1/8” drill bit
1/4” drill bit
Studnder
HARDWARE
1/4-20 x 5/8" Carriage Bolt (Qty: 14)
1/4-20 Serrated Flange Nut (Qty: 38)
11/32" Washer (Qty: 14)
1/4-20 x 3/4" Button Head Screw (Qty: 24)
#8 - 32 x 3/8" Pan Head Screw (Qty: 16)
5/32" Hex Key (Qty: 1)
Grommet (Qty: 2)
Leveling Foot (Qty:4)
Magnet (Qty: 1)
CC(12)
BB(18)
AA(10)
DD(10)
EE(28)
FF(1)
GG(1)
HH(1)
14-10 X 3" Screw (Qty:1)
Items Needed:
1/4-20 x 3/4" Button Head Screw (Qty: 4)
1/4-20 Serrated Flange Nut (Qty: 4)
Process:
•Place(1)sidepanelwithangesidedown.Use
packaging material to prevent scratches.
• Insert (2) screws into middle (2) holes from bottom of
angeonsidepanel.
• Place (1) back panel over screws in side. Attach using
(2) nuts.
• Repeat for remaining side panel and back panel.
HARDWARE INCLUDED:
Use middle
(2) holes
D (3)
E
G
F
H
C (2)
A (2)
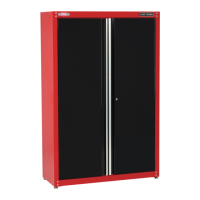
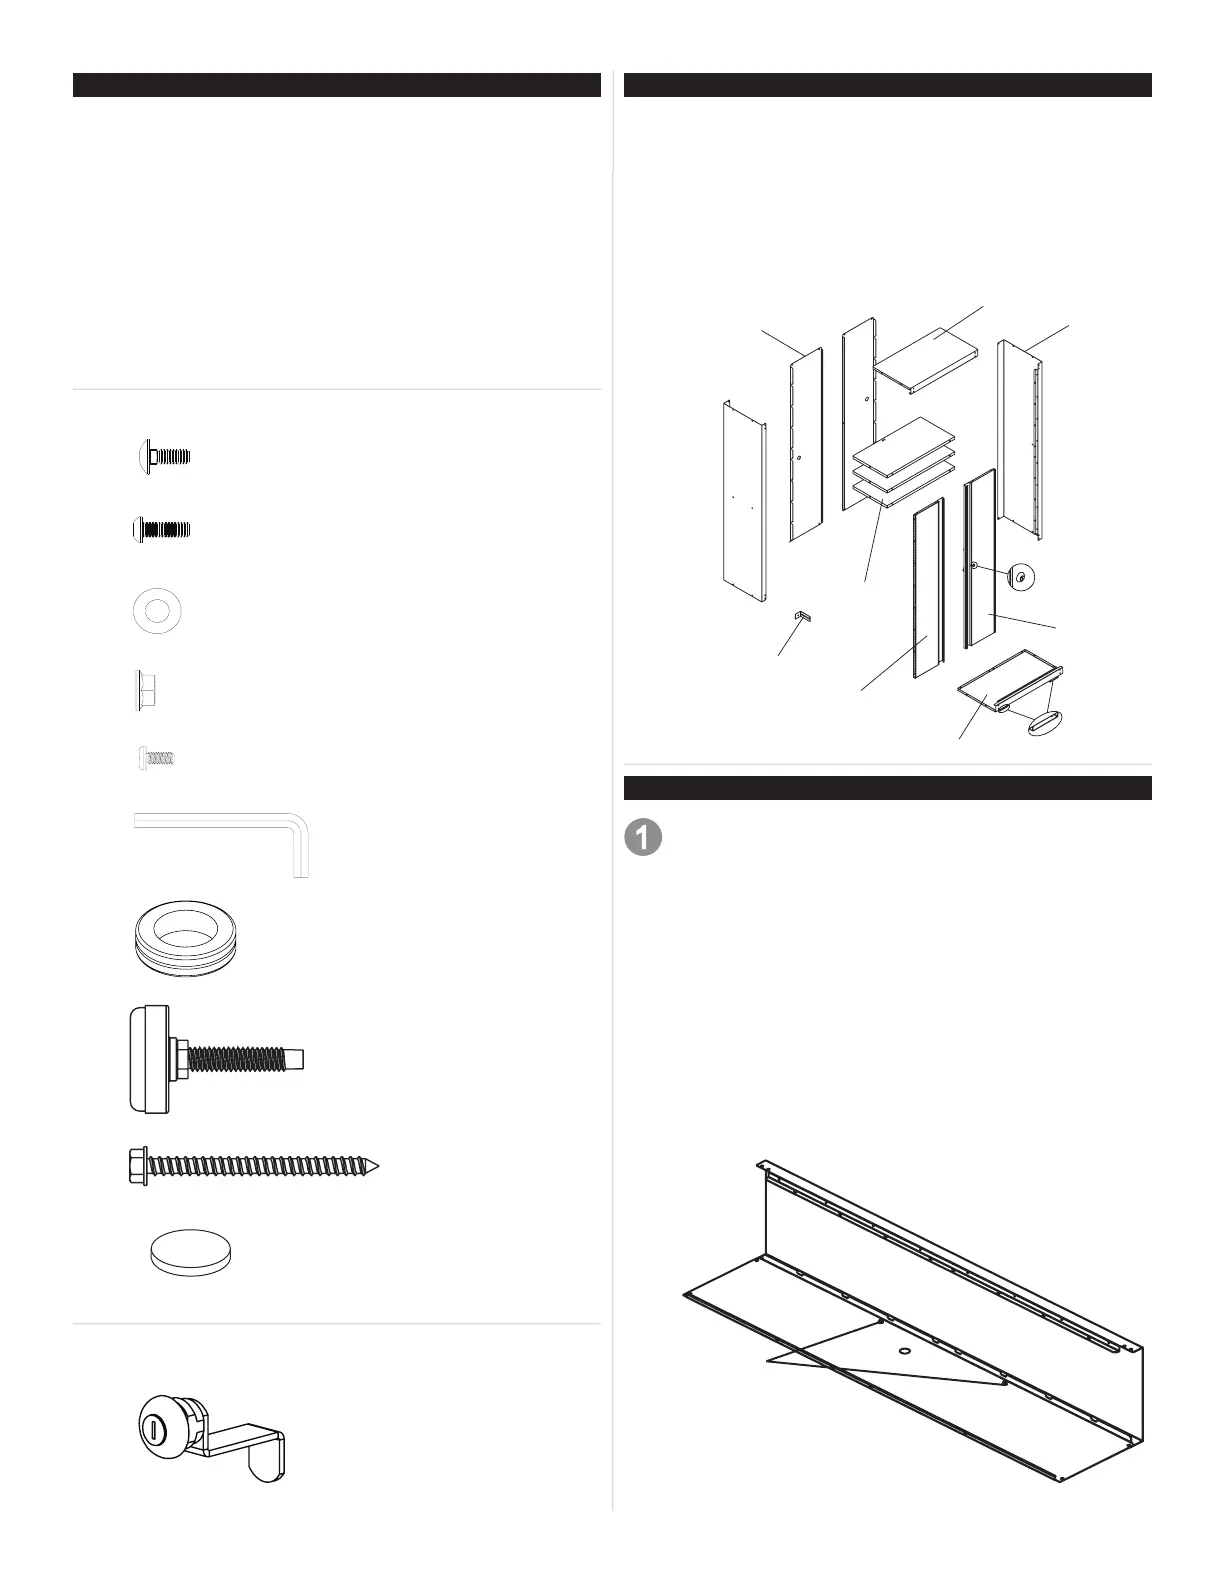
CARTON CONTENTS
A. Side Panel
B. Top
C. Back Panel
D. Shelf
E. Door Left
F. Door Right
G. Bottom
H. Mounting Bracket
ASSEMBLY
48-INCH CABINET ALSO INCLUDES:
Single Bitted Lock (Qty: 1)
 Loading...