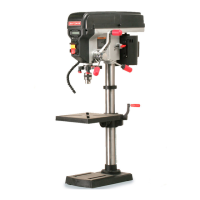
Do you have a question about the Craftsman 21914 - 12 in. Drill Press and is the answer not in the manual?
| Motor Power | 3/4 HP |
|---|---|
| Speed Settings | 5 |
| Chuck Size | 1/2 in. |
| Swing | 12 in. |
| Spindle Travel | 3-1/8 in. |
| Spindle Taper | MT2 |
| Table Tilt | 45° |
Information on using appropriate extension cords for the tool.
Details on the tool's speed and electrical wiring requirements.
Explains the importance and method of grounding the tool for safety.
Lists the technical specifications for the drill press.
Covers adjustable fence, bevel scale, table adjustments, and assembly.
Details chuck operation, bit installation, and digital depth display.
Explains feed handles, spindle speed, switch, and worklight functions.
Describes the laser guide system for precise drilling.
Steps for safely unpacking and checking the drill press components.
Securing the main column to the base unit.
Mounting the drill press table and its adjustment mechanism.
Attaching the head assembly, chuck, and feed handles.
Inserting batteries and mounting the laser assembly unit.
Checking and adjusting the laser guide for accurate drilling.
Securing the entire drill press to a workbench or mounting board.
Attaching the fence for workpiece support and alignment.
Lists the intended uses and materials for the drill press.
How to turn the drill press on, off, and lock it safely.
Adjusting the table position for drilling large objects.
Proper use of the chuck key and inserting/removing drill bits.
Step-by-step guide for performing drilling operations.
Advice for better drilling and using the laser guide.
Adjusting and setting the drilling depth using depth gauge or display.
How to raise or lower the drill press table.
Tilting the table for angled drilling operations.
Instructions for adjusting belt positions to change spindle speed.
Guidelines for cleaning plastic parts and general upkeep.
Recommended lubrication points and frequency for moving parts.
Maintaining the motor housing and ensuring electrical cleanliness.
Checking pulley security and greasing the gear rack.
Checking and removing laser assembly batteries when not in use.



 Loading...