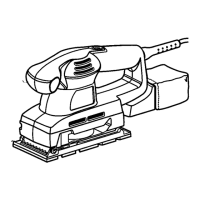
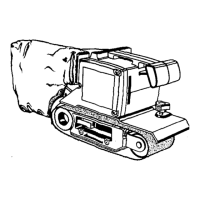
ATTACHING DUST BAG ASSEMBLY
(Model No. 315.116321)
See Figure 4.
DUSTBAG
ADAPTER EXH
MODEL NO. 315.116321
Fig. 4
_, WARNING: To prevent the possibility of sanding
dust or foreign objects being thrown into your face or
eyes, never attempt to use your sander without the
dust bag assembly properly installed. Sanding dust or
foreign objects being thrown into your face could
result in possible serious personal injury.
• Unplug your sander.
_, WARNING: Failure to unplug your sander could
result in accidental starting causing possible serious
personal injury.
• Insert dust bag adapter into dust exhaust hole.
See Figure 4.
• Push in on adapter until raised notches on top and
bottom of adapter snap into grooves in dust exhaust
hole.
• Your sander is now ready for operation. Note: For more
efficient operation, empty dust bag when no more than
half full. This will permit the air to flow through the bag
better. Always empty and clean dust bag thoroughly
when finished sanding operation and before storing
sander.
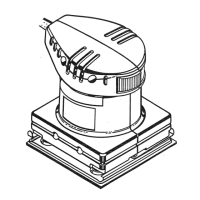
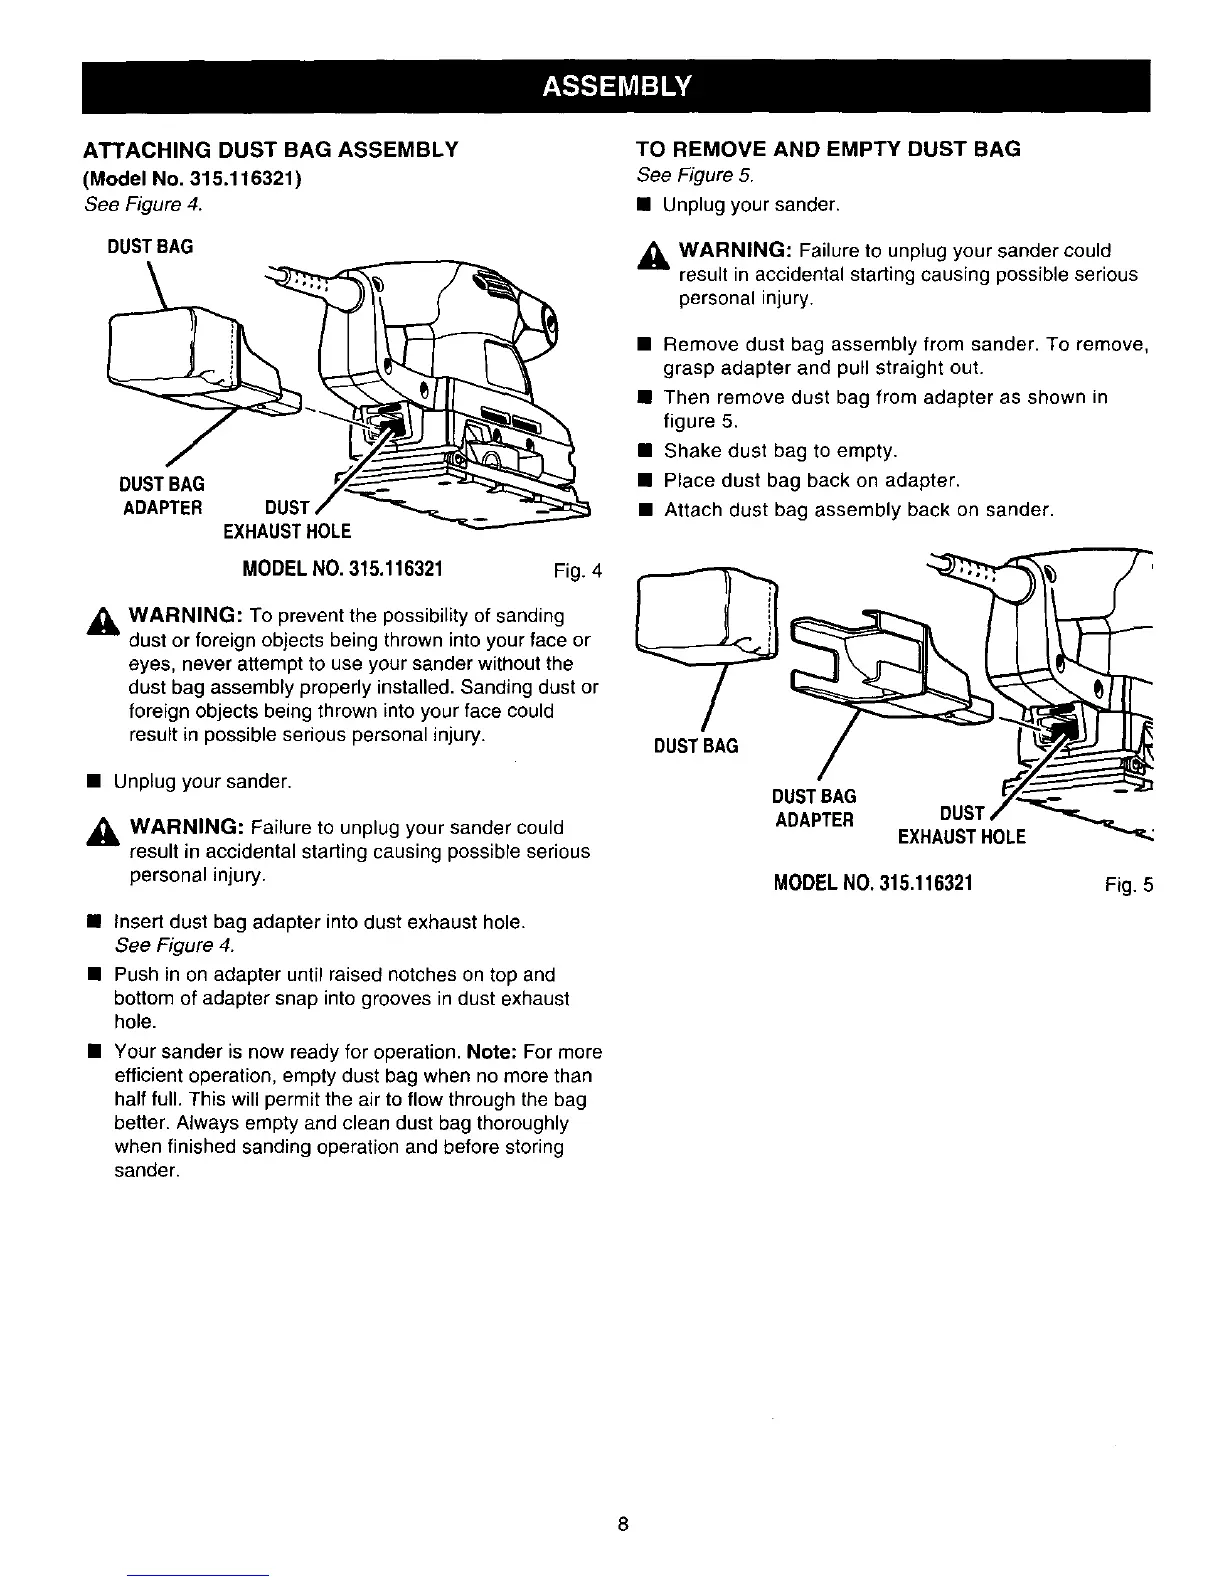
TO REMOVE AND EMPTY DUST BAG
See Figure 5.
• Unplug your sander.
,_, WARNING: Failure to unplug your sander could
result in accidental starting causing possible serious
personal injury.
• Remove dust bag assembly from sander. To remove,
grasp adapter and pull straight out.
• Then remove dust bag from adapter as shown in
figure 5.
• Shake dust bag to empty.
• Place dust bag back on adapter.
• Attach dust bag assembly back on sander.
DUSTBAG
DUSTBAG
ADAPTER DUST
EXHAUSTHOLE
MODELNO. 315.116321
Fig. 5
8